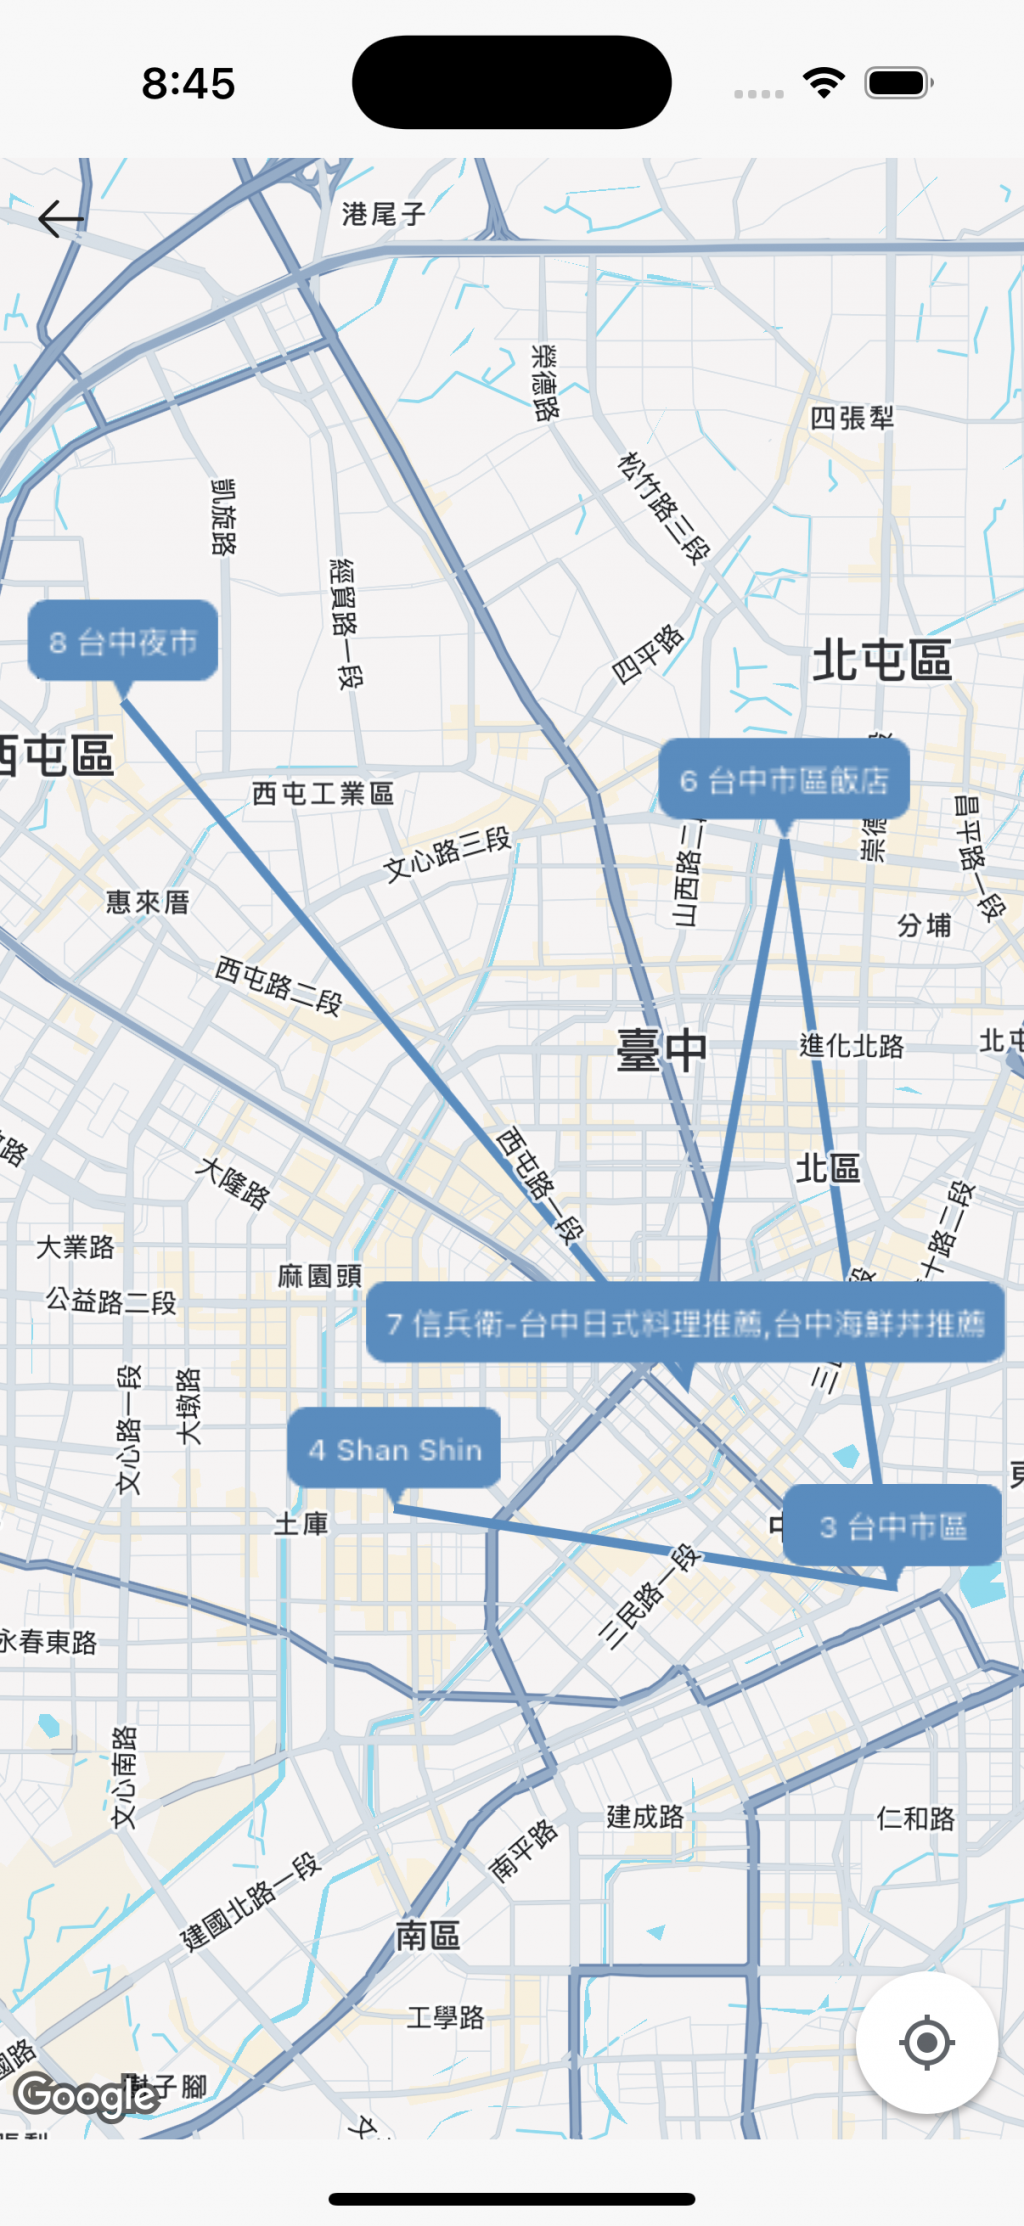
Marker 的 infoWindow 雖然可以在點擊後顯示景點資訊,但對於「點擊後直接導航」這個需求就產生了衝突。為了讓使用者不用點擊就能一眼知道這是哪個景點、今天的第幾個行程,我把 Marker 做成了動態文字氣泡框。
在 google_maps_flutter 套件中,Marker 預設只能是小圖標或靜態圖片。如果想在地圖上放上帶文字的客製化標籤,就需要靠 Canvas、TextPainter 、BitmapDescriptor 等來動態生成圖片。
這段程式碼主要用到:
下面將依序說明:
Future<BitmapDescriptor> createMarkerIcon(
  String text, {
  double minHeight = 32,
  double paddingX = 8,
  double paddingY = 4,
  double borderRadius = 8,
  double arrowHeight = 8,
  double arrowWidth = 8,
  Color color = AppPrimaryColors.primary500,
  Color textColor = AppGrayscaleColors.gray50,
}) async {
這個函式 createMarkerIcon 可以根據傳入的文字,生成一個 帶箭頭的氣泡 Marker,並回傳 BitmapDescriptor。
paddingX、paddingY:文字與邊框的內距borderRadius:圓角大小arrowHeight、arrowWidth:氣泡箭頭尺寸color、textColor:氣泡顏色與文字顏色因為 Google Maps Marker 只能接受靜態圖片,不能直接塞 Widget,所以這邊要用 Canvas。
final recorder = ui.PictureRecorder();
final canvas = Canvas(recorder);
Canvas 是 Flutter 的低階繪圖工具,可以畫線、矩形、圓形、文字、路徑等。ui.PictureRecorder 是錄製 Canvas 操作的工具,最後可以把繪製結果轉成圖片。final textPainter = TextPainter(
text: TextSpan(
text: text,
),
textDirection: TextDirection.ltr,
);
textPainter.layout(minWidth: 0, maxWidth: double.infinity);
TextPainter 是 Flutter 渲染層級的文字工具,可以測量文字寬高並畫到 Canvas 上。final width = textPainter.width + paddingX * 2;
final height = (textPainter.height + paddingY * 2).clamp(
minHeight,
double.infinity,
);
final size = Size(width, height + arrowHeight);
clamp(minHeight, double.infinity) 確保 Marker 不會太小這個步驟決定了 Marker 的「視覺風格」,可以依照自己的需求客製化。
final paint = Paint()
  ..color = color
  ..style = PaintingStyle.fill;

final path = Path()
  ..moveTo(borderRadius, 0)
  ..lineTo(size.width - borderRadius, 0)
  ..arcToPoint(Offset(size.width, borderRadius), radius: Radius.circular(borderRadius))
  ..lineTo(size.width, size.height - borderRadius - arrowHeight)
  ..arcToPoint(Offset(size.width - borderRadius, size.height - arrowHeight), radius: Radius.circular(borderRadius))
  ..lineTo(size.width / 2 + arrowWidth / 2, size.height - arrowHeight)
  ..lineTo(size.width / 2, size.height)
  ..lineTo(size.width / 2 - arrowWidth / 2, size.height - arrowHeight)
  ..lineTo(borderRadius, size.height - arrowHeight)
  ..arcToPoint(Offset(0, size.height - borderRadius - arrowHeight), radius: Radius.circular(borderRadius))
  ..lineTo(0, borderRadius)
  ..arcToPoint(Offset(borderRadius, 0), radius: Radius.circular(borderRadius))
  ..close();

canvas.drawPath(path, paint);
Path 描述了 Marker 外框的形狀:
canvas.drawPath 將這個形狀畫上去
使用 Paint 控制顏色和填充方式
final textOffset = Offset(
  (size.width - textPainter.width) / 2,
  (size.height - arrowHeight - textPainter.height) / 2,
);

textPainter.paint(canvas, textOffset);
textPainter.paint 把文字畫到 Canvas 上final picture = recorder.endRecording();
final img = await picture.toImage(size.width.toInt(), size.height.toInt());
final byteData = await img.toByteData(format: ui.ImageByteFormat.png);
return BitmapDescriptor.bytes(byteData!.buffer.asUint8List());
endRecording() 完成繪圖錄製toImage() 轉成 ui.Image
BitmapDescriptor
這樣 Google Maps 就能把 Marker 畫在地圖上了,而且支援動態文字。


 iThome鐵人賽