我們先建立一個資料夾,裡面放: index.html、style.css 、script.js,S3 會自動找 index.html 作為網站入口。那這邊我們簡單的在終端機做一個靜態網站
小提醒:一定要有index.html,因為 S3 會拿它當首頁!
mkdir my-website-michelle
cd my-website-michelle
cat > index.html <<EOL
<!DOCTYPE html>
<html lang="zh-TW">
<head>
  <meta charset="UTF-8">
  <title>Hello World 網站</title>
  <link rel="stylesheet" href="style.css">
</head>
<body>
  <h1>🎉 Hello World!這是我的第一個 S3 網站</h1>
  <p>這個網站是用 AWS S3 部署的靜態網站。</p>
  <button id="clickMe">點我一下</button>

  <script src="script.js"></script>
</body>
</html>
EOL
cat > style.css <<EOL
body {
  font-family: Arial, sans-serif;
  text-align: center;
  margin: 50px;
  background: #f0f8ff;
}

h1 {
  color: #2c3e50;
}

button {
  padding: 10px 20px;
  background: #3498db;
  color: white;
  border: none;
  border-radius: 8px;
  cursor: pointer;
}

button:hover {
  background: #2980b9;
}
EOL
cat > script.js <<EOL
document.getElementById("clickMe").addEventListener("click", function() {
  alert("你成功在 S3 部署一個網站啦 🎉");
});
EOL
ls
會得到類似下面的回應,代表建立完成:
index.html style.css script.js
還記得我們前幾天在IAM建立的人員嗎?
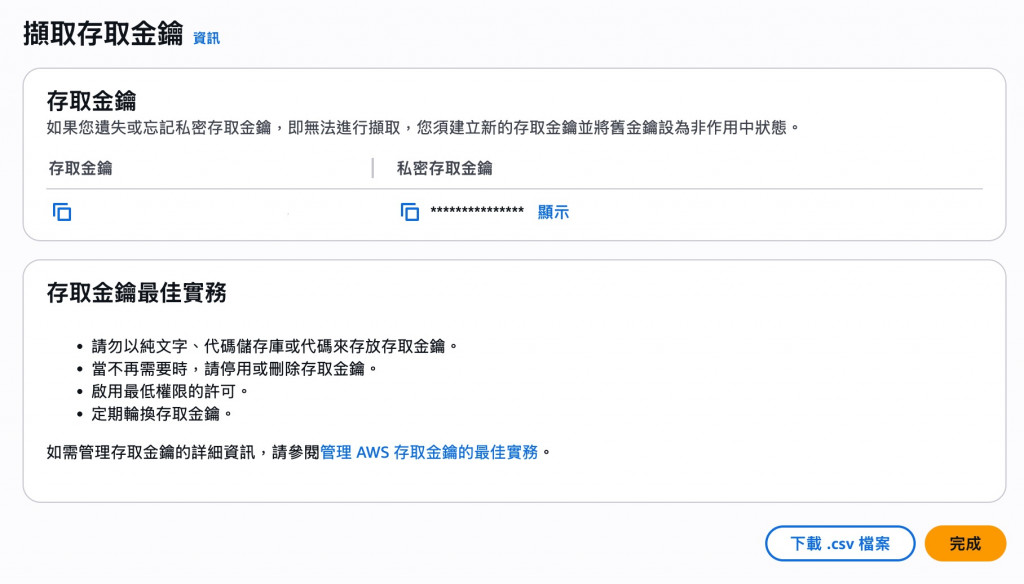
我們先搜尋IAM,在左邊目錄中點選「人員」,找到上次建立的「人員名稱」,點進去後來到「安全憑證」的地方往下滑會看到存取金鑰,我們點擊「存取金鑰」,描述標籤的部分可以自己取名,這時候 AWS 會問你用途,我們選Command Line Interface(CLI),然後會產生一組:
還記得我們前幾天在建立完成員之後有給予人員「權限」嗎,我們一樣來到上次建立的「人員群組」中新增AmazonS3ReadOnlyAccess(只能讀取) + AmazonS3FullAccess(才能建立 bucket 與上傳檔案)這兩項策略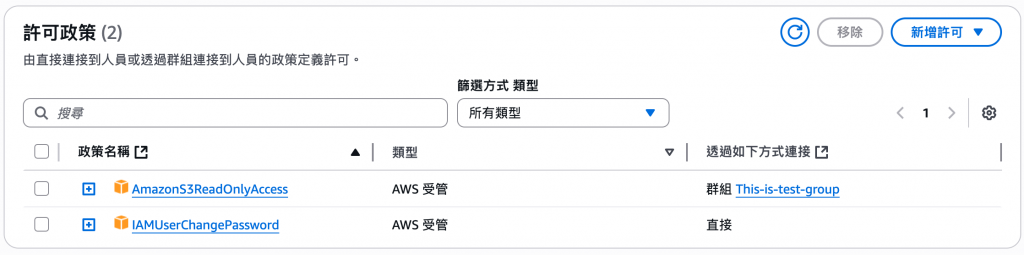
在AWS設定完後我們再回到終端機,並輸入以下指令來安裝AWS CLI
curl "https://awscli.amazonaws.com/AWSCLIV2.pkg" -o "AWSCLIV2.pkg"
sudo installer -pkg AWSCLIV2.pkg -target /
輸入aws configure後會要求你輸入:
aws configure
這裡 Bucket 名稱要跟你資料夾一致,Region 可換你選的區域
aws s3 mb s3://my-website-michelle --region ap-east-2
這樣 S3 會把 index.html 設為首頁
aws s3 website s3://my-website-michelle/ --index-document index.html
再回到AWS控制台中的S3找到你的 bucket → Permissions → Bucket policy裡設定公開存取。
{
  "Version": "2012-10-17",
  "Statement": [
    {
      "Sid": "PublicReadGetObject",
      "Effect": "Allow",
      "Principal": "*",
      "Action": "s3:GetObject",
      "Resource": "arn:aws:s3:::my-website-michelle/*"
    }
  ]
}
回到終端機,在my-website-michelle資料夾執行:
aws s3 cp . s3://my-website-michelle/ --recursive
完成後,來到S3,我們會看到剛剛建立的資料夾名稱,點進去後再選擇「屬性」往下滑到最下面看到「靜態網站託管」,就會看到我們剛剛建立的靜態網站端點囉!
我把剛剛完成的網址連結放在下面(但之後可能會不見,所以外加截圖展示)
http://my-website-michelle.s3-website.ap-east-2.amazonaws.com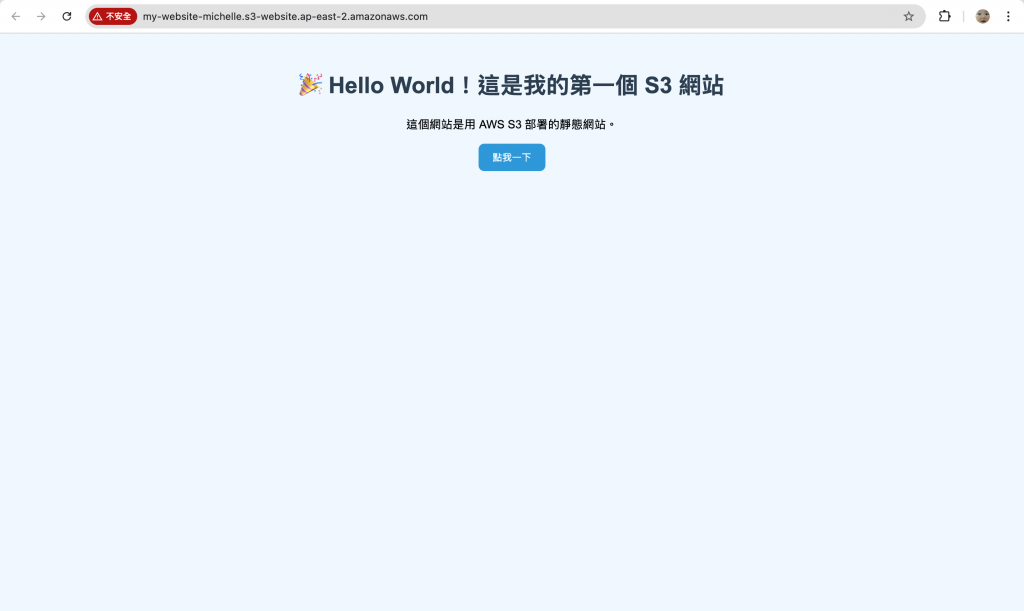
點擊「點我一下」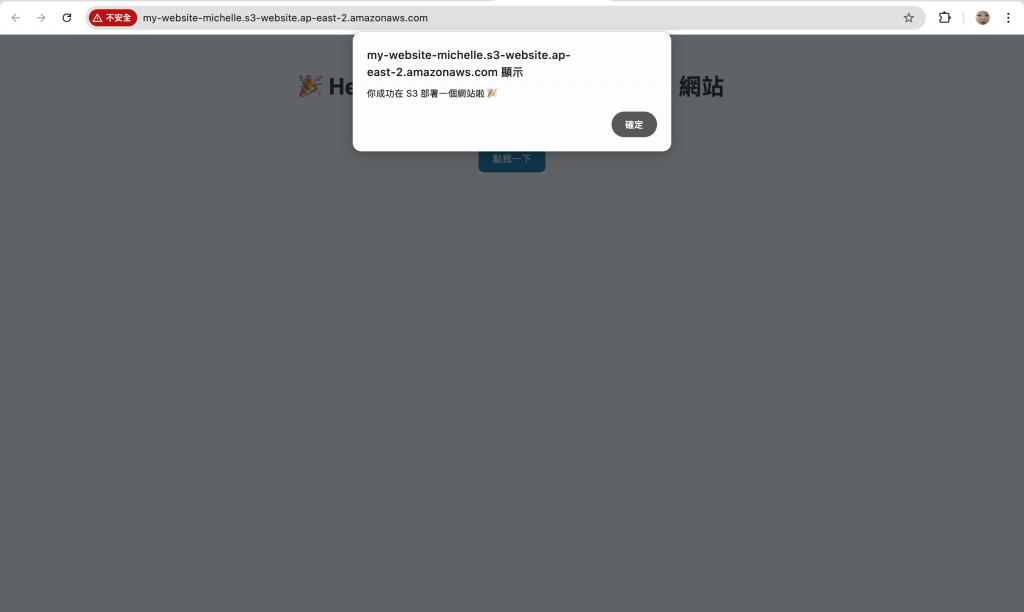


 iThome鐵人賽