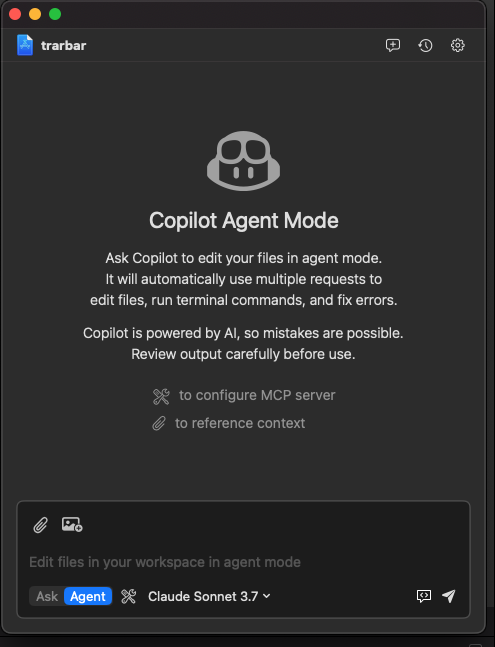
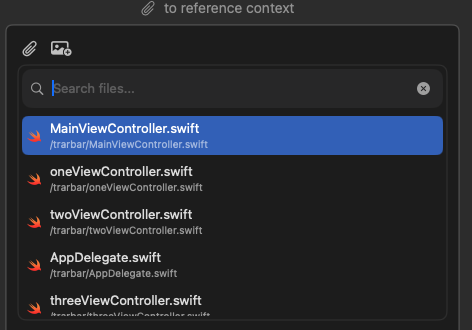
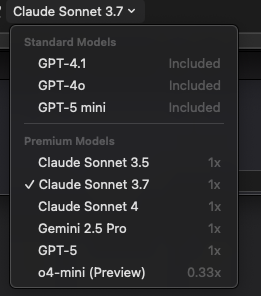
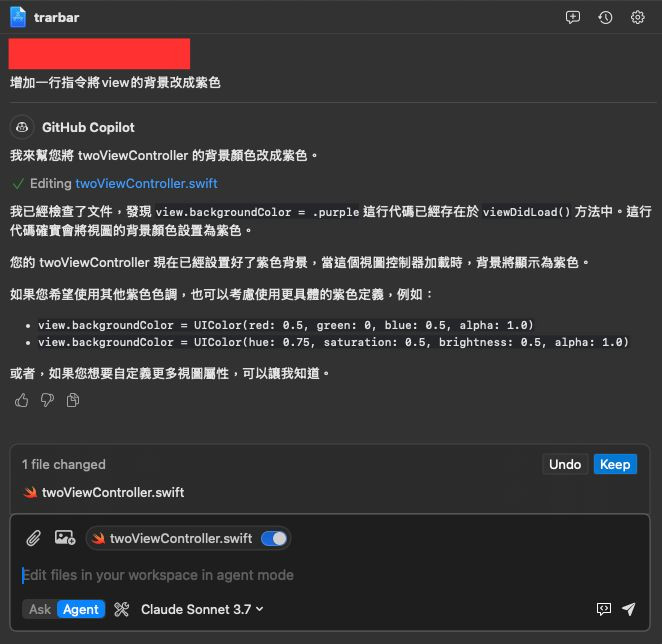
iT邦幫忙

2025 iThome 鐵人賽

DAY 4
0
Mobile Development

Xcode x Swift Vibe coding進階開發之旅系列 第 4

Xcode x Swift Vibe coding進階開發之旅 第4天 xcode for copilit的使用

  • 分享至 

  • xImage
  •  

實作步驟

2.1.開啟專案與xcode for copilit點選系統工具列的圖標
https://ithelp.ithome.com.tw/upload/images/20250918/201681876Icyoq6ma1.png
2.選擇open chat 開啟頁面
https://ithelp.ithome.com.tw/upload/images/20250918/201681877KDvtk15zO.png
3.選擇agent模式 另一個ask模式只能獲取少量資料無法取得像是print報錯的錯誤資訊且無法修改內容
https://ithelp.ithome.com.tw/upload/images/20250918/20168187PVufdiGQhD.png
4.點選迴紋針可以新增可以修改的檔案只能選swift
https://ithelp.ithome.com.tw/upload/images/20250918/20168187HwIuN0p7zB.png
5.在模式選擇旁邊可以選擇使用的模型 這裡我會選擇 claude sonnet 3.7 使用起來感覺比較好
https://ithelp.ithome.com.tw/upload/images/20250918/201681877mjDYOXcvH.png
6.若在IDE裡正在檢視swift可以自動選擇
https://ithelp.ithome.com.tw/upload/images/20250918/20168187yMbMLJ3pzz.png
7.數入指令要求ai實作

使用範例

https://ithelp.ithome.com.tw/upload/images/20250918/201681870TasP0lW90.jpg
https://ithelp.ithome.com.tw/upload/images/20250918/20168187xfunhuUYAf.png


上一篇
Development Xcode x Swift Vibe coding進階開發之旅 第三天 apple intelligence 與xcode for copilit的安裝
下一篇
Development Xcode x Swift Vibe coding進階開發之旅 第五天 點名系統(1) 下指令建立realm資料架構
系列文
Xcode x Swift Vibe coding進階開發之旅5
圖片
  熱門推薦
圖片
{{ item.channelVendor }} | {{ item.webinarstarted }} |
{{ formatDate(item.duration) }}
直播中

尚未有邦友留言

立即登入留言