一、學習目標
這天的任務是讓每張圖片除了顯示檔名與大小之外,也能同時顯示「寬高尺寸」。這能幫助使用者更清楚了解圖片的解析度,方便未來做分類或壓縮設定。
二、學習過程與方法
我利用JavaScript建立一個 Image() 物件,當圖片載入完成後,就能取得 img.width 與 img.height 屬性。再透過文字模板輸出成完整資訊文字。
三、實作成果
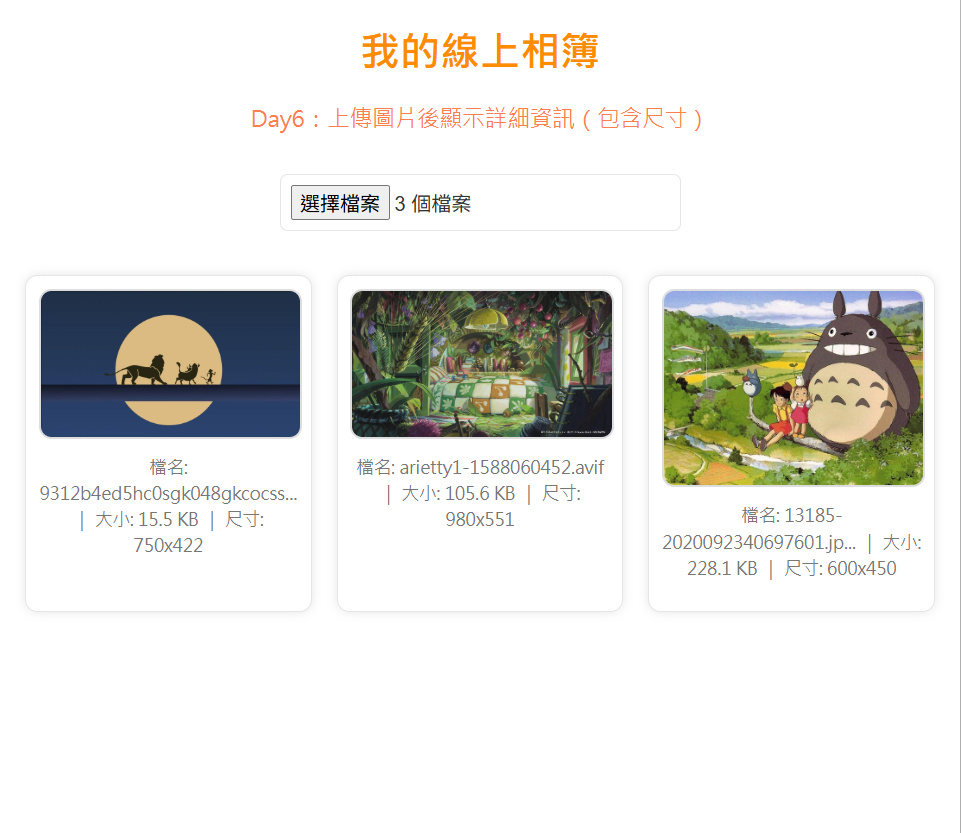
上傳圖片後,系統會自動顯示三個項目:檔名、大小和尺寸。若檔名太長,程式會自動縮短避免超出框線,整體設計乾淨且資訊明確。
四、主要程式碼區塊
<!DOCTYPE html>
<html lang="zh-Hant">
<head>
  <meta charset="UTF-8">
  <title>Day6 - 圖片詳細資訊</title>

  <style>
    /* 主題配色(統一樣式) */
    :root {
      --bg: #ffffff;
      --primary: darkorange;
      --accent: coral;
      --text: #333;
      --muted: #777;
      --border: #e6e6e6;
      --btn: #ff8c42;
      --btn-hover: #ff6a00;
      --card-bg: #fff;
    }

    /* 基礎排版設定 */
    body {
      background-color: var(--bg);
      font-family: "Microsoft JhengHei", Arial, sans-serif;
      margin: 20px;
      text-align: center;
      color: var(--text);
    }

    h1 {
      color: var(--primary);
    }

    p {
      color: var(--accent);
      font-size: 18px;
    }

    /* 檔案上傳區 */
    input[type="file"] {
      margin: 15px 0;
      padding: 8px;
      border-radius: 6px;
      border: 1px solid var(--border);
      font-size: 16px;
      cursor: pointer;
    }

    /* 相簿展示區 */
    #gallery {
      display: grid;
      grid-template-columns: repeat(auto-fill, minmax(220px, 1fr));
      gap: 20px;
      margin-top: 20px;
    }

    /* 圖片卡片樣式 */
    .photo-card {
      background: var(--card-bg);
      border: 1px solid var(--border);
      border-radius: 10px;
      padding: 10px;
      box-shadow: 0 0 8px rgba(0, 0, 0, 0.1);
      text-align: center;
    }

    .photo-card img {
      width: 100%;
      border-radius: 10px;
      border: 2px solid #ddd;
    }

    /* 圖片資訊文字 */
    .info {
      font-size: 14px;
      color: var(--muted);
      margin-top: 8px;
      line-height: 1.5;
      word-wrap: break-word;
      overflow-wrap: anywhere; /* 防止檔名太長溢出 */
    }
  </style>
</head>

<body>
  <h1>我的線上相簿</h1>
  <p>Day6:上傳圖片後顯示詳細資訊(包含尺寸)</p>

  <!-- 圖片上傳 -->
  <input type="file" id="upload" accept="image/*" multiple>

  <!-- 相簿展示區 -->
  <div id="gallery"></div>

  <script>
    const upload = document.getElementById("upload");
    const gallery = document.getElementById("gallery");

    // 當使用者上傳圖片
    upload.addEventListener("change", function() {
      gallery.innerHTML = ""; // 清空舊圖片
      Array.from(this.files).forEach(file => {
        const reader = new FileReader();

        reader.onload = function(e) {
          const img = new Image();

          img.onload = function() {
            // 建立圖片卡片
            const card = document.createElement("div");
            card.classList.add("photo-card");

            // 圖片顯示
            const newImg = document.createElement("img");
            newImg.src = e.target.result;

            // 若檔名過長,自動截斷顯示
            const shortName = file.name.length > 25 ? file.name.slice(0, 25) + "..." : file.name;

            // 建立資訊文字(含尺寸)
            const info = document.createElement("p");
            info.classList.add("info");
            info.textContent =
              `檔名: ${shortName} | 大小: ${(file.size / 1024).toFixed(1)} KB | 尺寸: ${img.width}x${img.height}`;

            // 加入元素
            card.appendChild(newImg);
            card.appendChild(info);
            gallery.appendChild(card);
          };

          img.src = e.target.result;
        };

        reader.readAsDataURL(file);
      });
    });

    console.log("Day6:圖片詳細資訊完成");
  </script>
</body>
</html>
 yuuuun
