在 [Day 23] [gdb] 初探vscode gdb tool 的設定 設定完成CMakelist.txt 之後我們可以接著設定launch.json 以及 task.json啟動 Vscode內建的debug tool 進行C語言的偵錯
launch.json 以及 tasks.json 配合 Vscode 的內建 debug tool 進行偵錯首先可以先準備一個有header檔的專案結構
C_PROJ/
├─ inc/
│  └─ dog_meme.h
├─ src/
│  ├─ dog_meme.c
│  └─ main.c
├─ CMakeLists.txt
程式碼的內容可以參考 [Day 12][make] make 專案目錄規劃實作解析 的內容設計出想要執行的方式,這邊也提供了一些可以快速貼上使用的內容
#include "dog_meme.h"
int main(void) {
    print_dog_meme();
    return 0;
}
#include <stdio.h>

#include "dog_meme.h"


void print_dog_meme(void) {
    printf("start\n");
    printf("processing...");
    // (畫圖) ...
    printf("finished\n");

}
#ifndef DOG_MEME_H
#define DOG_MEME_H
void print_dog_meme(void);
#endif /* DOG_MEME_H */
cmake_minimum_required(VERSION 3.21)
project(C_PROJ VERSION 1.0.0 LANGUAGES C)
# Export compile_commands.json for clangd/clang-tidy
set(CMAKE_EXPORT_COMPILE_COMMANDS ON)
# C standard
set(CMAKE_C_STANDARD 11)
set(CMAKE_C_STANDARD_REQUIRED ON)
# Library from src/dog_meme.c
add_library(dog_meme STATIC
  src/dog_meme.c
)
target_include_directories(dog_meme
  PUBLIC
    ${CMAKE_SOURCE_DIR}/inc
)
# Executable from src/main.c
add_executable(app
  src/main.c
)
target_link_libraries(app PRIVATE dog_meme)
# Target-scoped warnings/defines/includes
target_compile_options(app PRIVATE -Wall -Wextra -Wpedantic)
target_compile_definitions(app PRIVATE APP_VERSION="1.0.0")  # ← 這行把 APP_VERSISON 改成 APP_VERSION
target_include_directories(app PRIVATE ${CMAKE_SOURCE_DIR}/inc)

# Install rules
install(TARGETS app RUNTIME DESTINATION bin)
install(DIRECTORY inc/ DESTINATION include)
這邊主要會延續[Day 23] 的內容,讓gdb 連結 gcc 編譯完的執行檔進行除錯步驟
而tasks.json launch.json 設定如下,可以加在專案中的.vscode 資料夾中
C_PROJ/
├─ inc/
│  └─ dog_meme.h
├─ src/
│  ├─ dog_meme.c
│  └─ main.c
├─ .vscode/
│  ├─ launch.json
│  └─ tasks.json
└─CMakeLists.txt
{
  "version": "0.2.0",
  "configurations": [
    {
      "name": "Debug app (gdb)",
      "type": "cppdbg",
      "request": "launch",
      "program": "${workspaceFolder}/build/app",
      "args": [],
      "cwd": "${workspaceFolder}",
      "stopAtEntry": false,
      "externalConsole": false,
      "MIMode": "gdb",
      "miDebuggerPath": "/usr/bin/gdb"
      "setupCommands": [
        {
          "description": "Enable pretty-printing for gdb",
          "text": "-enable-pretty-printing",
          "ignoreFailures": true
        }
      ],
      "preLaunchTask": "build (CMake Debug)"
    }
  ]
}
{
  "version": "2.0.0",
  "tasks": [
    {
      "label": "configure (CMake Debug)",
      "type": "shell",
      "command": "cmake -S ${workspaceFolder} -B ${workspaceFolder}/build -DCMAKE_BUILD_TYPE=Debug",
      "problemMatcher": []
    },
    {
      "label": "build (CMake Debug)",
      "type": "shell",
      "command": "cmake --build ${workspaceFolder}/build -j",
      "group": {
        "kind": "build",
        "isDefault": true
      },
      "dependsOn": "configure (CMake Debug)",
      "problemMatcher": [
        "$gcc"
      ],
      "detail": "Build project with CMake (Debug)"
    },
    {
      "label": "clean (CMake)",
      "type": "shell",
      "command": "cmake --build ${workspaceFolder}/build --target clean",
      "problemMatcher": []
    }
  ]
}
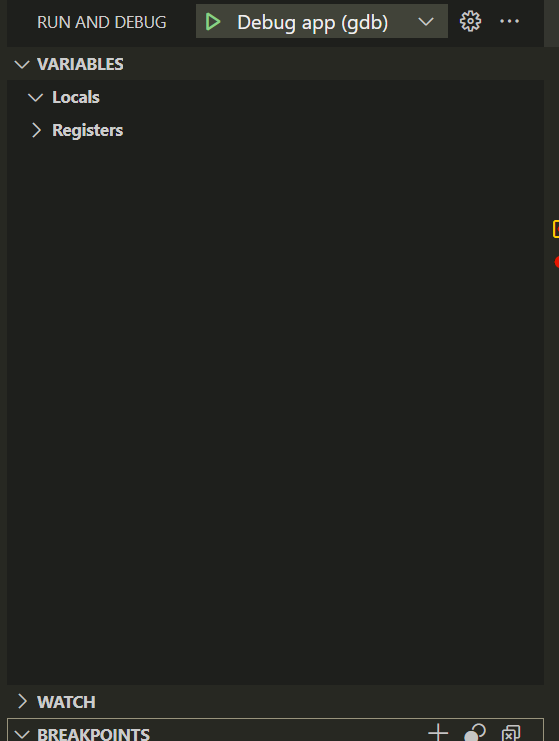
設定完上面的檔案後可以看到debug頁面中出現launch.json 紀錄的Debug app (gdb)
此時只要點選 ▶ 符號就可以直接執行程式了
如果你想要像一步一步偵錯,可以用下斷點的方式執行
可以把想要暫停檢查變數的地方打上紅色斷點,再按下▶ 這樣執行檔在執行到這步驟的時候就會在gdb的指令下停下來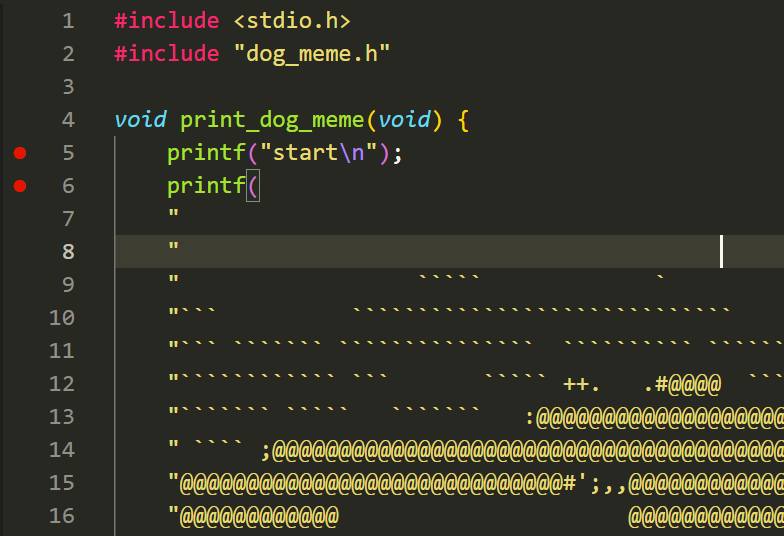
這時你可以看看旁邊debug窗格,因為這個專案沒有設定變數,但如果有設定變數的話,這邊就可以看到這個專案中的所有變數跟數值,方便在運行的過程中更好除錯