你是否曾想過將 Threads 上重要的討論串備份下來,特別是當原作者透過多則回覆來補充說明時?手動截圖或複製貼上既費時又零散。在這篇教學中,我們將延續先前安裝好的 Puppeteer 工具,打造一個自動化流程,讓你只要輸入一則 Threads 貼文網址,就能完整備份主貼文及作者的所有回覆
我們的目標非常明確:建立一個自動化工作,當你提供一個 Threads 貼文網址時,它能抓取頁面資料,並整理成一個結構化的 JSON 檔案。
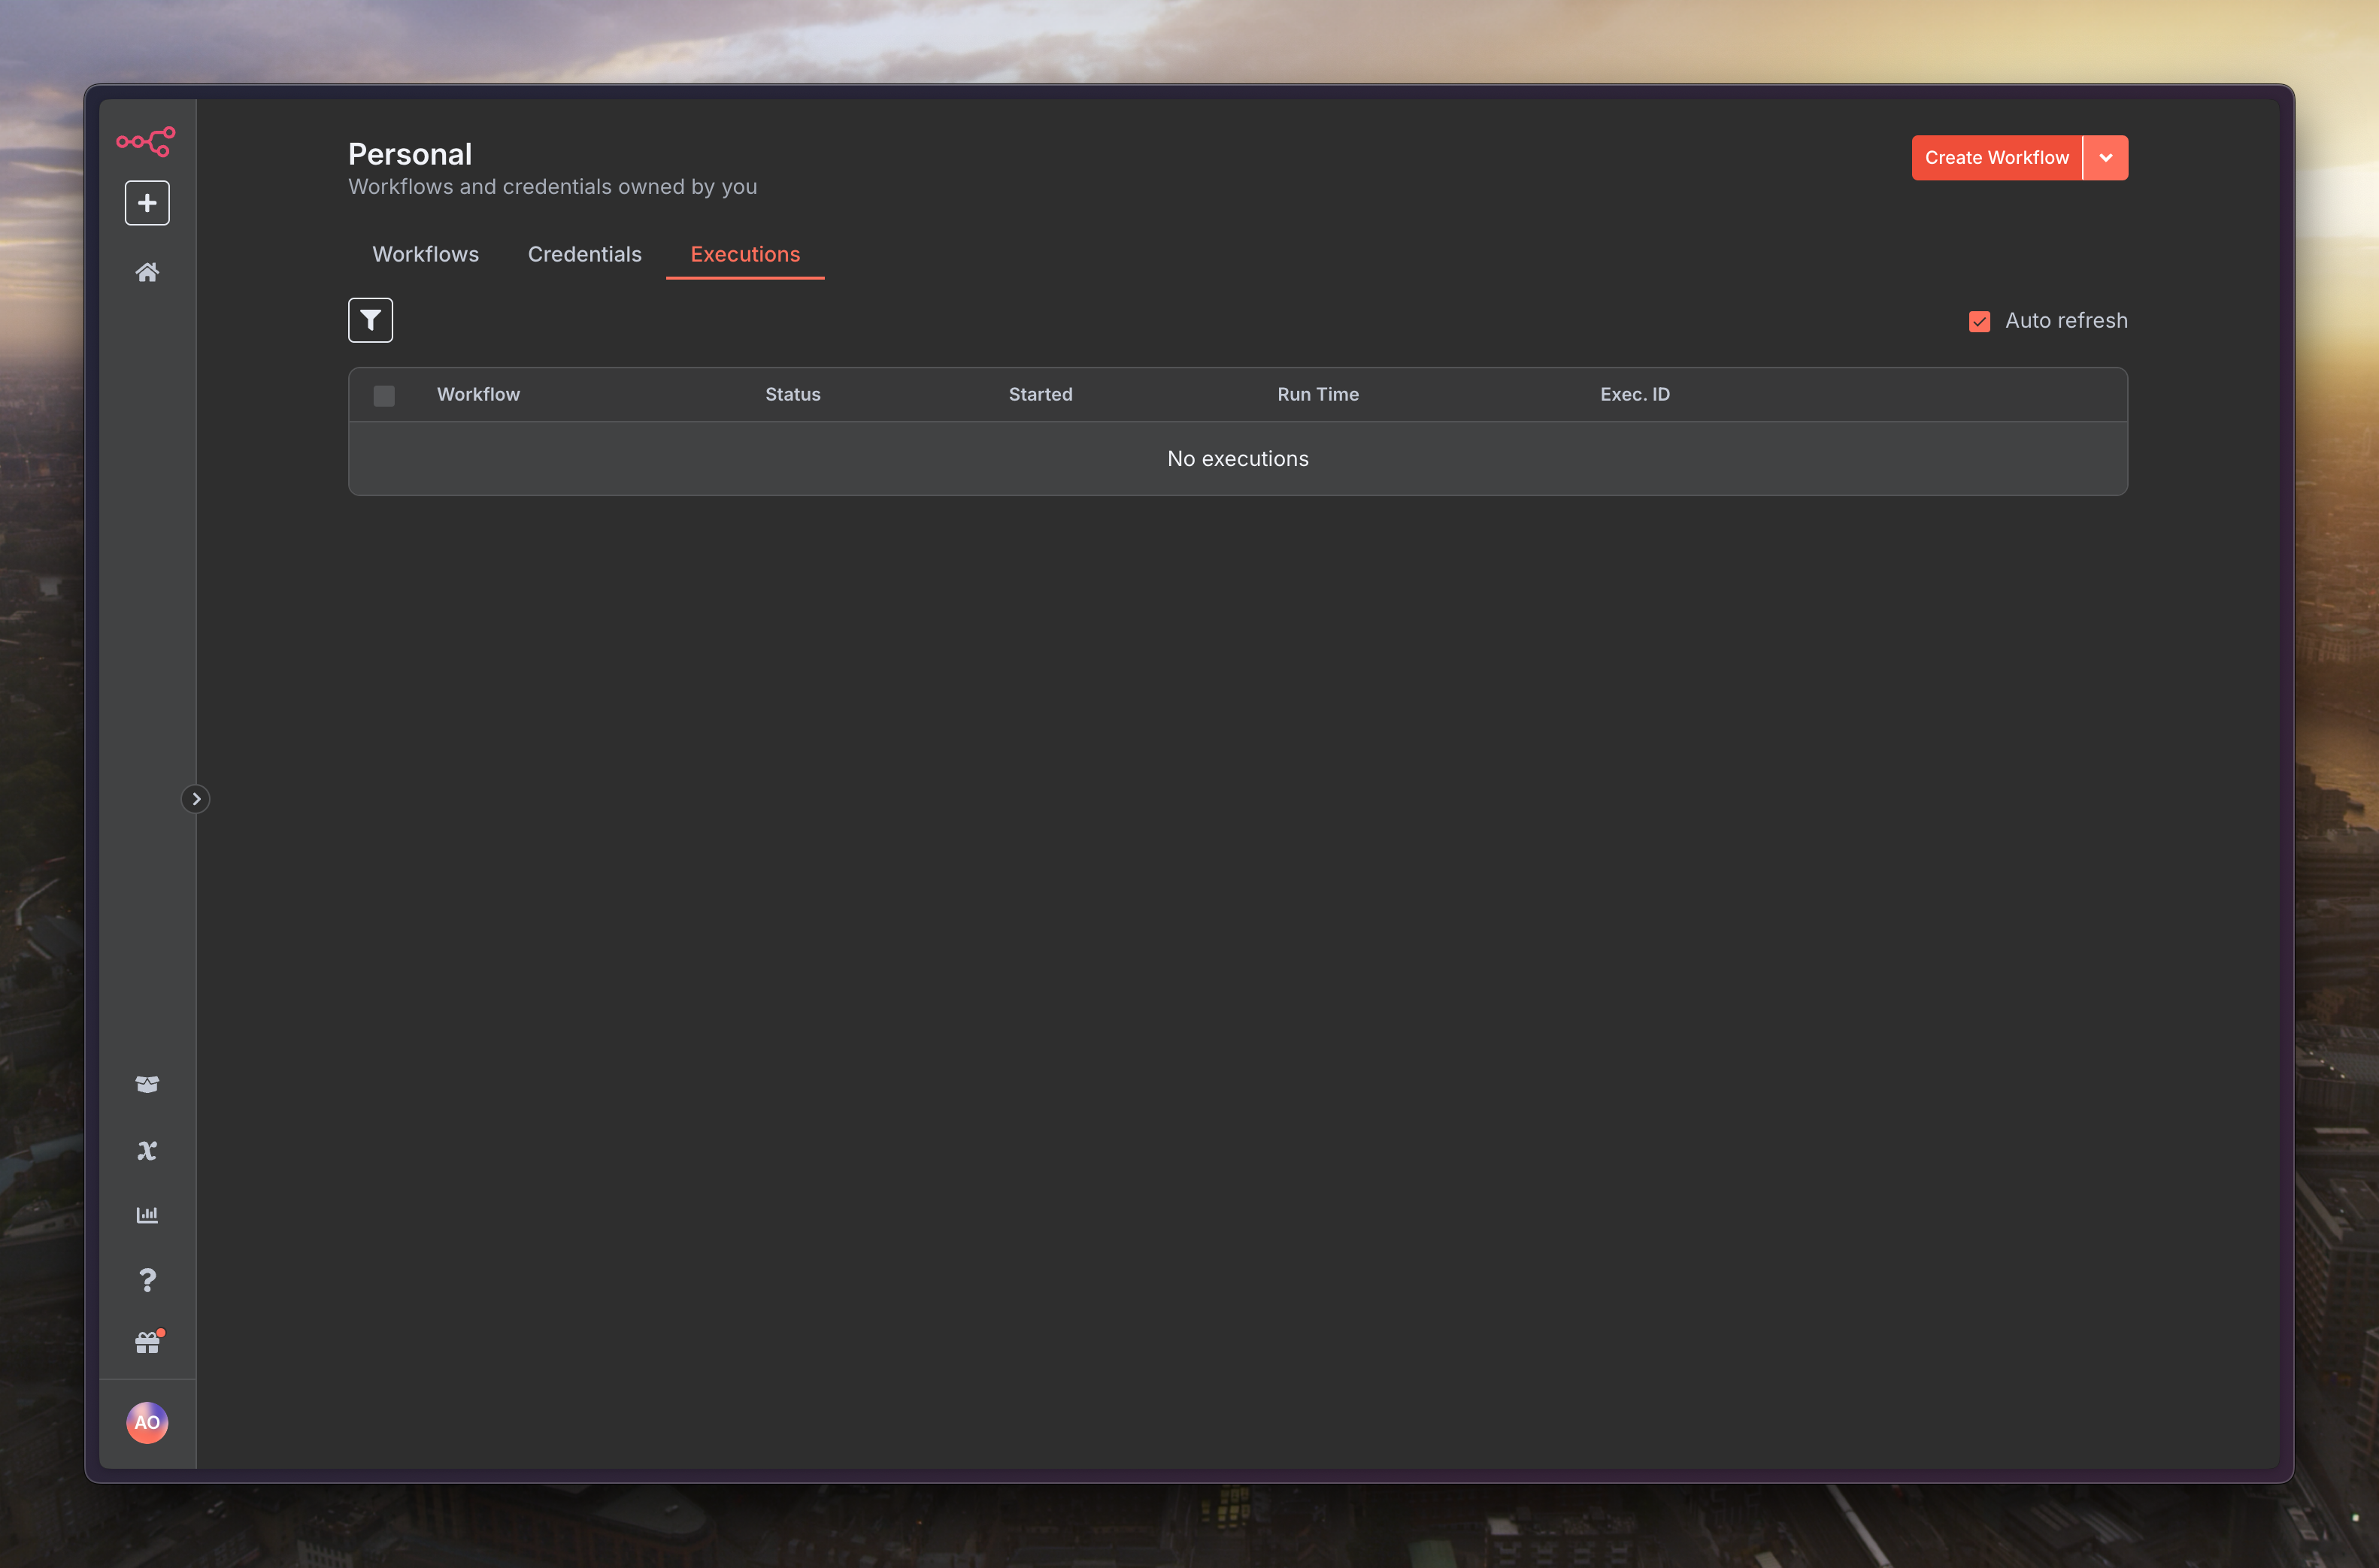
新增一個流程「Create Workflow」
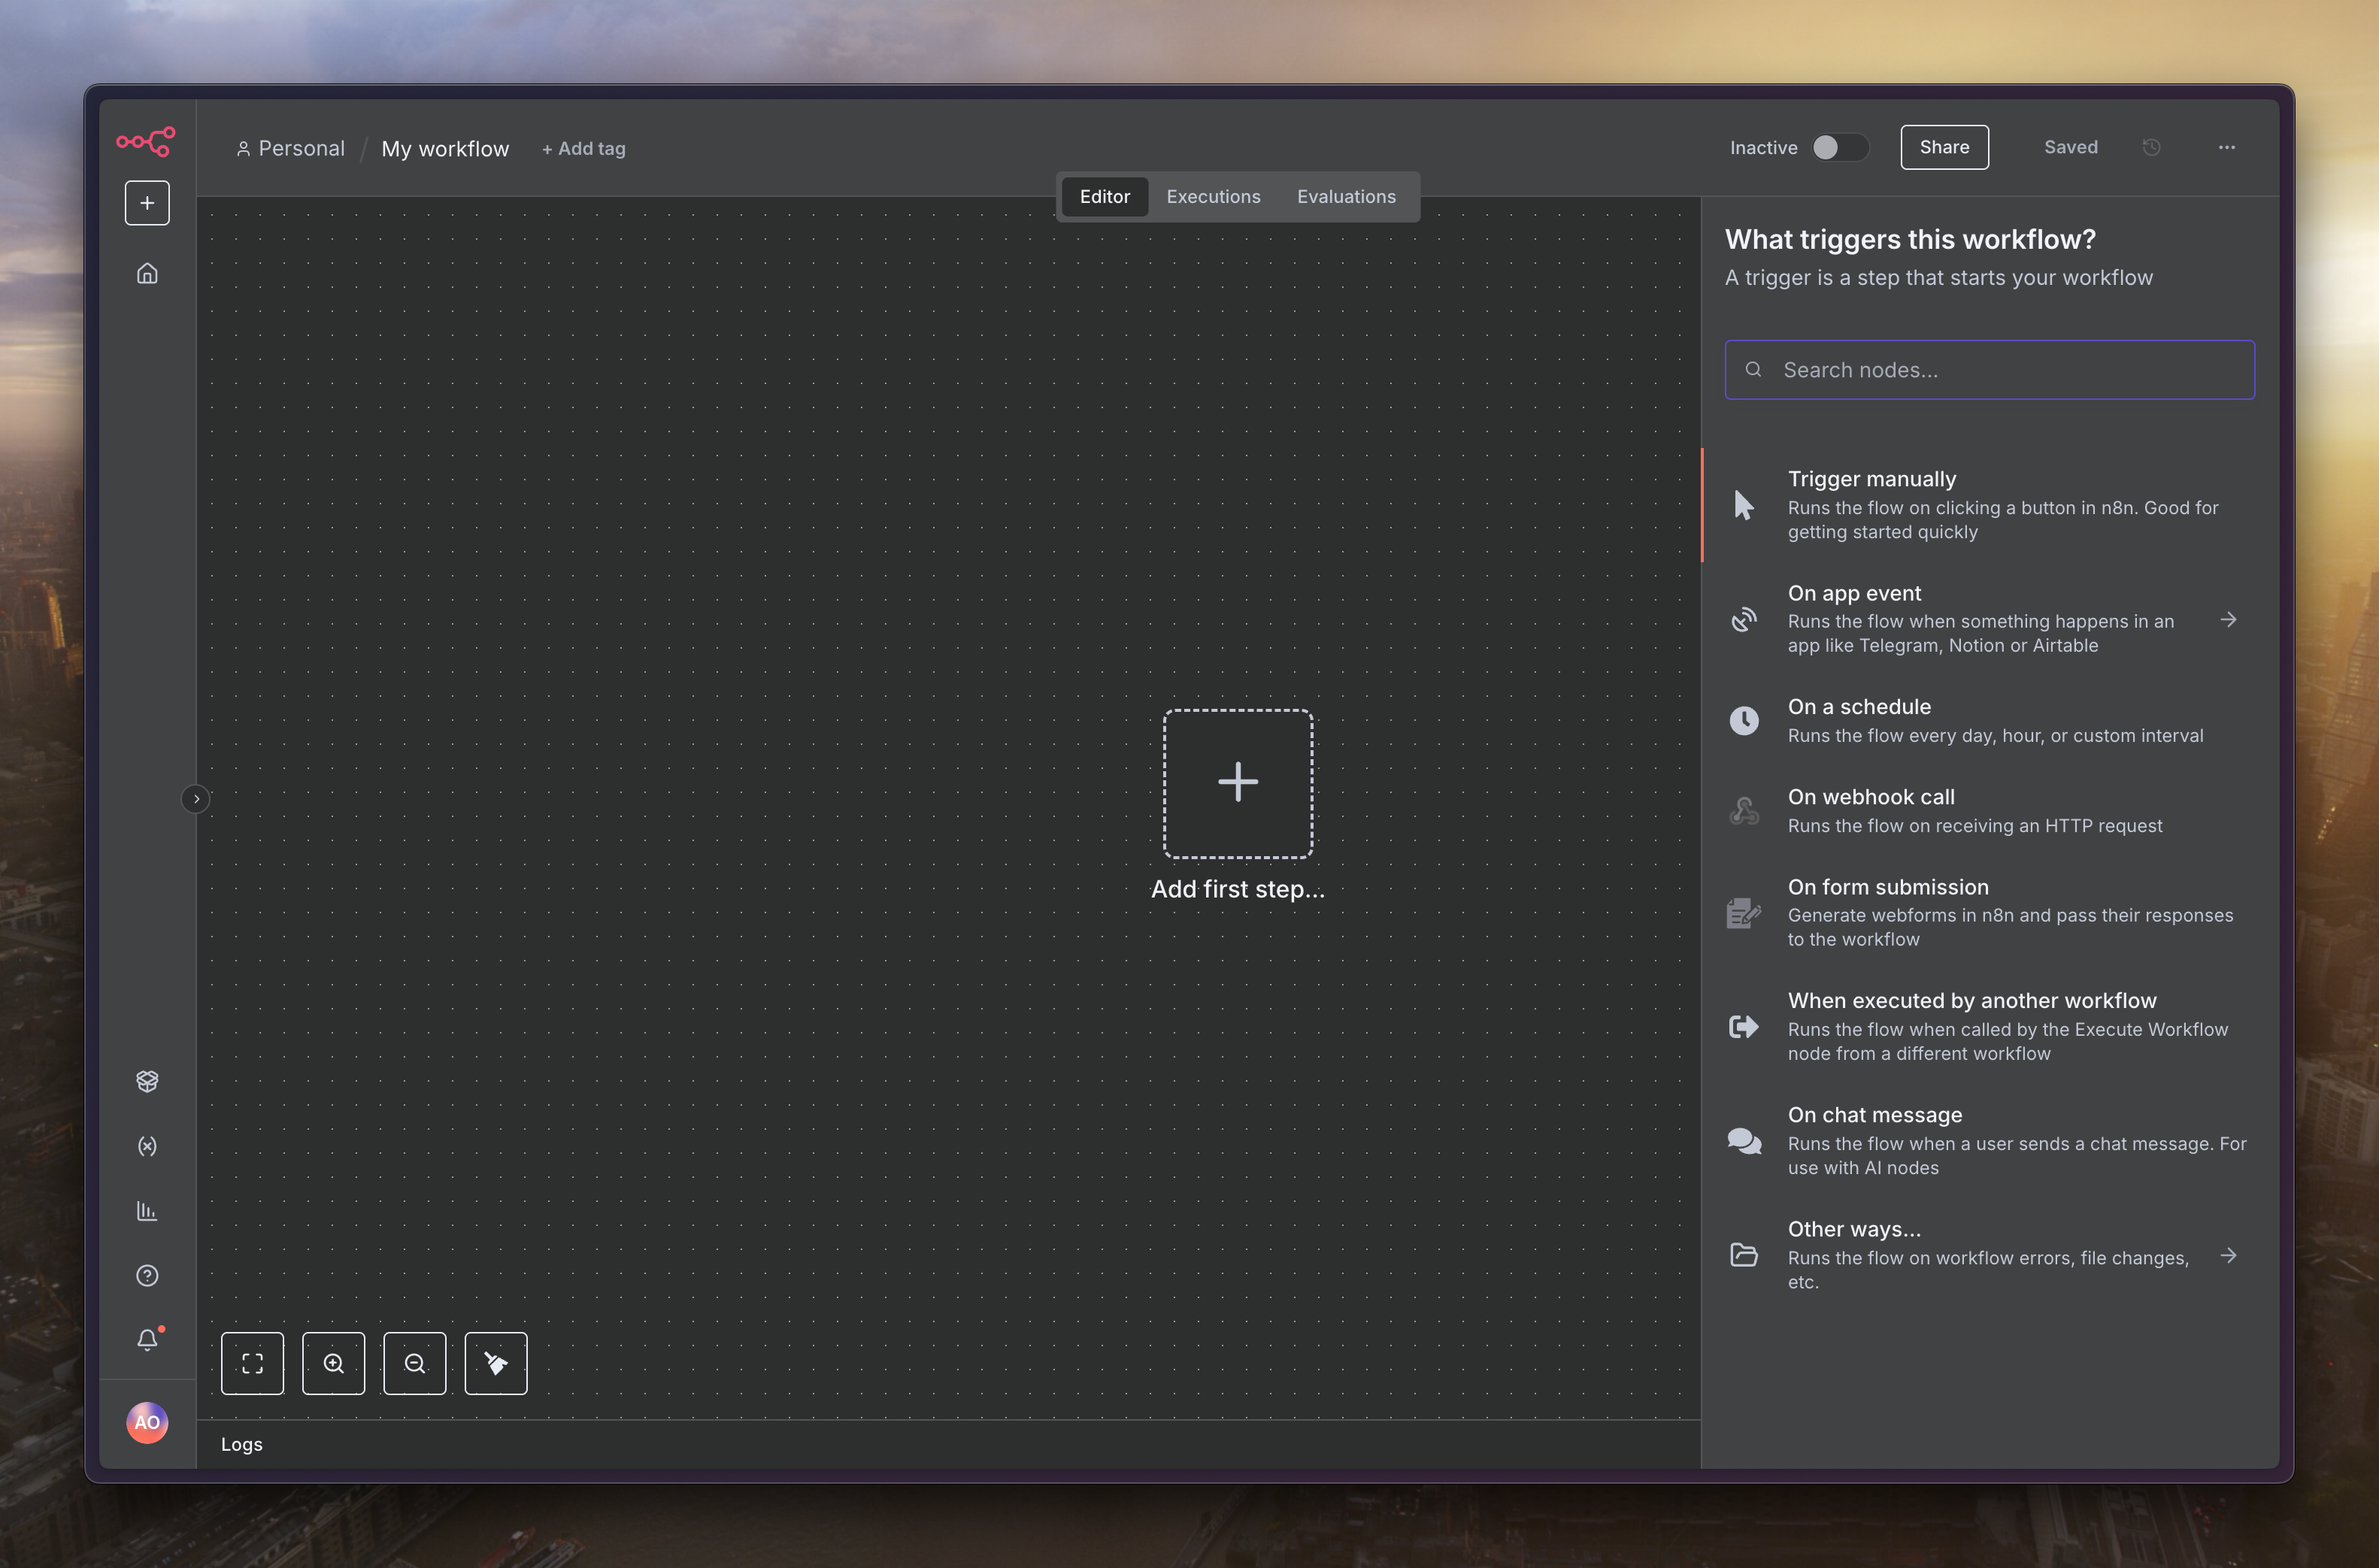
初始節點選擇「Trigger manually」
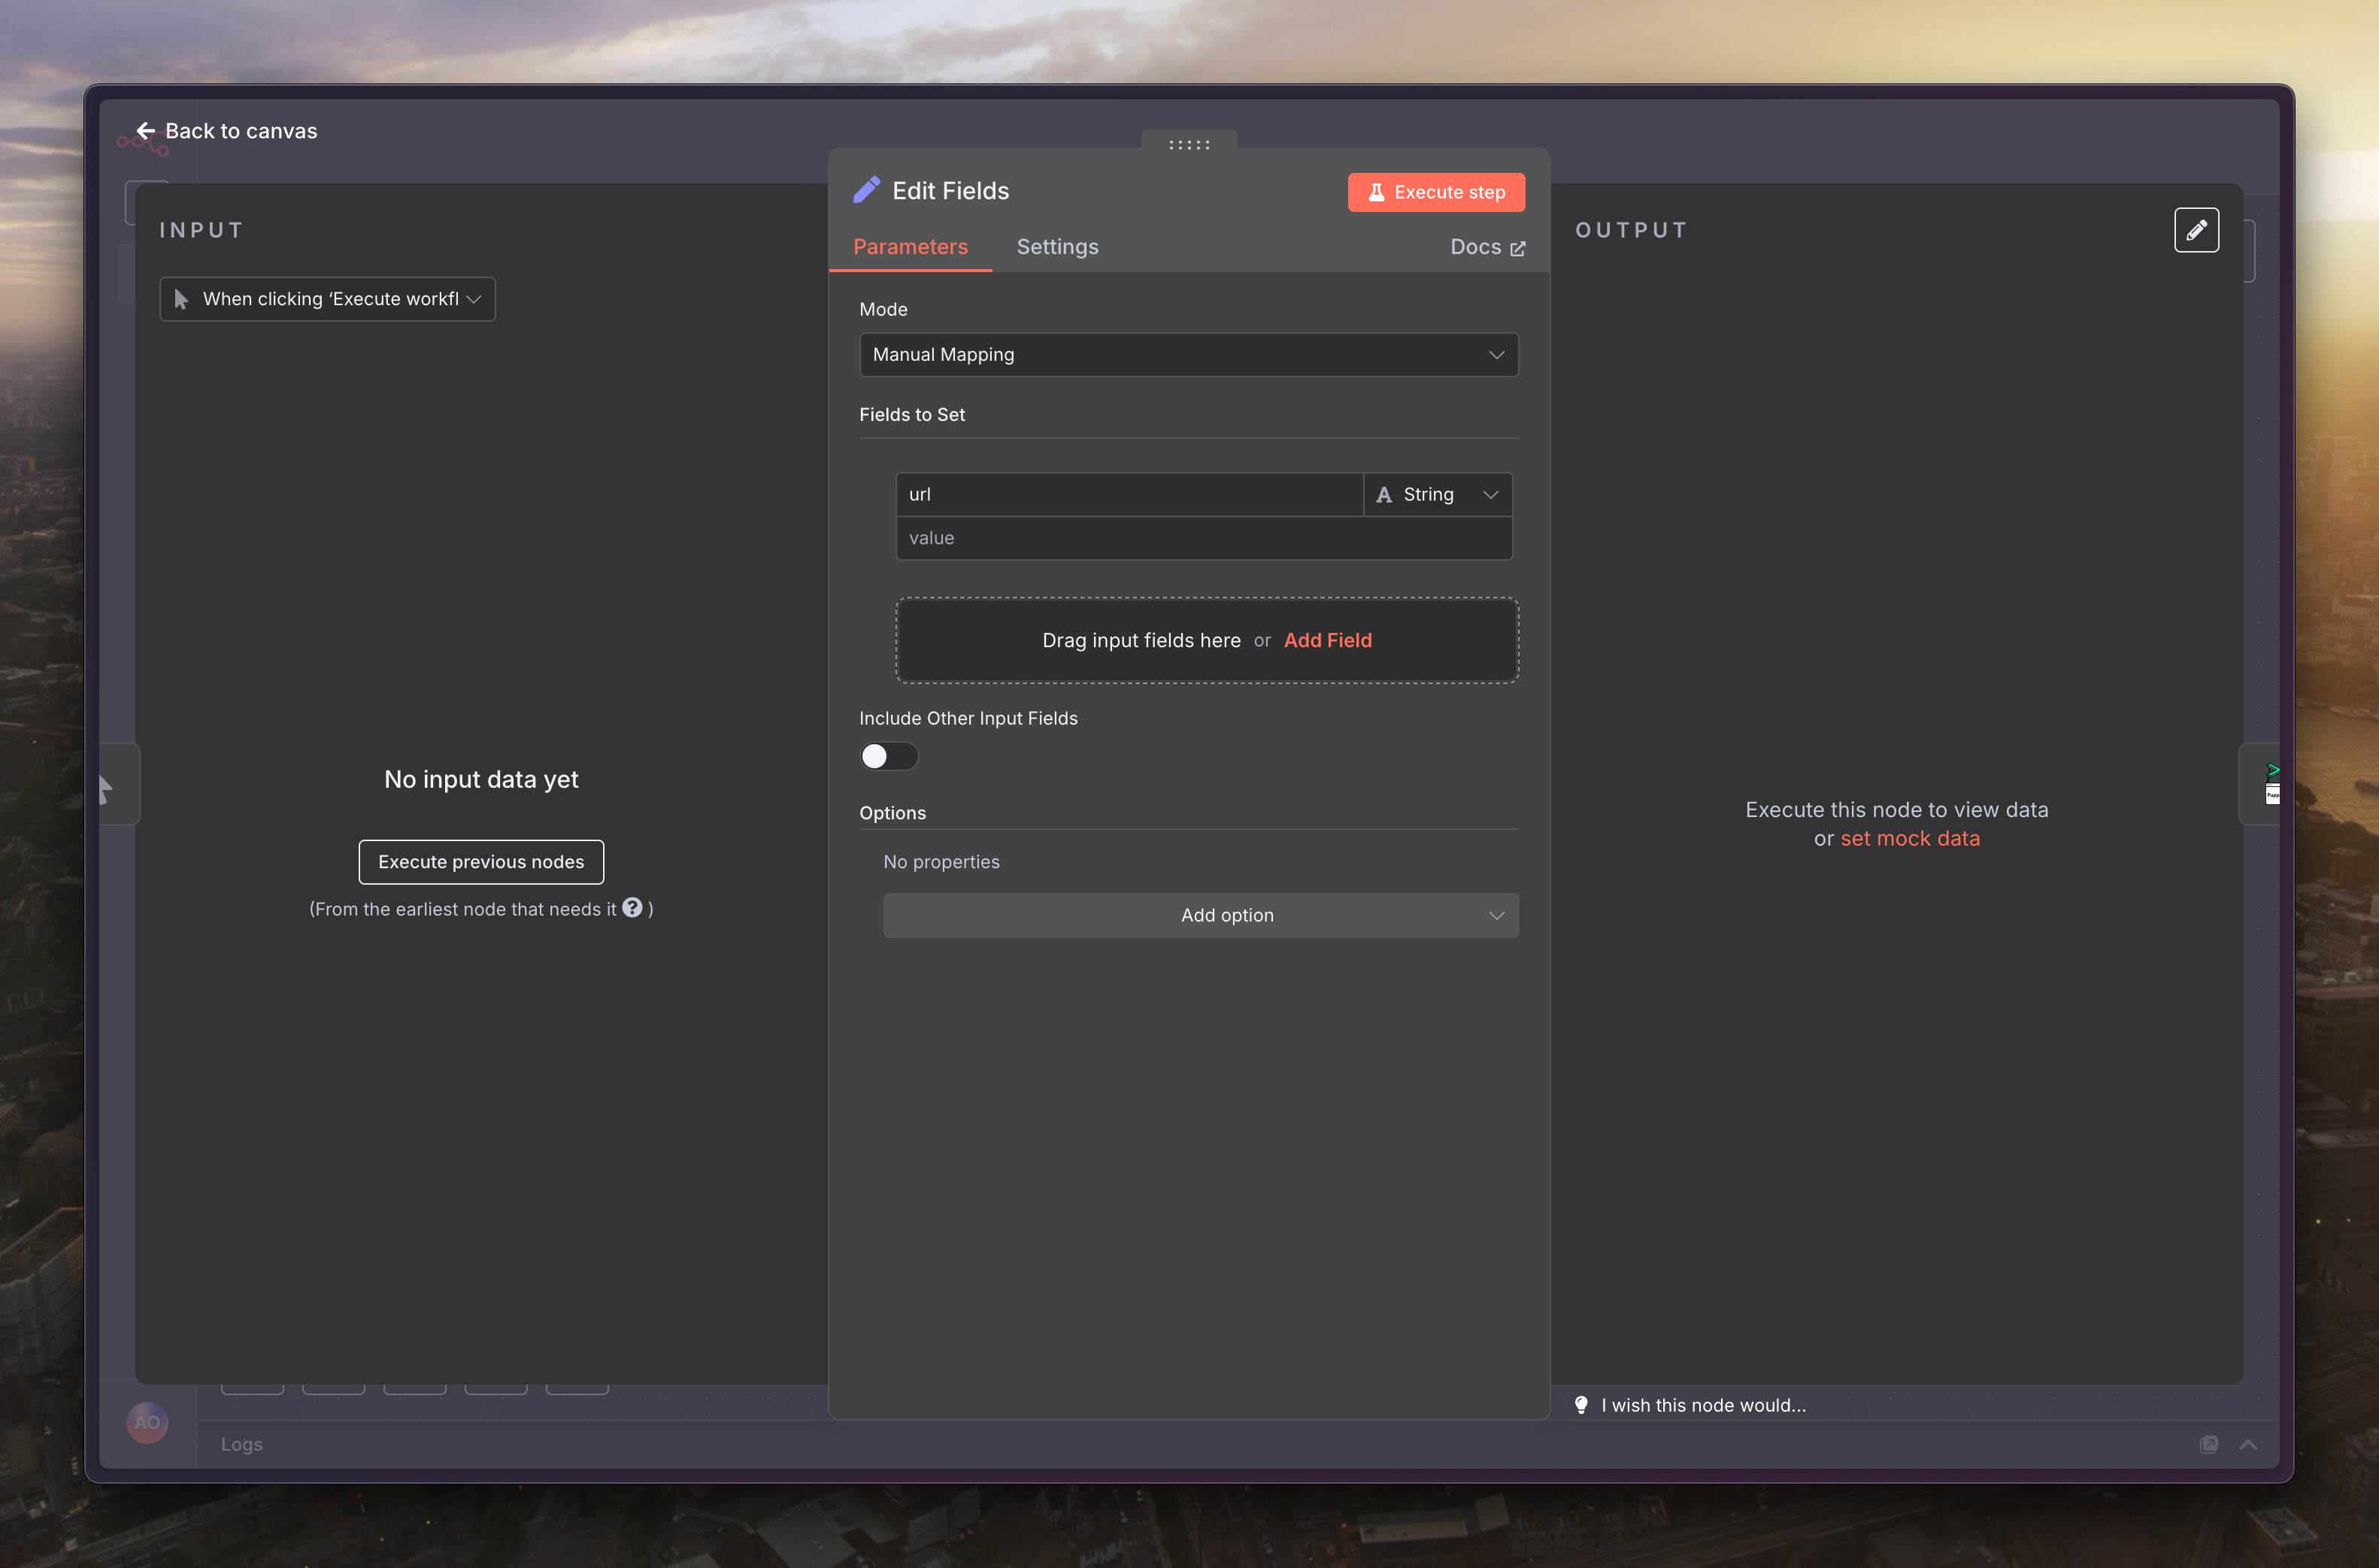
下個節點選擇「Edit Fields」,欄位設定為「url」,內容可以隨便填寫想抓的 Threads 網址
下個節點選擇「Puppeteer」的「Run Custom Script」
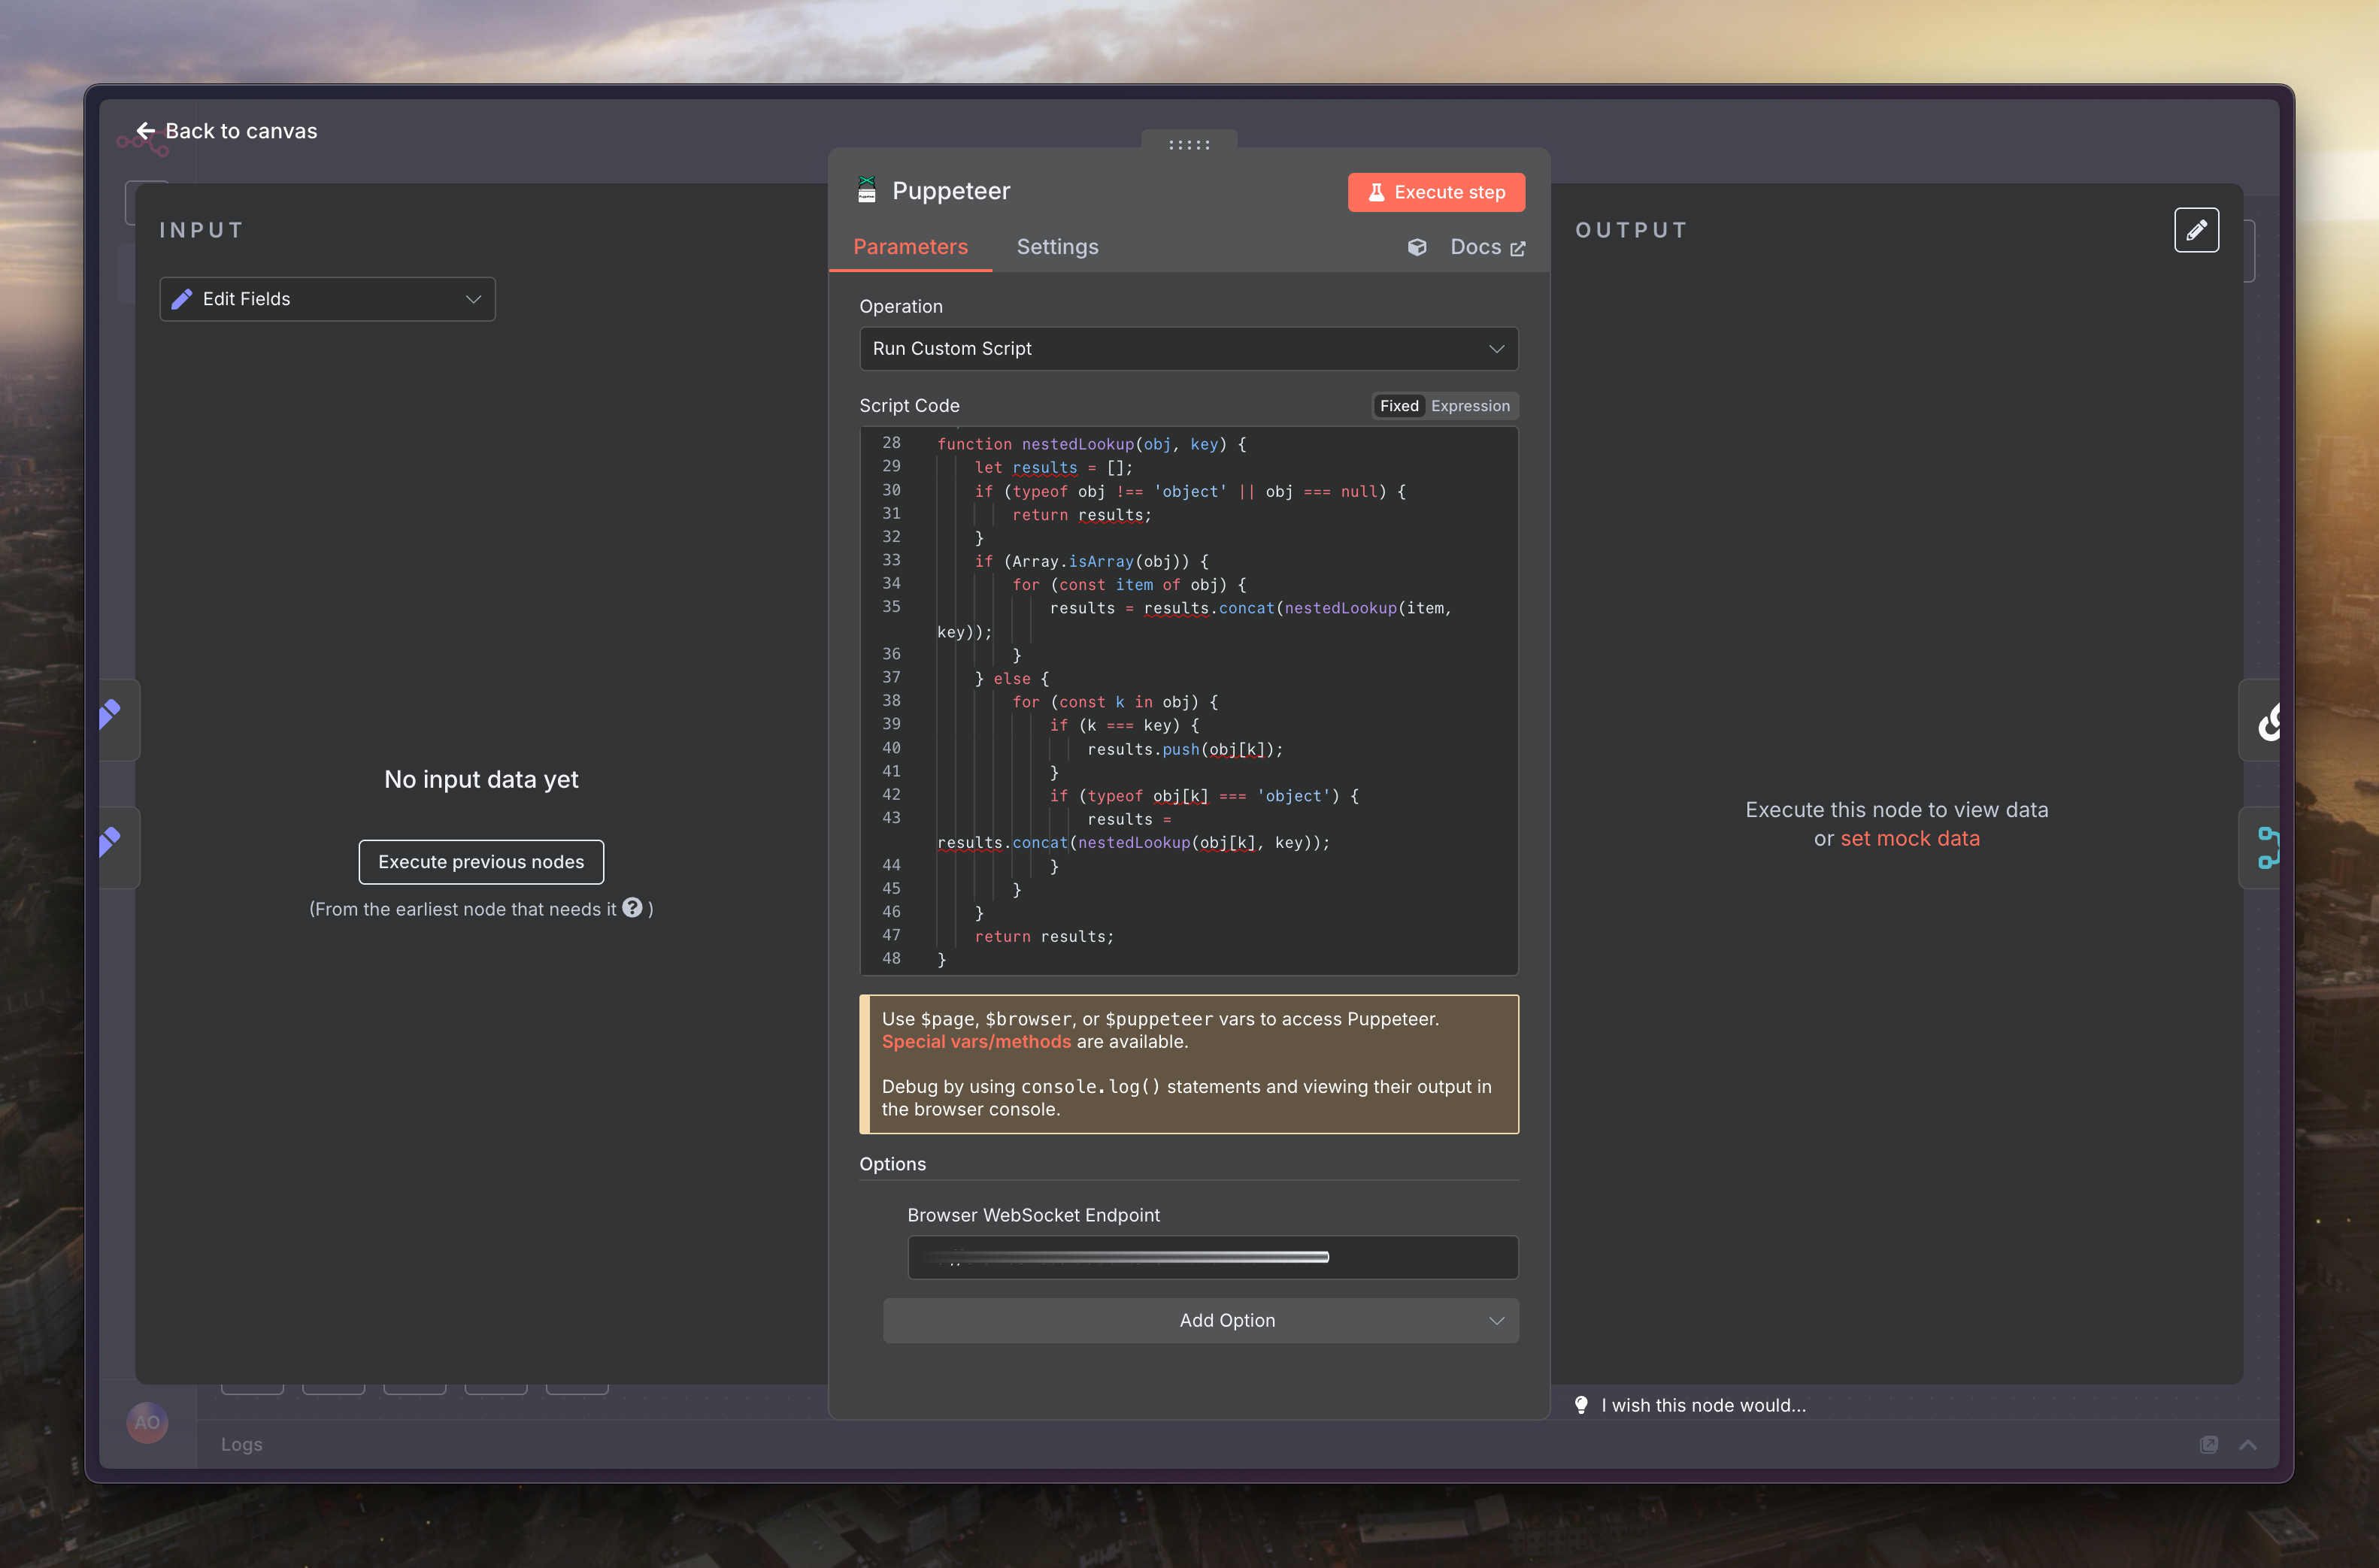
程式碼填寫如下
  // --- [ 0. 輔助函式定義 ] ---

  /**
   * 在巢狀的物件或陣列中遞迴尋找指定鍵的所有值
   * @param {object} obj - 要搜尋的物件或陣列
   * @param {string} key - 要尋找的鍵
   * @returns {unknown[]} - 找到的值的陣列,其元素的具體類型不確定
   */
  function nestedLookup(obj, key) {
    let results = [];
    if (typeof obj !== "object" || obj === null) {
      return results;
    }
    if (Array.isArray(obj)) {
      for (const item of obj) {
        results = results.concat(nestedLookup(item, key));
      }
    } else {
      for (const k in obj) {
        if (k === key) {
          results.push(obj[k]);
        }
        if (typeof obj[k] === "object") {
          results = results.concat(nestedLookup(obj[k], key));
        }
      }
    }
    return results;
  }

  /**
   * 解析 Threads 貼文的 JSON 資料集,提取重要欄位
   * @param {object} data - 單一貼文的資料物件
   * @returns {object} - 格式化後的貼文物件
   */
  function parseThread(data) {
      const post = data.post;
      if (!post) return null;

      const mediaType = post.media_type;
      let images = [];
      let videos = [];
      let imageCount = 0;
      let videoCount = 0;
      let videoThumbnail = null;

      // 處理單一影片 (mediaType === 2)
      if (mediaType === 2 && Array.isArray(post.video_versions) && post.video_versions.length > 0) {
          // 找出最高畫質的影片 (通常是 width 最大)
          const highestResVideo = post.video_versions.reduce(
              (max, current) => (current.width > max.width ? current : max),
              post.video_versions[0]
          );
          if (highestResVideo && highestResVideo.url) {
              videos.push(highestResVideo.url);
              videoCount = 1;
          }
          // 同時抓取影片的封面圖 (通常是第一張最高畫質)
          if (post.image_versions2?.candidates?.length > 0) {
              videoThumbnail = post.image_versions2.candidates[0].url;
          }

      // 處理單張圖片 (mediaType === 1)
      } else if (mediaType === 1 && Array.isArray(post.image_versions2?.candidates) && post.image_versions2.candidates.length > 0) {
          const highestResImage = post.image_versions2.candidates.reduce(
              (max, current) => (current.width > max.width ? current : max),
              post.image_versions2.candidates[0]
          );
          if (highestResImage && highestResImage.url) {
              images.push(highestResImage.url);
              imageCount = 1;
          }

      // 處理輪播 (mediaType === 8)
      } else if (mediaType === 8 && Array.isArray(post.carousel_media) && post.carousel_media.length > 0) {
          const carouselMedia = post.carousel_media;

          images = carouselMedia
              .filter(media => media.media_type === 1 && media.image_versions2?.candidates?.length > 0)
              .map(media => media.image_versions2.candidates[0].url) // 直接取最高畫質
              .filter(Boolean);

          videos = carouselMedia
              .filter(media => media.media_type === 2 && media.video_versions?.length > 0)
              .map(media => media.video_versions[0].url) // 直接取最高畫質
              .filter(Boolean);

          imageCount = images.length;
          videoCount = videos.length;
      }

      const result = {
          text: post.caption?.text || null,
          published_on: post.taken_at || null,
          id: post.id || null,
          pk: post.pk || null,
          code: post.code || null,
          username: post.user?.username || null,
          user_pic: post.user?.profile_pic_url || null,
          user_verified: post.user?.is_verified || false,
          user_pk: post.user?.pk || null,
          user_id: post.user?.id || null,
          has_audio: post.has_audio || false,
          reply_count: post.direct_reply_count || 0,
          like_count: post.like_count || 0,
          images: images,
          image_count: imageCount,
          videos: videos,
          video_count: videoCount,
          video_thumbnail: videoThumbnail // 新增影片封面圖欄位
      };

      if (result.username && result.code) {
          result.url = `https://www.threads.net/@${result.username}/post/${result.code}`;
      } else {
          result.url = null;
      }
      return result;
  }

  // --- [ 1. 主執行邏輯 ] ---
  const inputData = $input.item.json;
  const postUrl = inputData.url;

  // 輸入驗證
  if (!postUrl || !postUrl.startsWith("https://www.threads.")) {
      console.error("錯誤:未提供有效的 Threads 網址。應以 https://www.threads. 開頭。");
      throw new Error("無效的 Threads 網址,流程中止");
  }

  console.log(`[開始抓取] 目標網址: ${postUrl}`);

  try {
      const postCodeFromUrl = postUrl.split("/post/")[1]?.split("/")[0];
      if (!postCodeFromUrl) {
          throw new Error("無法從 URL 中解析出貼文代碼。");
      }
      console.log(`[目標鎖定] 貼文代碼: ${postCodeFromUrl}`);

      // --- [ 2. 導航並等待頁面載入 ] ---
      await $page.goto(postUrl, { waitUntil: "domcontentloaded", timeout: 30000 });
      console.log("[頁面導航] 成功。");

      await $page.waitForSelector("[data-pressable-container=true]", { timeout: 20000 });
      console.log("[內容等待] 偵測到應用程式容器,開始提取資料");

      // --- [ 3. 提取並解析內嵌 JSON 資料 ] ---
      const hiddenDatasets = await $page.$$eval(
          'script[type="application/json"][data-sjs]',
          (scripts) => scripts.map((s) => s.textContent)
      );

      console.log(`[資料提取] 找到 ${hiddenDatasets.length} 個 JSON 資料區塊,開始過濾...`);

      for (const hiddenDataset of hiddenDatasets) {
          if (!hiddenDataset.includes(`"code":"${postCodeFromUrl}"`)) {
              continue;
          }

          console.log('[資料過濾] 找到包含目標貼文代碼的資料區塊!');
          const data = JSON.parse(hiddenDataset);

          // 直接從預期的路徑尋找
          let threadItems = [];
          try {
              // 嘗試從主要的資料路徑獲取 thread_items
              const mainDataPath = data.require[0][3][0].__bbox.result.data.data.edges[0].node;
              if (mainDataPath && mainDataPath.thread_items) {
                   threadItems = mainDataPath.thread_items;
                   console.log("[資料定位] 成功透過主要路徑找到 thread_items。");
              } else {
                   throw new Error("主要路徑中未找到 thread_items");
              }
          } catch (e) {
              // 如果主要路徑解析失敗,退回使用 nestedLookup 作為備用方案
              console.warn(`[資料定位] 主要路徑解析失敗 (${e.message}),退回使用 nestedLookup 備用方案。`);
              const lookupResult = nestedLookup(data, "thread_items");
              threadItems = lookupResult.flat();
          }

          if (!Array.isArray(threadItems) || threadItems.length === 0) {
              continue;
          }

          const allThreads = threadItems.map((t) => parseThread(t)).filter(Boolean);
          const mainThread = allThreads.find((t) => t.code === postCodeFromUrl);

          if (mainThread) {
              const authorUsername = mainThread.username;
              console.log(`[作者過濾] 主貼文作者為: ${authorUsername}。將只保留此作者的回覆。`);

              const replies = allThreads.filter((t) => {
                  return t.code !== postCodeFromUrl && t.username === authorUsername;
              });

              console.log(`[解析成功] 精準定位到主貼文 (${mainThread.code}),找到 ${replies.length} 則來自原作者的回覆。`);

              const result = {
                  thread: mainThread,
                  replies: replies,
              };

              // --- [ 4. 格式化並回傳結果 ] ---
              return [{
                  json: {
                      ...inputData,
                      ...result
                  }
              }];
          }
      }

      throw new Error("無法在頁面中找到目標貼文的資料。可能是貼文不存在,或頁面結構已變更");

  } catch (error) {
      console.error(`[抓取失敗] 在處理 ${postUrl} 時發生錯誤:`, error.message);
      throw new Error(`抓取失敗: ${error.message}`);
  }
為了讓主程式碼更簡潔,我們先定義兩個輔助工具函式。
nestedLookup(obj, key): 這個函式會在一個複雜的、巢狀的物件或陣列中,遞迴地找出所有符合指定 key 的值。由於 Threads 頁面原始資料結構複雜,這個函式能幫助我們輕鬆地撈出所需的資料區塊。
parseThread(data): 這個函式是我們的資料清洗器。它接收單一貼文的原始資料物件,從中提取我們感興趣的欄位(如:文字、作者、發布時間、圖片/影片連結等),並將它們整理成一個乾淨、格式化的物件。
這是爬蟲的主要執行流程,從接收輸入到回傳結果。
取得並驗證網址:
程式會先從輸入節點取得 url。
接著,它會驗證這個網址是否以 https://www.threads. 開頭,確保輸入的資料是有效的。如果網址無效,流程將會中止並拋出錯誤。
導航至目標頁面:
使用 await $page.goto() 指令,讓 Puppeteer 控制的瀏覽器前往我們提供的 Threads 網址。
await $page.waitForSelector() 會等待頁面特定元素載入完成,確保我們在頁面準備好之後才開始抓取資料。
提取 JSON 資料:
這是最關鍵的一步。現代的網頁常常將頁面初始資料儲存在 <script type="application/json"> 標籤中。相較於直接爬取畫面上的 HTML 元素,解析這些 JSON 資料更有效率且資料更完整。
$page.$$eval() 指令會找到所有符合條件的 script 標籤,並將其內容提取出來。
解析與過濾:
定位貼文: 腳本會從網址中解析出貼文的唯一代碼 (postCode),然後走訪所有抓取到的 JSON 資料區塊,直到找到包含該代碼的區塊。
提取資料: 找到目標後,使用前面定義的 nestedLookup 函式來撈出所有貼文項目 (thread_items)。
篩選作者回覆:
首先,腳本會找到我們的主貼文,並記錄下作者的 username。
接著,它會過濾所有的貼文,只保留那些 username 與主貼文作者相同,且不是主貼文本身的回覆。
這個過濾步驟,確保我們只備份到「原作者」的補充說明,排除了其他人的留言。
回傳結果:
最後,腳本將整理好的主貼文 (thread) 和作者回覆串 (replies) 組合成一個物件。
這個物件會被回傳到下一個節點,完成我們的備份任務
最後會輸出類似這樣的結構資料
{
  "url": "https://www.threads.net/...",
  "thread": {
    "text": "這是主貼文的內容...",
    "published_on": 1718712000,
    "username": "user",
    "images": ["url1.jpg", "url2.jpg"],
    "videos": []
  },
  "replies": [
    {
      "text": "這是作者的第 1 則回覆...",
      "username": "user"
    },
    {
      "text": "這是作者的第 2 則補充說明...",
      "username": "user"
    }
  ]
}
透過這個自動化流程,你現在有了一個強大的工具,可以輕鬆地將任何 Threads 貼文及其作者的完整回覆,保存為一份結構化的 JSON 資料,方便後續的查閱或應用


 iThome鐵人賽