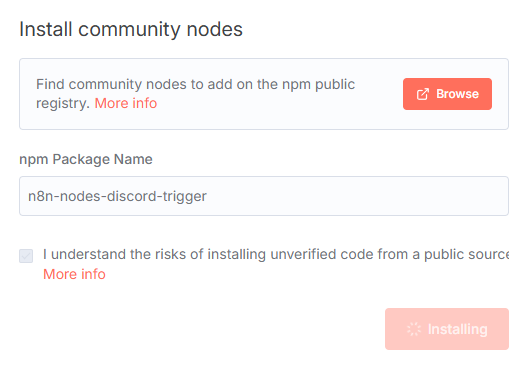
本文將介紹如何在 n8n 中安裝與設定社群節點 Discord Trigger,並建立一個能監聽 Discord 訊息事件的 Workflow。完成後,當指定伺服器或頻道有新訊息時,Bot 就能自動觸發流程。
n8n-nodes-discord-trigger
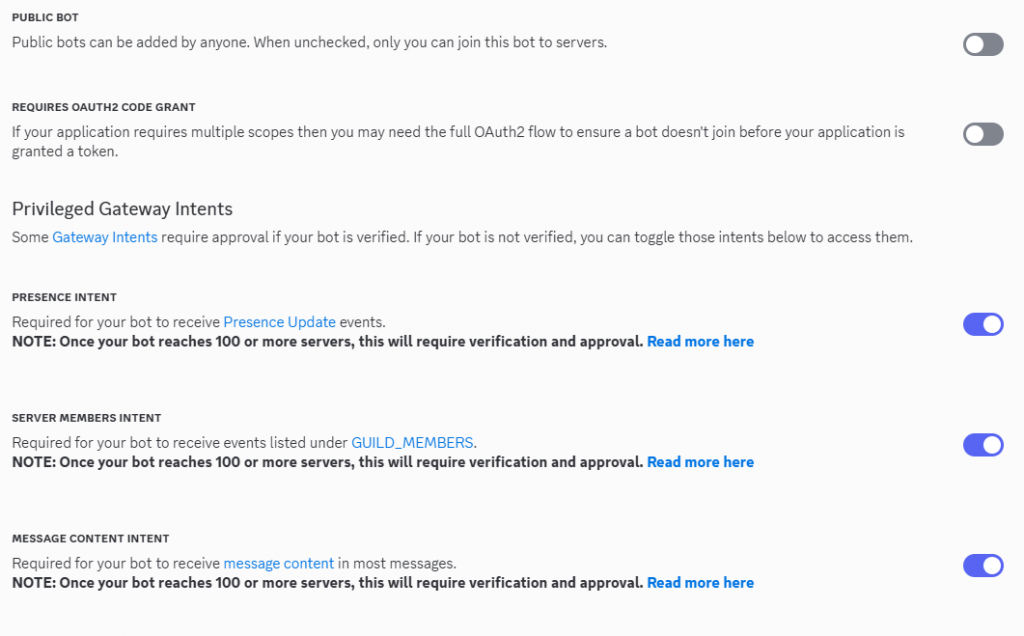
PUBLIC BOT
REQUIRES OAUTH2 CODE GRANT
設定 OAuth2 Redirects
Scopes 與 Permissions
bot 與 applications.commands
Administrator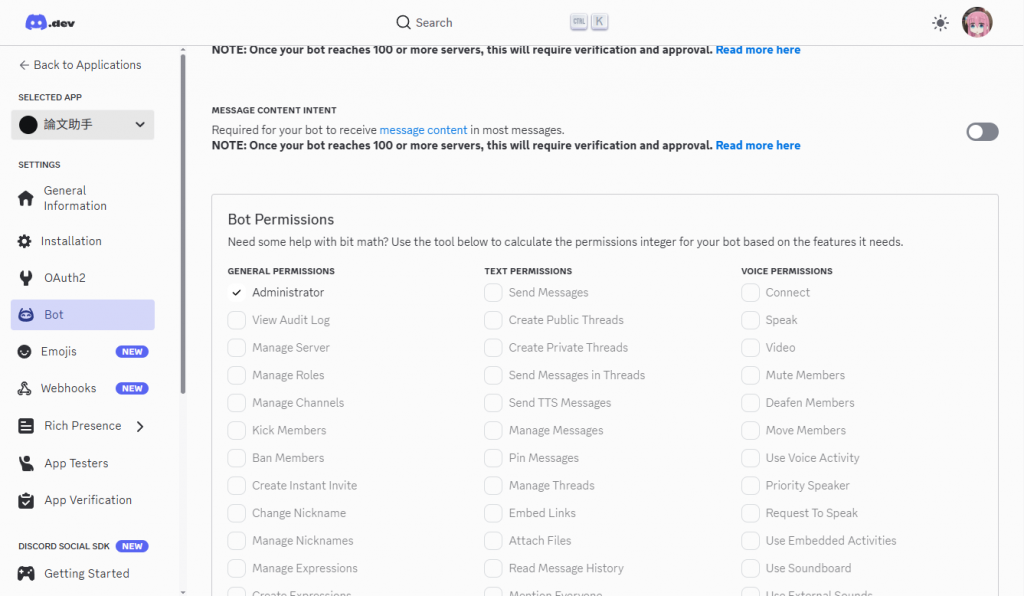
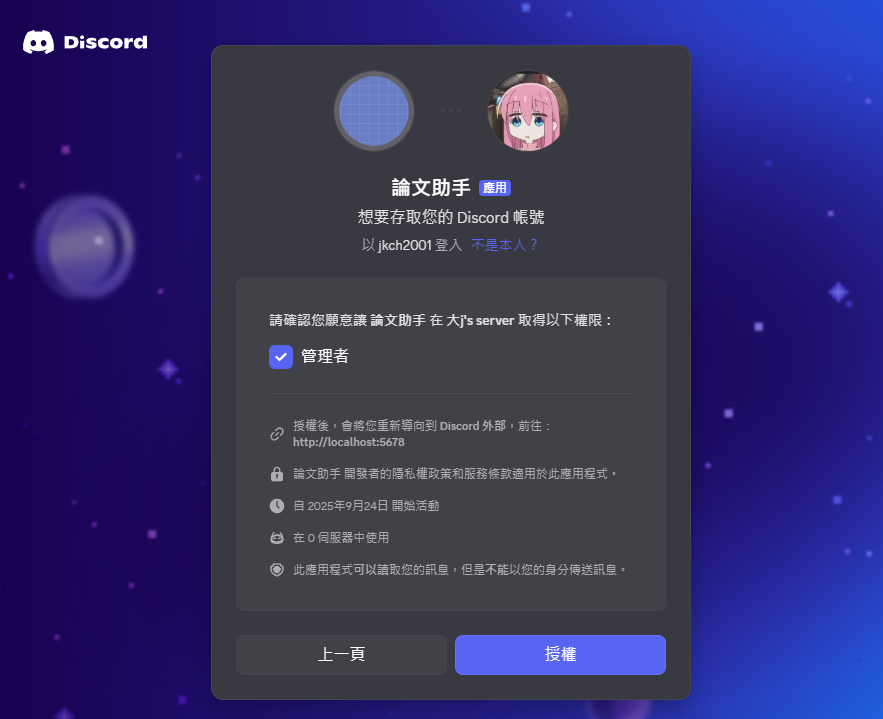
邀請 Bot 加入伺服器
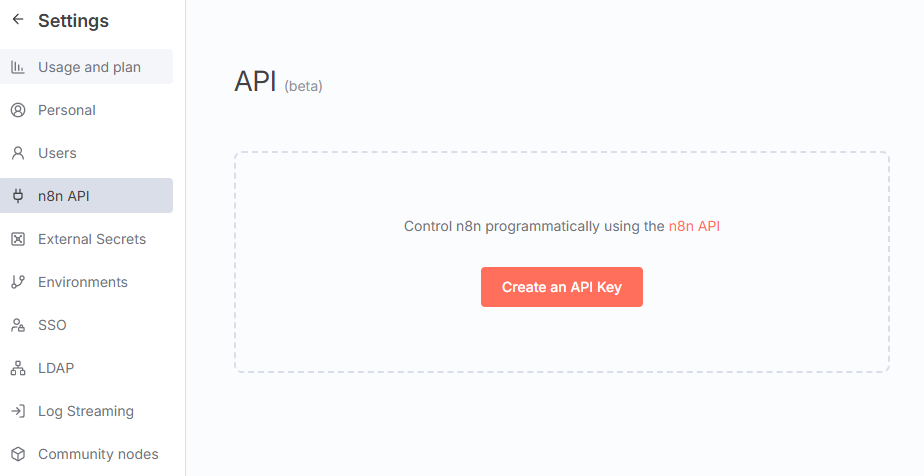
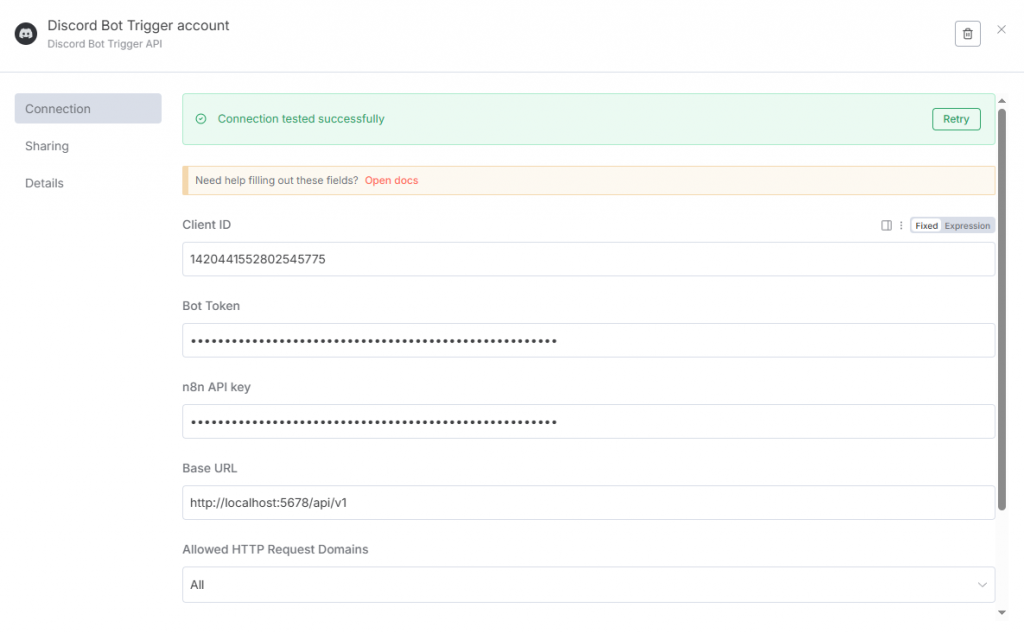
在 n8n 建立一組 Discord Trigger 使用的憑證,需填寫以下資訊:
https://your-domain/api/v1
建立新 Workflow
新增 Discord Trigger 節點
設定參數:
Message
儲存後重新啟動 n8n
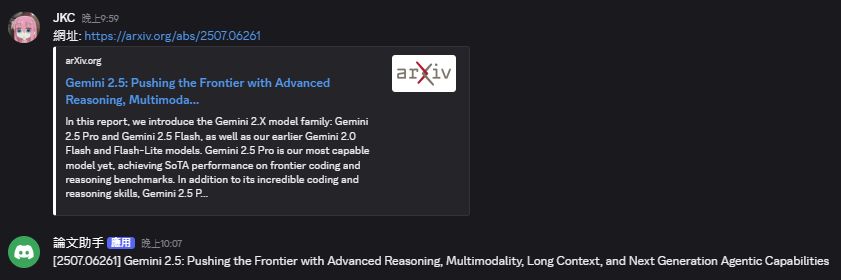
在 Discord 發送測試訊息,確認 Workflow 是否被觸發
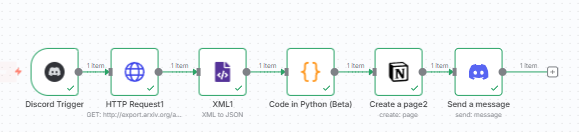
假設收到訊息中包含網址,可用 Python Function Node 抽取:
import re
for item in _input.all():
    pattern = r'https?://[a-zA-Z0-9./?&=%_\-#]+'
    item.json.feed.entry.id = re.findall(pattern, item.json.feed.entry.id)[0]
return {'url': item.json.feed.entry.id}
從arxiv 回傳的內容提取出論文名稱
import re

# Loop over input items and add a new field called 'myNewField' to the JSON of each one
for item in _input.all():
    pattern = r'<title>(.*?)</title>'
    matches = re.findall(pattern, item.json.data, re.DOTALL)
    if matches:
        item.json.data = matches[0].strip()
    else:
        item.json.data = None

return {'titel': item.json.data}

現在使用 Discord Trigger 並且把workflow開active會遇到Discord Trigger lead us cannot deactivate workflow & save workflow
不知道有沒有解法或替代方案 謝謝
issue連結:
https://github.com/katerlol/n8n-discord-trigger/issues/39

