昨天我們在REST API 做 CRUD(Create / Read / Update / Delete),今天我們在前端設置 HTML 讓它可以直接呼叫 Lambda API,這樣我們就可以在網頁中進行測試啦!
首先先在桌面建立資料夾,並使用 nano 建立前端 index.html
HTML 結構
這個頁面主要分成幾個區塊:
使用者輸入 ID 與 Message
按下「新增」會呼叫 createMessage() 函式
<input type="text" id="postId" placeholder="ID">
<input type="text" id="postMessage" placeholder="Message">
<button onclick="createMessage()">新增</button>
使用者輸入 ID
按下「查詢」呼叫 getMessage() 函式
<input type="text" id="getId" placeholder="ID">
<button onclick="getMessage()">查詢</button>
使用者輸入要更新的 ID 與新訊息
按下「更新」呼叫 updateMessage()
<input type="text" id="putId" placeholder="ID">
<input type="text" id="putMessage" placeholder="New Message">
<button onclick="updateMessage()">更新</button>
使用者輸入要刪除的 ID
按下「刪除」呼叫 deleteMessage()
<input type="text" id="deleteId" placeholder="ID">
<button onclick="deleteMessage()">刪除</button>
所有 CRUD 的回傳結果會顯示在這裡
<div id="output"></div>
這邊是前端與 Lambda API 互動的核心:
const apiUrl = "你的 Lambda API 網址";
取得輸入欄位的值,並用 fetch 發送 POST 請求給 Lambda
body 將使用者輸入轉成 JSON
const id = document.getElementById('postId').value;
const message = document.getElementById('postMessage').value;

const res = await fetch(apiUrl, {
  method: 'POST',
  headers: { 'Content-Type': 'application/json' },
  body: JSON.stringify({ id, message })
});
GET 請求會把 ID 放在 URL 的 query string
const id = document.getElementById('getId').value;
const res = await fetch(`${apiUrl}?id=${id}`, { method: 'GET' });
PUT 請求與 POST 類似,把要更新的資料放在 body
const id = document.getElementById('putId').value;
const message = document.getElementById('putMessage').value;

const res = await fetch(apiUrl, {
  method: 'PUT',
  headers: { 'Content-Type': 'application/json' },
  body: JSON.stringify({ id, message })
});
DELETE 請求也用 query string 傳要刪除的 ID
const id = document.getElementById('deleteId').value;
const res = await fetch(`${apiUrl}?id=${id}`, { method: 'DELETE' });
把 Lambda 回傳的 JSON 顯示在頁面 <div id="output">,並使用 JSON.stringify 美化格式
function showOutput(data) {
  document.getElementById('output').textContent = JSON.stringify(data, null, 2);
}
原本程式碼對 POST 與 PUT 沒有檢查 id 或 message 是否存在,可能會出現不完整資料導致錯誤。這邊確保前端傳入的 JSON 有 id 和 message,如果缺少就會直接回傳錯誤訊息
if (!body.id || !body.message) throw new Error("Missing id or message in body");
為了解決 CORS 問題,新增了一個 OPTIONS case
case "OPTIONS":
  return {
    statusCode: 200,
    headers: {
      "Access-Control-Allow-Origin": "*",
      "Access-Control-Allow-Methods": "GET,POST,PUT,DELETE,OPTIONS",
      "Access-Control-Allow-Headers": "Content-Type"
    },
    body: ""
  };
headers: {
  "Content-Type": "application/json",
  "Access-Control-Allow-Origin": "*",
  "Access-Control-Allow-Methods": "GET,POST,PUT,DELETE,OPTIONS",
  "Access-Control-Allow-Headers": "Content-Type"
}
打開 終端機 Terminal,進入你的 HTML 檔案所在資料夾
啟動 server:
python3 -m http.server 8000
打開瀏覽器:
http://localhost:8000/index.html
1. 新增留言 (POST)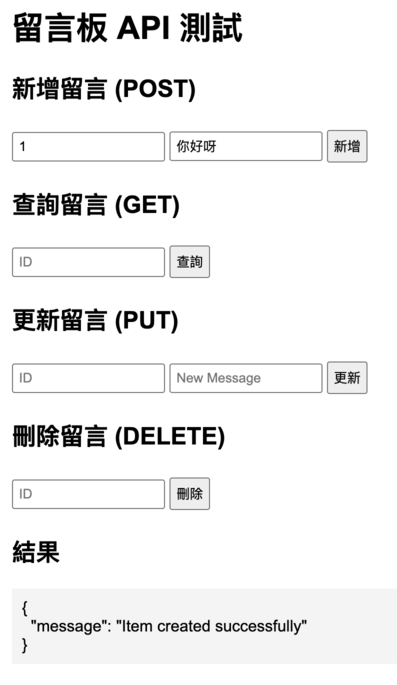
2. 查詢留言 (GET)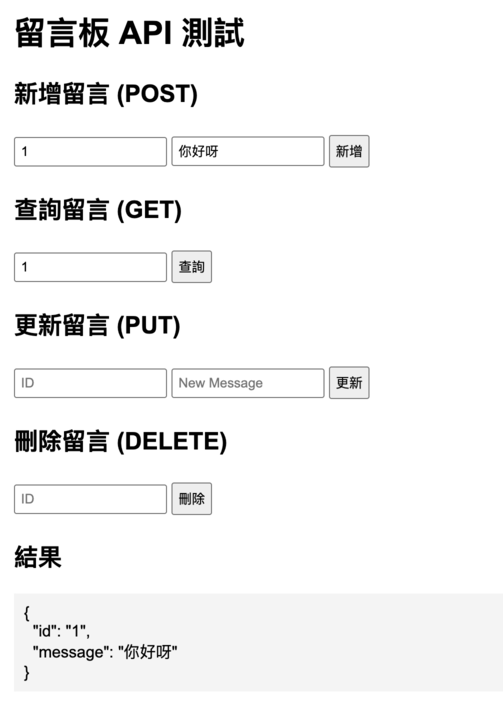
3. 更新留言 (PUT)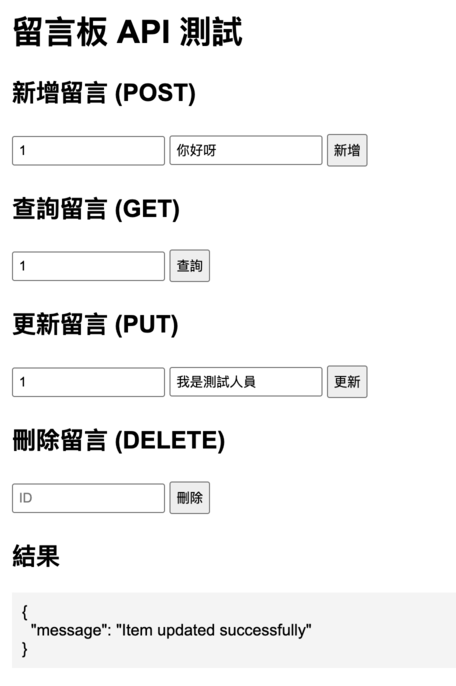
確認更新後的內容已被更新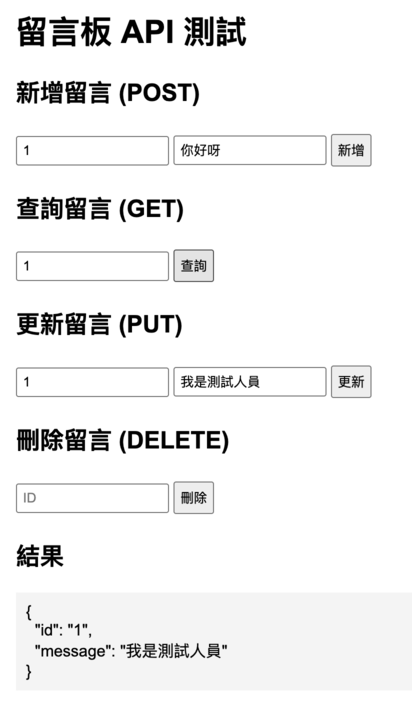
4. 刪除留言 (DELETE)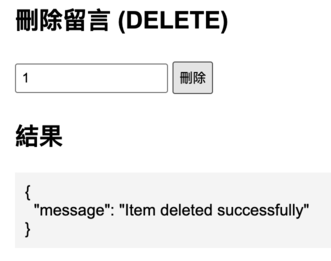


 iThome鐵人賽