pip install requests pytz
import requests, json, random
from datetime import datetime, timedelta
import pytz
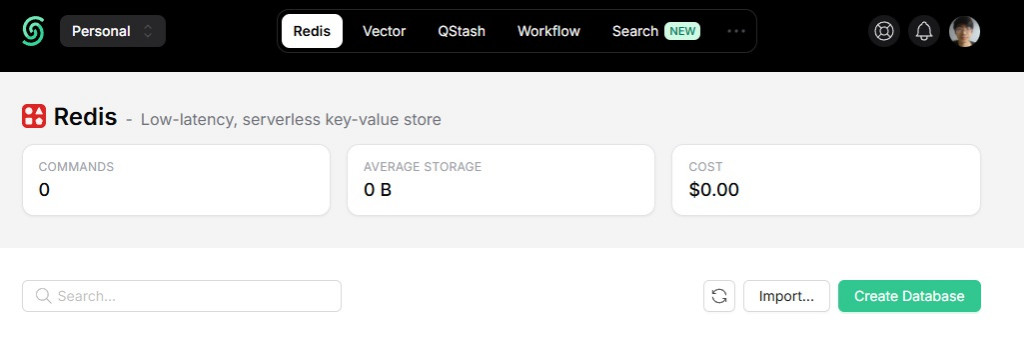
# ====== 你的 Upstash 設定 ======
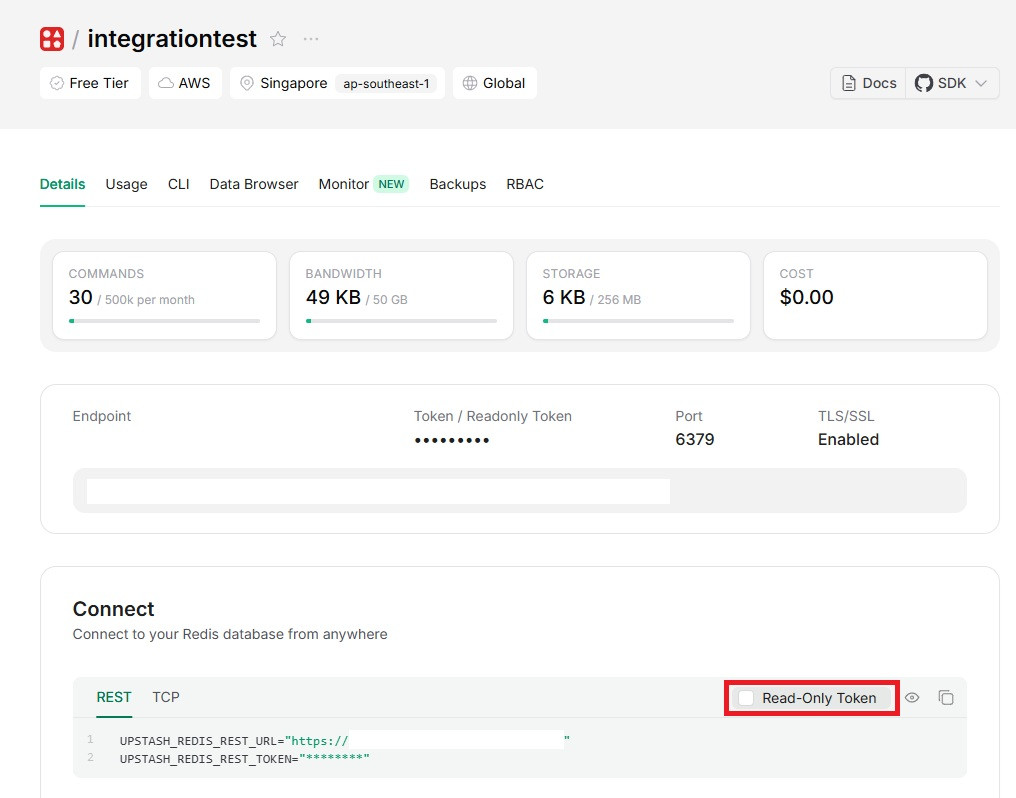
REST_URL = "" # 你的 REST_URL
WRITE_TOKEN = "" # 注意:這裡要用 Write Token,不要用 Read-only
headers = {"Authorization": f"Bearer {WRITE_TOKEN}"}
# ====== 產生假資料 ======
tz = pytz.timezone("Asia/Taipei")
now_tpe = datetime.now(tz).replace(second=0, microsecond=0)
started_at = (now_tpe - timedelta(days=90)).isoformat(timespec="minutes")
updated_at = now_tpe.isoformat(timespec="minutes")
# 儀表板概況 (board:demo)
board_demo = {
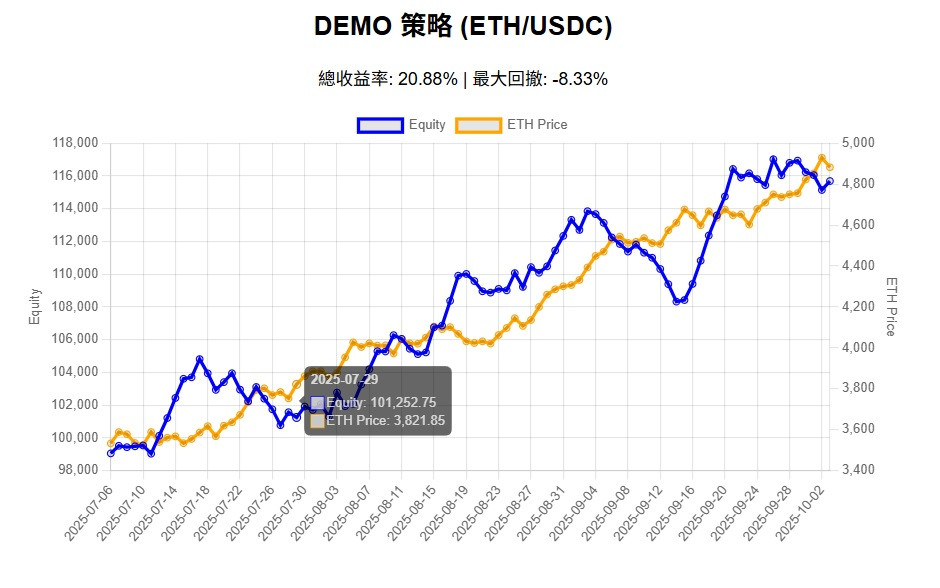
"name": "DEMO 策略",
"symbol": "ETH/USDC",
"run_mode": "backtest",
"venue": "binance.mainnet",
"return_total": 0.2088,
"annualized_return": 0.4721,
"max_drawdown": -0.0833,
"started_at": started_at,
"updated_at": updated_at,
}
# 時間序列資料 (series:demo:equity)
series = []
equity = 100_000.0
eth_price = 3500.0
for i in range(90):
d = (now_tpe - timedelta(days=89 - i)).date().isoformat()
daily_ret = random.uniform(-0.01, 0.015)
equity *= 1.0 + daily_ret
eth_chg = random.uniform(-50, 80)
eth_price = max(eth_price + eth_chg, 100)
series.append({
"date": d,
"equity": round(equity, 2),
"eth_close": round(eth_price, 2),
})
# ====== 寫入 Upstash ======
def upstash_set(key: str, obj):
url = f"{REST_URL}/set/{key}"
res = requests.post(url, data=json.dumps(obj, ensure_ascii=False), headers=headers, timeout=10)
res.raise_for_status()
return res.json()
print("✔ 更新 board:demo =>", upstash_set("board:demo", board_demo))
print("✔ 更新 series:demo:equity =>", upstash_set("series:demo:equity", series))
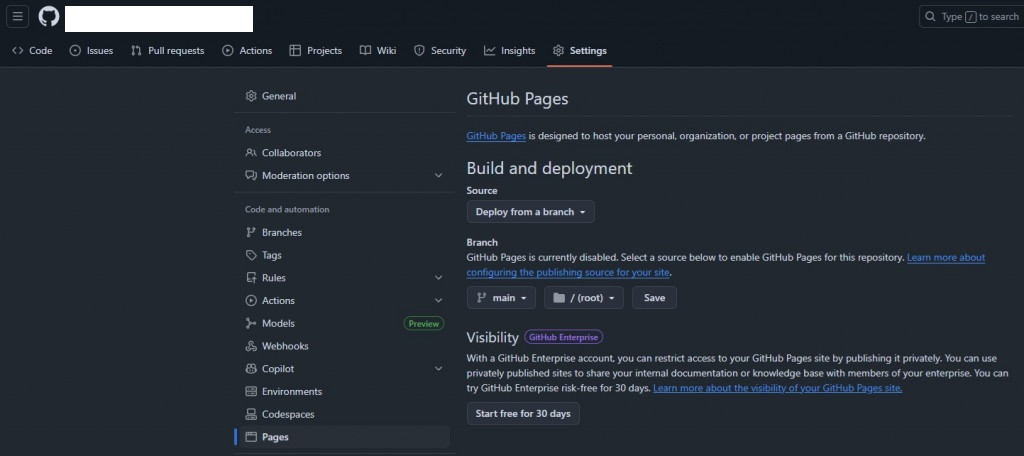
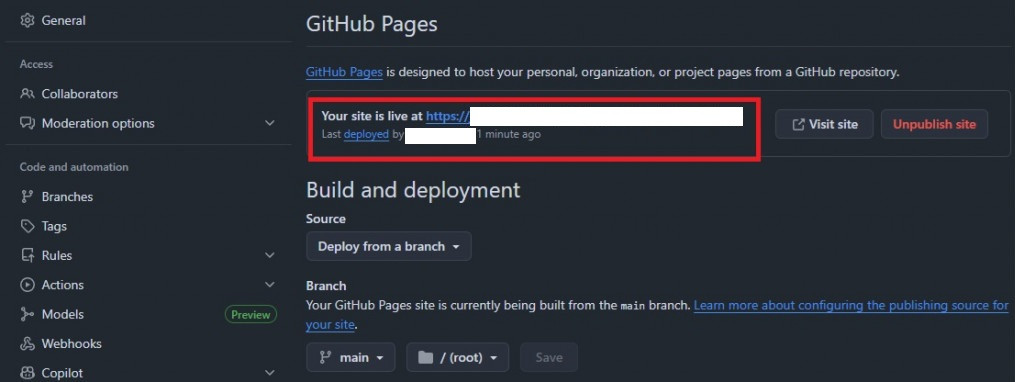
使用github.io來維持前端網頁的運作目前看來是最簡單的做法,如果不想要這樣做就要用AWS去維持一個網頁(當然也可以,不過其實github.io可能就很夠用了)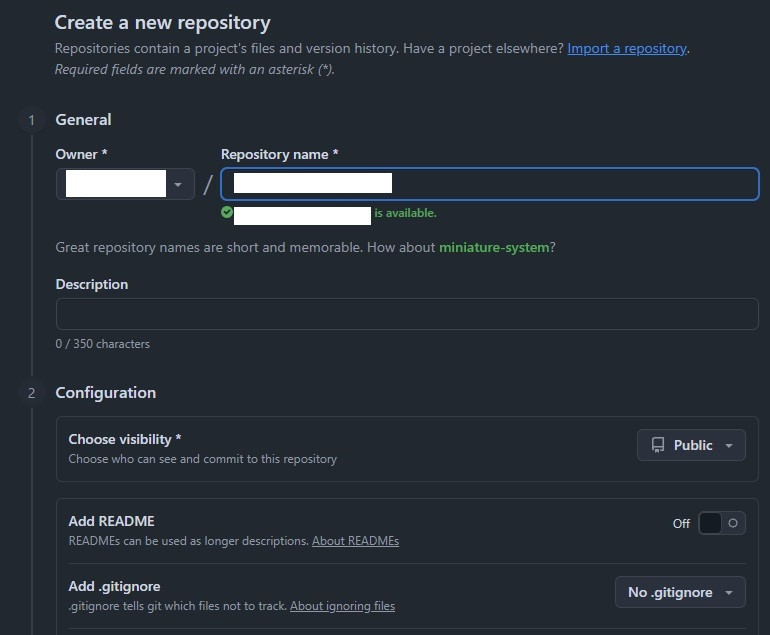
index.html 中的程式碼也是會被所有人看到的!<!DOCTYPE html>
<html>
<head>
<meta charset="UTF-8">
<title>交易策略儀表板</title>
<script src="https://cdn.jsdelivr.net/npm/chart.js"></script>
<style>
body {
font-family: Arial, sans-serif;
margin: 20px;
text-align: center;
}
#chart-container {
margin: 0 auto;
max-width: 800px;
max-height: 400px;
}
canvas {
width: 100% !important; /* 自動填滿容器 */
height: 400px !important; /* 固定高度 */
}
.error { color: red; }
</style>
</head>
<body>
<h2 id="title">載入中...</h2>
<p id="summary"></p>
<p id="error" class="error"></p>
<div id="chart-container">
<canvas id="myChart"></canvas>
</div>
<script>
const REST_URL = "";
const READ_TOKEN = "";
const headers = { "Authorization": `Bearer ${READ_TOKEN}` };
async function fetchData(key) {
const res = await fetch(`${REST_URL}/get/${key}`, { headers });
const data = await res.json();
try {
return JSON.parse(data.result); // Upstash 回傳的 result 是字串,要 parse
} catch (e) {
return data.result;
}
}
async function main() {
try {
const board = await fetchData("board:demo");
const series = await fetchData("series:demo:equity");
if (!board || !series) {
document.getElementById("error").innerText = "❌ 無法載入資料,請確認 Redis 是否有資料。";
return;
}
document.getElementById("title").innerText = `${board.name} (${board.symbol})`;
document.getElementById("summary").innerText =
`總收益率: ${(board.return_total * 100).toFixed(2)}% | 最大回撤: ${(board.max_drawdown * 100).toFixed(2)}%`;
const ctx = document.getElementById("myChart").getContext("2d");
const labels = series.map(d => d.date);
const equity = series.map(d => d.equity);
const price = series.map(d => d.eth_close);
new Chart(ctx, {
type: 'line',
data: {
labels,
datasets: [
{
label: 'Equity',
data: equity,
borderColor: 'blue',
yAxisID: 'y'
},
{
label: 'ETH Price',
data: price,
borderColor: 'orange',
yAxisID: 'y1'
}
]
},
options: {
maintainAspectRatio: false, // ⚡ 允許自訂寬高
responsive: true,
interaction: { mode: 'index', intersect: false },
stacked: false,
scales: {
y: { type: 'linear', position: 'left', title: { display: true, text: 'Equity' }},
y1: { type: 'linear', position: 'right', title: { display: true, text: 'ETH Price' }, grid: { drawOnChartArea: false } }
}
}
});
} catch (err) {
document.getElementById("error").innerText = "❌ 載入錯誤: " + err;
}
}
main();
</script>
</body>
</html>


 iThome鐵人賽