
到目前為止,我們已經學會了 JWT 與 OIDC 的基本概念與實作方式。
今天開始進入專案案例,示範如何 同時支援兩種登入模式:
為了同時支援 JWT + OIDC,我們做了以下規劃:
/login API,輸入帳密 → 系統驗證 → 簽發 JWT → 後續 API 請求攜帶 Authorization: Bearer <token>。/oauth2/authorization/google(或其他 Provider)登入 → OIDC Provider 驗證 → Spring Security 取得 OIDC Token → 可以直接存取受保護 API。這兩種登入方式可以並存,不互相衝突。
大家可以參考這個專案
https://github.com/AnsathSean/spring-security-30days.git
@RestController
public class AuthController {
    // ✅ JWT 登入
    @PostMapping("/login")
    public Map<String, String> login(@RequestBody Map<String, String> request) {
        String username = request.get("username");
        String password = request.get("password");

        if ("admin".equals(username) && "password".equals(password)) {
            String accessToken = JwtUtil.generateAccessToken(username, "ROLE_ADMIN");
            return Map.of("accessToken", accessToken);
        }
        return Map.of("error", "帳號或密碼錯誤");
    }

    // ✅ 測試 JWT API
    @GetMapping("/hello-jwt")
    public String helloJwt() {
        return "Hello, JWT 使用者:" +
                SecurityContextHolder.getContext().getAuthentication().getName();
    }

    // ✅ 測試 OIDC API
    @GetMapping("/hello-oidc")
    public String helloOidc(@AuthenticationPrincipal OidcUser oidcUser) {
        return "Hello, OIDC 使用者:" + oidcUser.getFullName() + " (" + oidcUser.getEmail() + ")";
    }
}
/login:驗證帳號密碼,簽發 JWT。/hello-jwt:測試攜帶 JWT 後是否能成功訪問。/hello-oidc:測試 OIDC 登入是否成功,並顯示使用者姓名與 Email。public class JwtAuthenticationFilter extends OncePerRequestFilter {
@Override
protected void doFilterInternal(HttpServletRequest request,
HttpServletResponse response,
FilterChain filterChain) throws ServletException, IOException {
String authHeader = request.getHeader("Authorization");
if (authHeader != null && authHeader.startsWith("Bearer ")) {
String token = authHeader.substring(7);
try {
Jws<Claims> claimsJws = JwtUtil.validateToken(token);
String username = claimsJws.getBody().getSubject();
String role = claimsJws.getBody().get("role", String.class);
UsernamePasswordAuthenticationToken authentication =
new UsernamePasswordAuthenticationToken(username, null, List.of(() -> role));
authentication.setDetails(new WebAuthenticationDetailsSource().buildDetails(request));
SecurityContextHolder.getContext().setAuthentication(authentication);
} catch (Exception e) {
response.setStatus(HttpServletResponse.SC_UNAUTHORIZED);
response.getWriter().write("Invalid or Expired Token");
return;
}
}
filterChain.doFilter(request, response);
}
}
Authorization header 含有 Bearer <token>,就會被轉換成 Spring Security 的 Authentication。public class JwtUtil {
private static final String SECRET = "mySecretKeymySecretKeymySecretKeymySecretKey"; // >=32 bytes
private static final Key key = Keys.hmacShaKeyFor(SECRET.getBytes());
public static String generateAccessToken(String username, String role) {
return Jwts.builder()
.setSubject(username)
.addClaims(Map.of("role", role))
.setIssuedAt(new Date())
.setExpiration(new Date(System.currentTimeMillis() + 60 * 1000)) // 1 分鐘
.signWith(key, SignatureAlgorithm.HS256)
.compact();
}
public static Jws<Claims> validateToken(String token) {
return Jwts.parserBuilder()
.setSigningKey(key)
.build()
.parseClaimsJws(token);
}
}
@Configuration
@EnableWebSecurity
public class SecurityConfig {


    @Bean
    SecurityFilterChain securityFilterChain(HttpSecurity http) throws Exception {
        http
        		.formLogin(form -> form.disable())
				.csrf(csrf -> csrf.disable())
                .authorizeHttpRequests(auth -> auth
                				.requestMatchers("/", "/login", "/login-with-refresh").permitAll()
                                .anyRequest().authenticated()
                )
                .oauth2Login(oauth2 -> oauth2
                        .defaultSuccessUrl("/hello-oidc", true) // 登入成功強制導到這裡
                        ) // 啟用 OIDC Login
        		.addFilterBefore(new JwtAuthenticationFilter(), UsernamePasswordAuthenticationFilter.class);

        return http.build();
    }
}
/login、/ 等公開路徑允許匿名訪問。JwtAuthenticationFilter 放在 UsernamePasswordAuthenticationFilter 之前,確保攔截請求並檢查 Token。JWT 模式
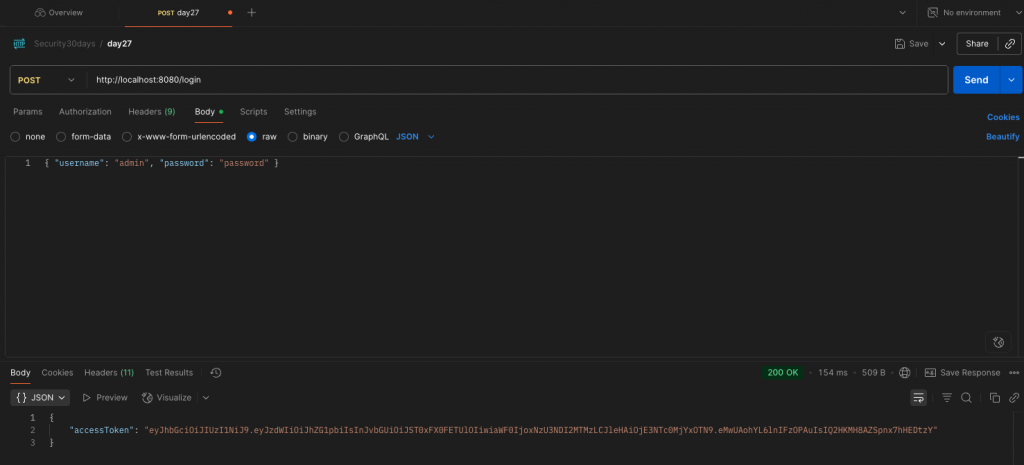
呼叫 POST /http://localhost:8080/login
{ "username": "admin", "password": "password" }
取得 JWT Token。
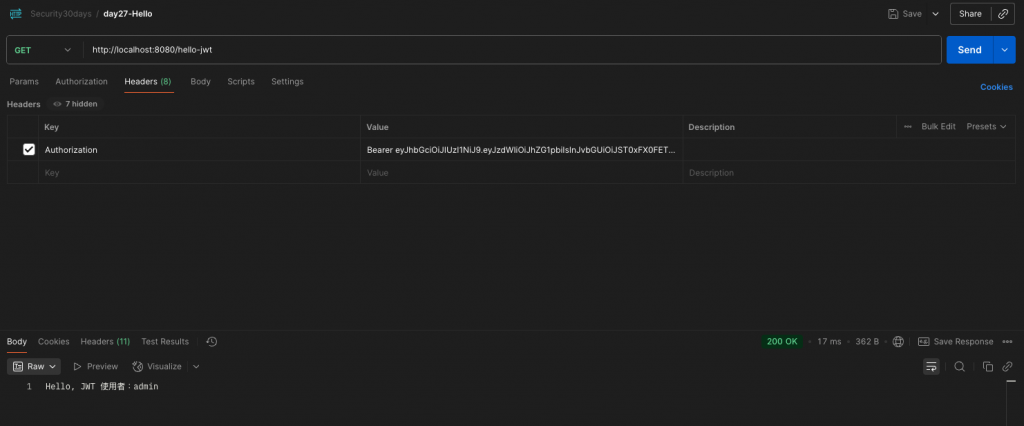
使用 Token 呼叫 GET http://localhost:8080/hello-jwt:
Authorization: Bearer <token>
預期結果:Hello, JWT 使用者:admin
OIDC 模式
http://localhost:8080/oauth2/authorization/google 進行登入。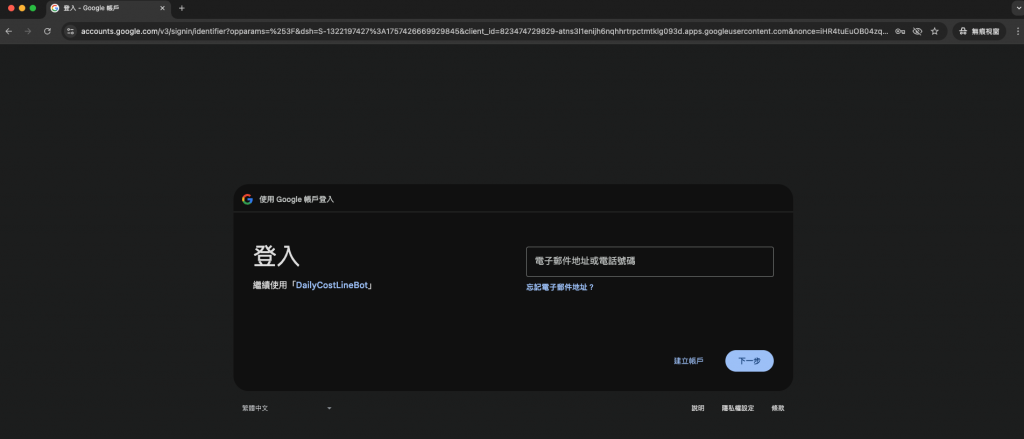
GET /hello-oidc。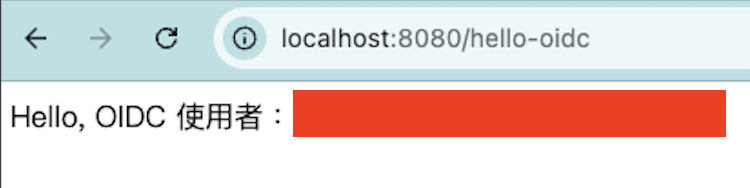
今天我們完成了 JWT + OIDC 的整合,並能同時支援兩種登入方式。
這讓系統既能處理 內部帳號密碼登入,也能接入 外部身份提供者。已經具備基本的雙重登入邏輯。今天的分享就到這裡,我們就明天見囉!
