
在昨天(Day 27)我們完成了 JWT + OIDC 的整合,今天進一步加入 授權邏輯。
想要看完整Code的朋友可以參考以下的連結,我把所有的程式碼都放在這裡,依照Branch分類
https://github.com/AnsathSean/spring-security-30days.git
因為只剩下幾天了,我們在今天會同時示範兩種授權模型:
ROLE_ADMIN 才能進入管理員專區。今天的專案主要包含以下部分:
//  RBAC: 只有 ADMIN 才能進
@GetMapping("/admin")
@PreAuthorize("hasAuthority('ROLE_ADMIN')")
public String adminOnly() {
    return "這是管理員專區 (RBAC)";
}

//  RBAC: 只有 USER 才能進
@GetMapping("/user")
@PreAuthorize("hasAuthority('ROLE_USER')")
public String userOnly() {
    return "這是一般使用者專區 (RBAC)";
}
@PreAuthorize 搭配 SpEL(Spring Expression Language)。hasAuthority('ROLE_ADMIN') 會檢查目前登入的使用者是否擁有該權限。role 存進去了,所以能對應到這裡的判斷。// ABAC: 只有部門=HR 才能進
@GetMapping("/department/hr")
@PreAuthorize("@departmentSecurity.checkDepartment(authentication, 'HR')")
public String hrDepartment() {
return "這是 HR 部門專區 (ABAC)";
}
// ABAC: 只有部門=IT 才能進
@GetMapping("/department/it")
@PreAuthorize("@departmentSecurity.checkDepartment(authentication, 'IT')")
public String itDepartment() {
return "這是 IT 部門專區 (ABAC)";
}
@departmentSecurity 是一個自訂的 Spring Bean,用來檢查使用者是否屬於特定部門。authentication 代表目前登入使用者的上下文,包含使用者名稱與權限。checkDepartment 方法會讀取使用者屬性,判斷是否符合條件(例如:部門 = HR)。package com.ansathsean.security;
import org.springframework.security.core.Authentication;
import org.springframework.stereotype.Component;
@Component("departmentSecurity")
public class DepartmentSecurity {
public boolean checkDepartment(Authentication authentication, String requiredDepartment) {
// 假設我們未來會從 DB 或 OIDC Claim 中查詢部門資訊
String username = authentication.getName();
// Demo 模擬:不同帳號對應不同部門
if ("admin".equals(username) && "HR".equals(requiredDepartment)) {
return true;
} else if ("user".equals(username) && "IT".equals(requiredDepartment)) {
return true;
}
return false;
}
}
這樣一來,就能在程式中 依照部門屬性 來限制 API 存取。
@Configuration
@EnableWebSecurity
@EnableMethodSecurity
public class SecurityConfig {
    @Bean
    SecurityFilterChain securityFilterChain(HttpSecurity http) throws Exception {
        http
            .formLogin(form -> form.disable())
            .csrf(csrf -> csrf.disable())
            .authorizeHttpRequests(auth -> auth
                .requestMatchers("/", "/api/login", "/login-with-refresh").permitAll()
                .anyRequest().authenticated()
            )
            .oauth2Login(withDefaults()) //  OIDC
            .addFilterBefore(new JwtAuthenticationFilter(), UsernamePasswordAuthenticationFilter.class); //  JWT

        return http.build();
    }
}
@EnableMethodSecurity → 開啟 @PreAuthorize 註解功能。.anyRequest().authenticated() → 其他路徑一律需要授權。我們這裡已經整合了JWT,所以一開始不免俗地就要先測試JWT
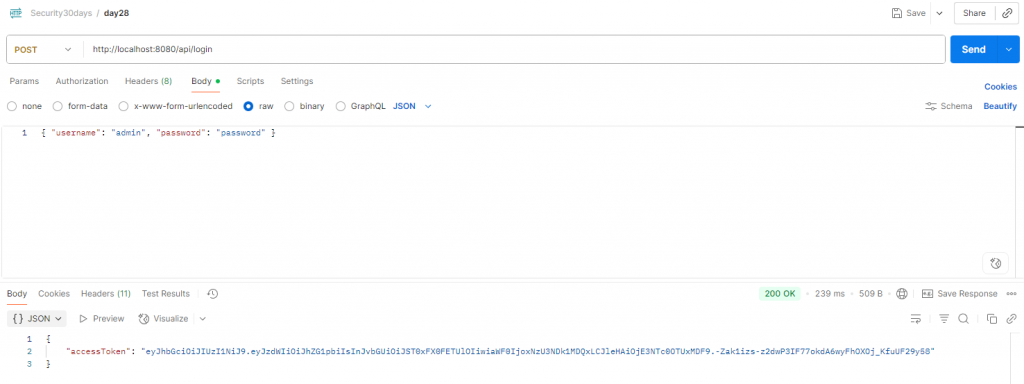
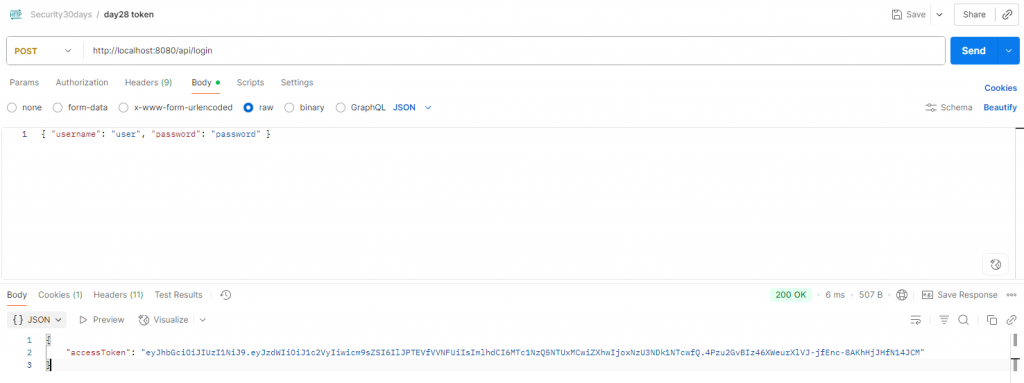
Post 這個APIhttp://localhost:8080/api/login
在Body中選擇Raw,輸入以下資訊
{ "username": "admin", "password": "password" }
Send之後回傳:
{ "accessToken": "eyJhbGciOi..." }
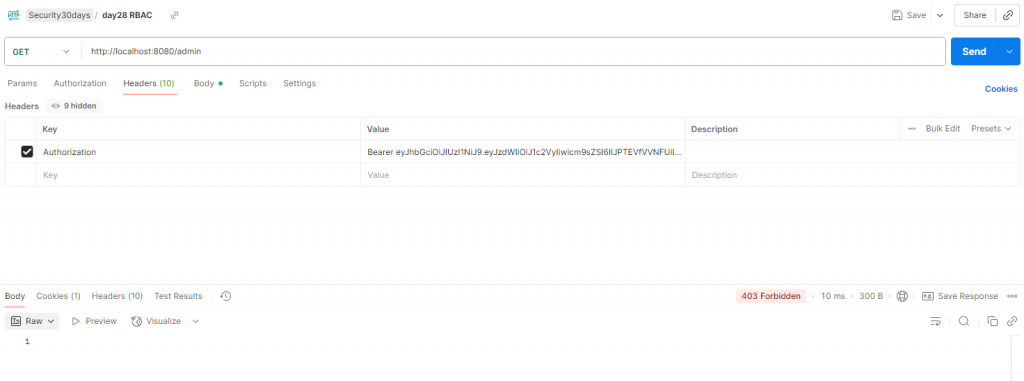
Authorization: Bearer <admin_token>
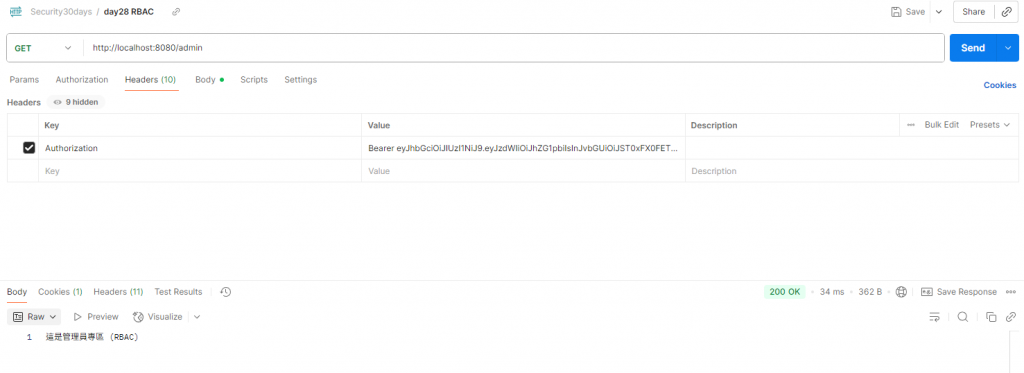
admin 可存取,user 被拒絕。
我們繼續用admin取得token,然後測試以下的連結
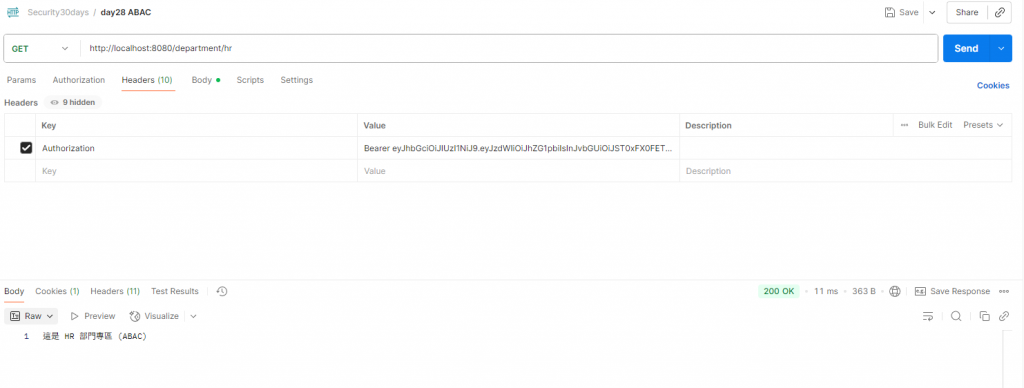
Get http://localhost:8080/department/hr
admin 屬於 HR → 通過。
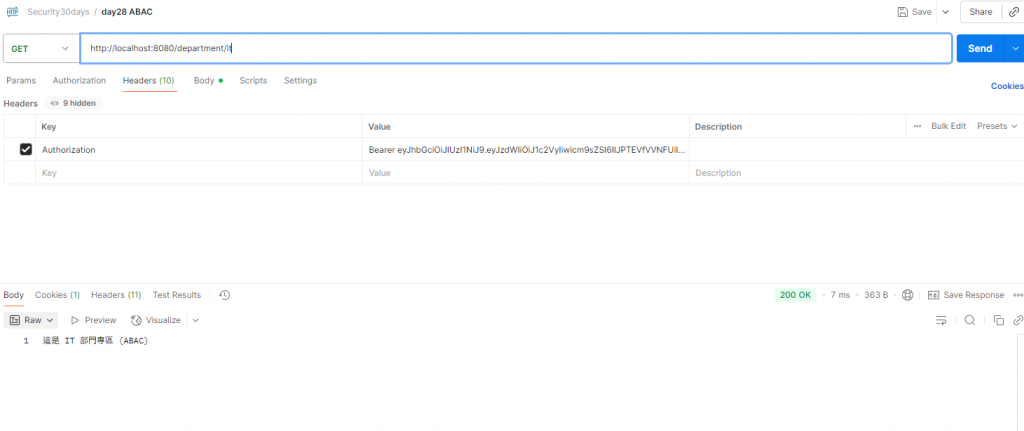
Get http://localhost:8080 /department/it
user 屬於 IT → 通過。
今天我們完成了 RBAC + ABAC 的整合:
這樣的設計讓系統更接近真實業務邏輯,可以同時滿足「基於職位」與「基於條件」的需求。
那麼今天的分享就到這裡,那我們明天見!
