
在上一篇的內容中,大致上把 Docker Autoscaler executor的基本架構做了介紹,在這一篇內容中,將以 Google Cloud Platform (GCP) 的環境作為 Cloud Provider,因此會使用 Google Cloud instance groups,在這邊需要:
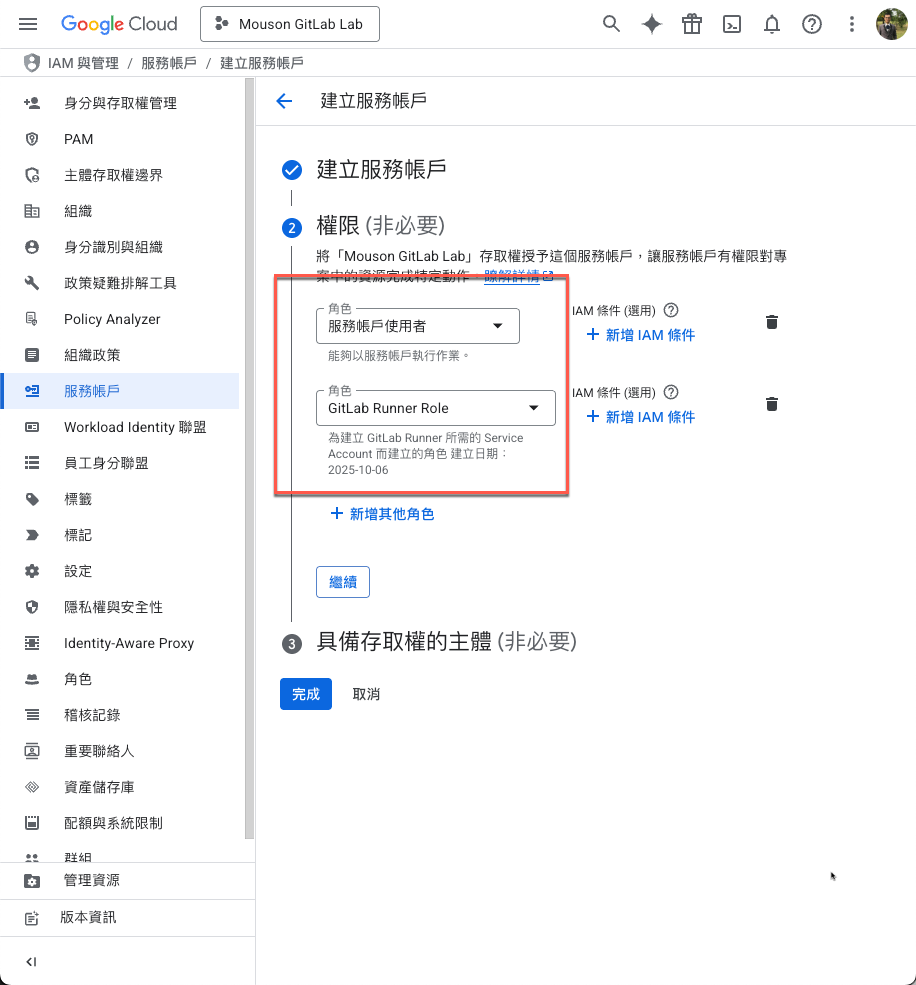
iam.serviceAccountUser
compute.instanceGroupManagers.get
compute.instanceGroupManagers.update
compute.instances.get
compute.instances.setMetadata
這邊會分為兩個段落做設定,分別是 Google Cloud Platform (GCP) 上的設定,以及 GitLab Runner 平台上的設定。
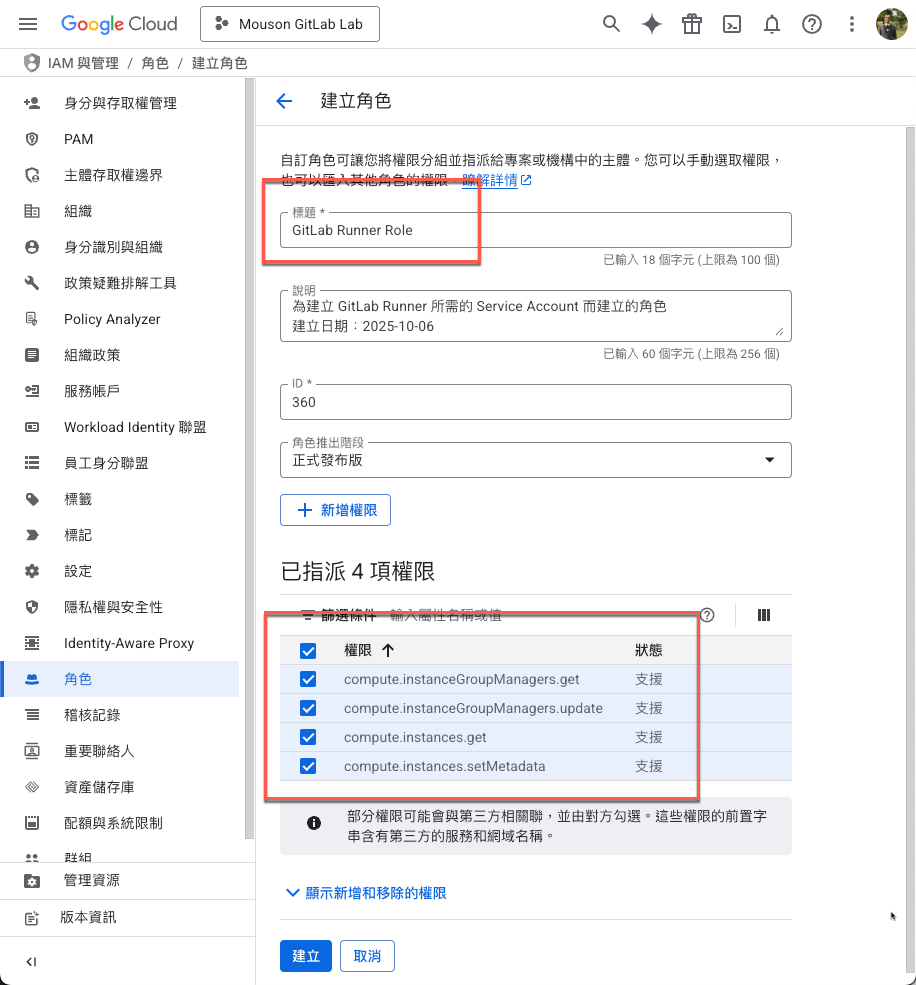
新增角色是為了接下來的 Service Account 需要的權限而建立。

compute.instanceGroupManagers.get
compute.instanceGroupManagers.update
compute.instances.get
compute.instances.setMetadata
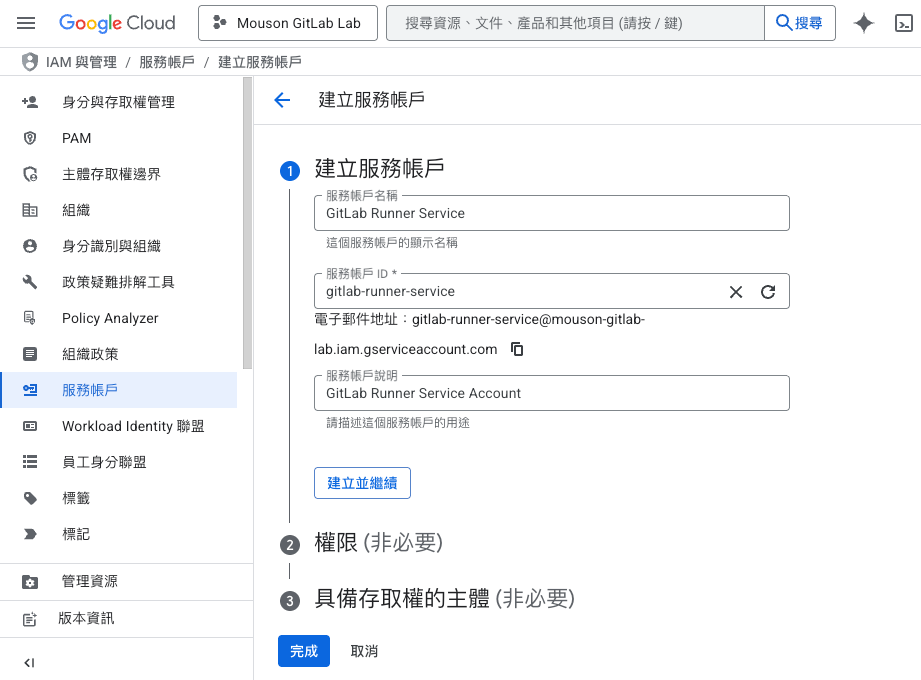
新增服務帳號
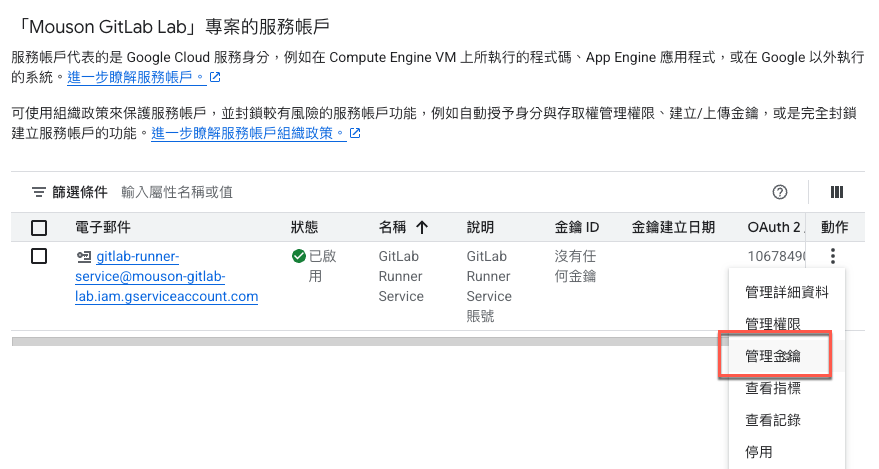
建立後瀏覽器會直接下載 JSON 檔案,留著待會實際建立 GitLab Runner 時會使用到。
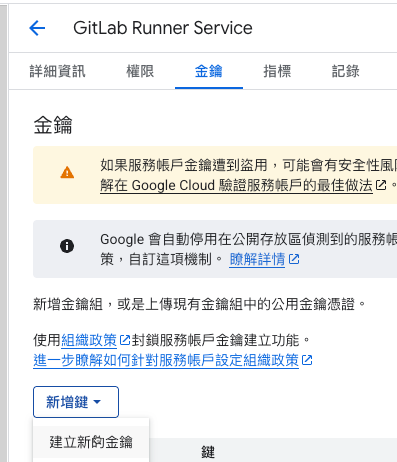
在剛剛建立的服務帳號右邊點選管理金鑰。
新增鍵 (Add Key)
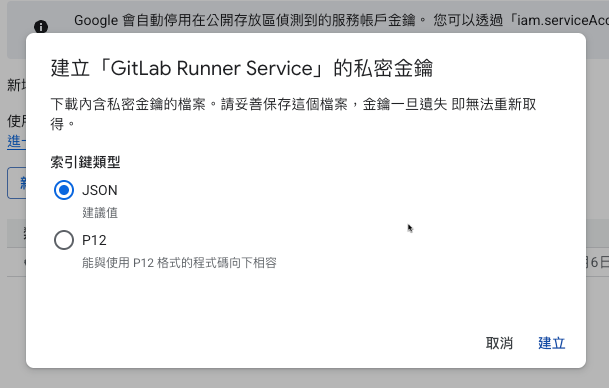
選擇 JSON 格式,按下確認之後儲存 JSON 檔案,請妥善保存,待會這個檔案會在建立 Runner 的時候使用到。
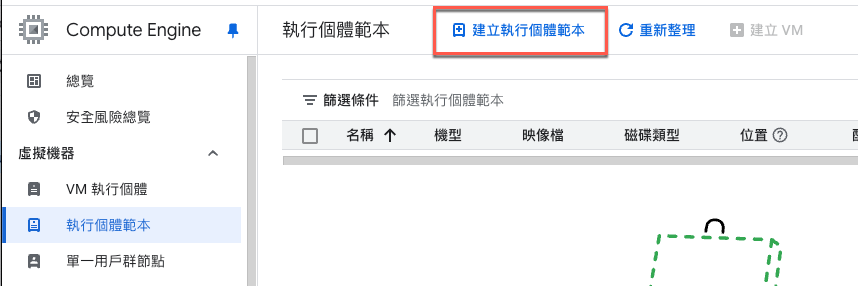
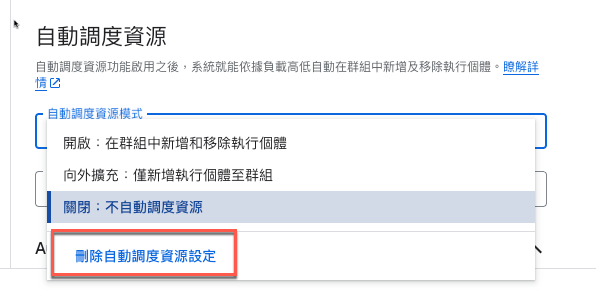
所謂的執行個體範本,也就是到時候在 GitLab Runner 需要執行環境時,用來建立環境使用的主機範本。
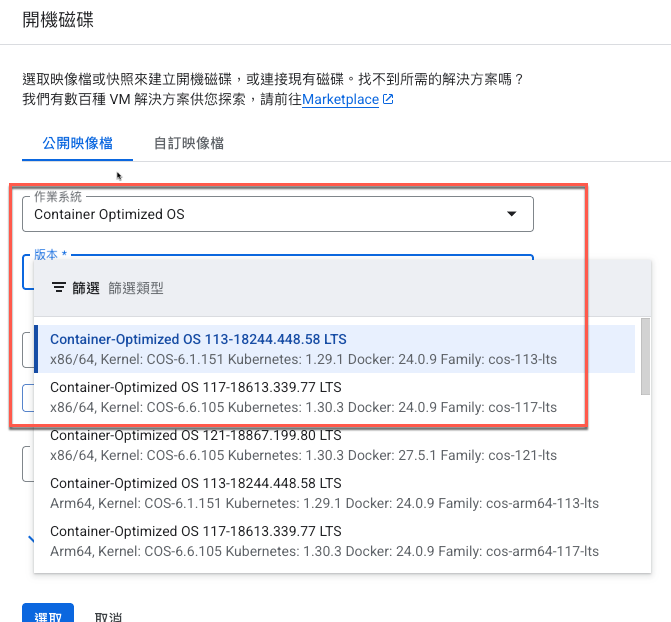
在建立範本的時候,可以依據自己的需求如主機所在的區域、CPU 形式、記憶體大小做設置。佈建模型的部分,如果單純只是執行短暫的工作,甚至可以選用 Spot,可以達到節費的功效。

這邊設定好之後,記得目前設定的名稱,待會建立執行個體群組時,會使用到
基於要建立 GitLab Runner 的服務,目前做了以下設定:
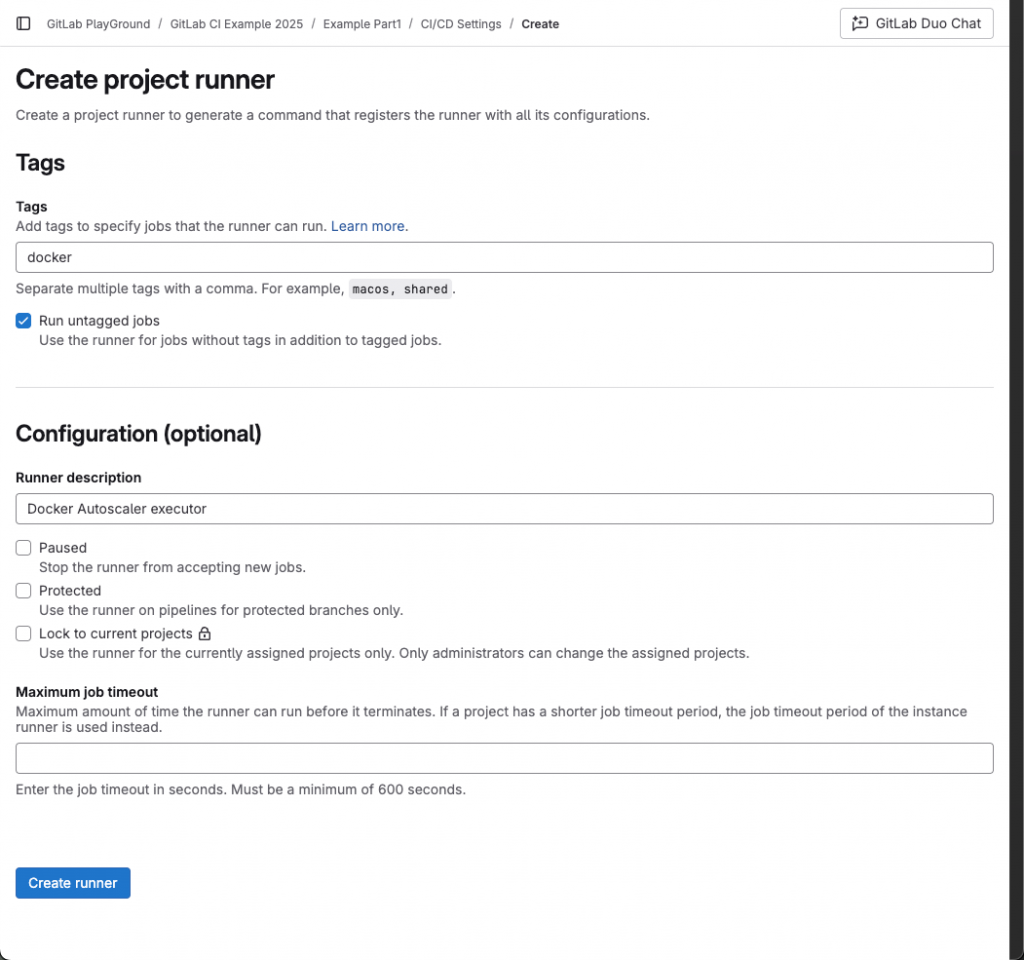
這邊選擇 Linux 平台。透過 GitLab 的平台建立 Runner 的步驟中會產生基本的指令,可以直接在 Runner 平台上執行。
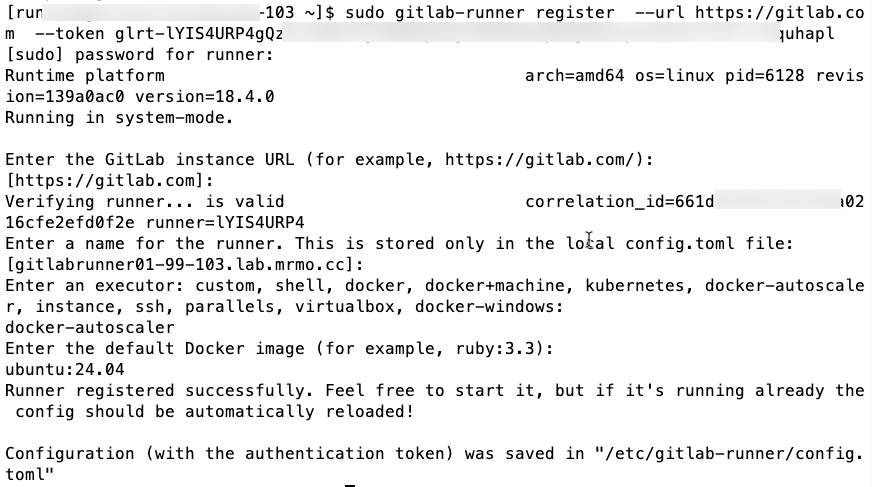
設定完成後,編輯 /etc/gitlab-runner/config.toml 做細部設定,主要針對 「runners.autoscaler」 區段做設定。
concurrent = 4
check_interval = 0
connection_max_age = "15m0s"
shutdown_timeout = 0

[session_server]
  session_timeout = 1800

[[runners]]
  name = "your runner name"
  url = "https://gitlab.com"
  id = 50047736
  token = "your runner token"
  token_obtained_at = 2025-10-06T14:37:50Z
  token_expires_at = 0001-01-01T00:00:00Z
  executor = "docker-autoscaler"
  [runners.cache]
    MaxUploadedArchiveSize = 0
    [runners.cache.s3]
    [runners.cache.gcs]
    [runners.cache.azure]
  [runners.docker]
    tls_verify = false
    image = "ubuntu:24.04"
    privileged = false
    disable_entrypoint_overwrite = false
    oom_kill_disable = false
    disable_cache = false
    volumes = ["/cache"]
    shm_size = 0
    network_mtu = 0
  [runners.autoscaler]
    capacity_per_instance = 1
    max_use_count = 1
    max_instances = 18
    plugin = "googlecloud"
    update_interval = "0s"
    update_interval_when_expecting = "0s"
    [runners.autoscaler.plugin_config]
      credentials_file = "/root/.config/gitlab-runner-credentials.json"
      name = "gcp-gitlab-runner-instance-group01"
      project = "kumay-341008"
      zone = "asia-east1-b"
    [runners.autoscaler.connector_config]
      username = "runner"
      password = ""
      key_path = ""
      use_static_credentials = false
      keepalive = "0s"
      timeout = "0s"
      use_external_addr = true

    [[runners.autoscaler.policy]]
      idle_count = 0
      idle_time = "10m0s"
      scale_factor = 0.0
      scale_factor_limit = 0
其中的關鍵設定:
runners.autoscaler」 區段中:
plugin 這邊選擇 「googlecloud」max_instances 最多開啟多少台主機runners.autoscaler.plugin_config」 區段中的:
credentials_file 置入 GCP 的服務帳號的 json 檔案路徑name 為 instances group 的名稱project 為 GCP 專案名稱zone 為 GCP 主機所在的 zone。目前執行 list 會看到找不到 googlecloud plugin 的訊息
gitlab-runner fleeting list
執行 fleeting install 安裝對應的 plugin
gitlab-runner fleeting install

確認是否已經正確安裝,再次執行 list 可以看到已經安裝並且對應到剛剛設定的 runner 上。
gitlab-runner fleeting list
建立一個只能透過剛才建立的 runner 執行的工作,這邊以 parallel matrix 一次建立四個 job 的範例為例:
default:
  image: ubuntu:24.04

stages:
  - build

build_template:
  tags: [docker]
  image: ${BUILD_OS}
  stage: build
  before_script:
    - echo "prepare build env"
  after_script:
    - echo "clean up env"
  script:
    - echo "build ${BUILD_OS} ${PRODUCT_BIT} application"
  parallel:
    matrix:
      - BUILD_OS: ['ubuntu:24.04', 'ubuntu:22.04']
        PRODUCT_BIT: ['32bit', '64bit']
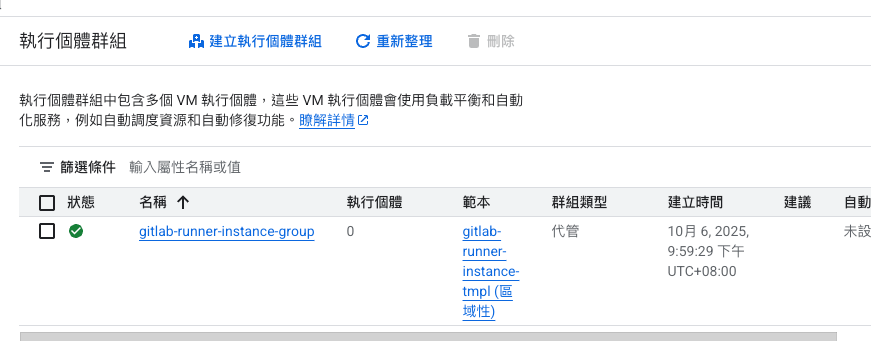
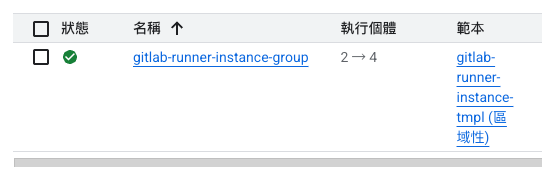
正式執行之後,可以在 GCP 的 instance group 的介面上看到主機在執行其中自動擴展,並且在執行完畢之後歸零。
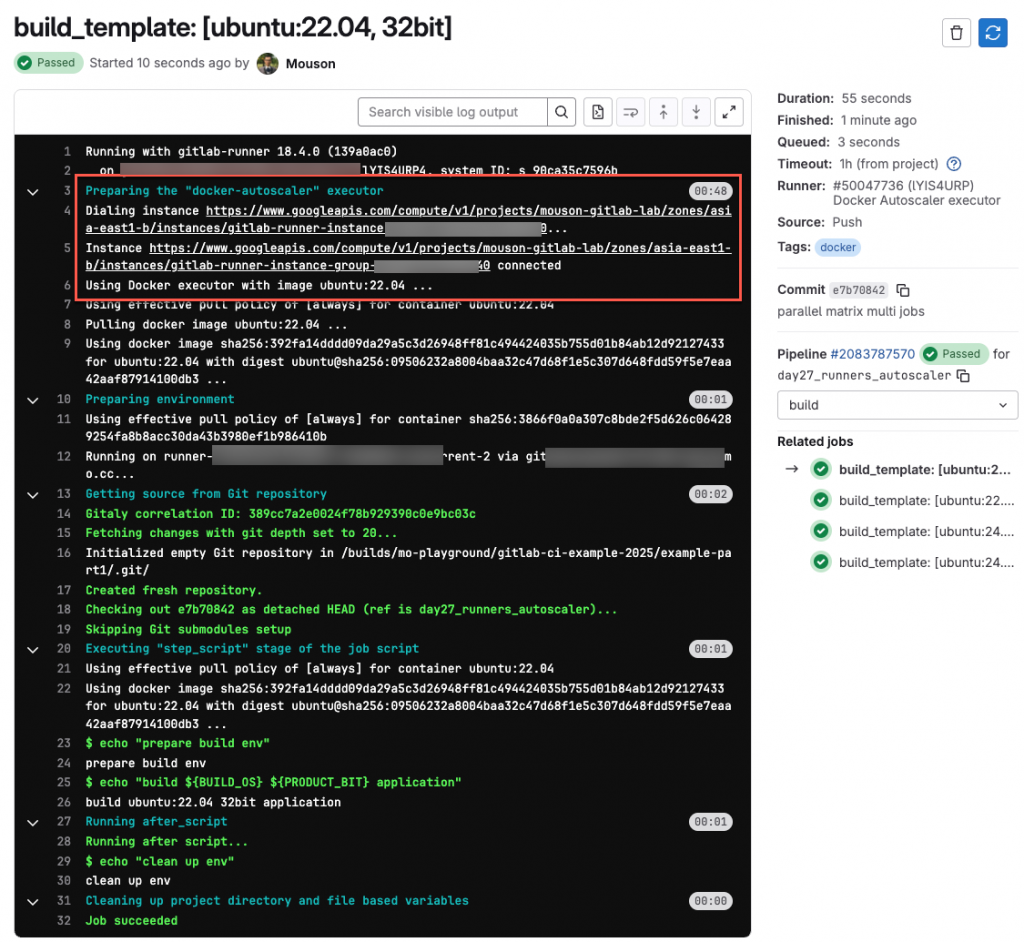
從 GitLab 的畫面上也可以看到流程上出現 runner 並且在 runner 啟動了 GCP 上面的主機來執行這項工作。
在這一篇已經完成的初步的使用 Docker Autoscaler executor,當你也完成了這些設定之後,可以發現當沒有任何 Job 需要執行時,GCP 上的 instance 是不用開著主機的,而當同時有四個 Job 起來,這時候 GCP 上又會幫忙開啟四台獨立的執行環境來執行工作,這邊大概就可以體會到這個架構帶來的效果。接下來的內容,將會繼續討論Docker Autoscaler executor的其他設定細節。我是墨嗓(陳佑竹),期待這次的內容能帶給你實用的啟發與幫助。
