今天 Day29 就來真的打包一下 package 吧(雖然還沒完成)。
經過前面一連串的設計與重構,現在整個專案架構已經相當完整了:
agent-brain
├── README.md
├── pyproject.toml
├── src
│   └── agent_brain
│       ├── __init__.py
│       ├── __pycache__
│       ├── brain.py
│       ├── memory
│       ├── models.py
│       ├── net
│       ├── thinking_net
│       ├── tool.py
│       └── utils
└── uv.lock
由於整個專案是用 uv 管理的,要打包其實非常簡單。
只需要在 pyproject.toml 裡加上打包設定:
[build-system]
requires = ["hatchling"]
build-backend = "hatchling.build"

[project]
name = "agent-brain"
version = "0.1.0"
description = "plug and play AI agent's brain automatically managing memory, tools, and reasoning"
readme = "README.md"
requires-python = ">=3.13"
dependencies = [
    "fastmcp>=2.12.4",
    "json-repair>=0.51.0",
    "openai>=1.109.0",
]
classifiers = [
  "Programming Language :: Python :: 3",
  "License :: OSI Approved :: MIT License",
  "Operating System :: OS Independent",
]
接著只要一行指令:
uv build
輸出結果如下:
> uv build
Building source distribution...
Building wheel from source distribution...
Successfully built dist/agent_brain-0.1.0.tar.gz
Successfully built dist/agent_brain-0.1.0-py3-none-any.whl
這樣就完成打包了。
接下來如果想要發布到 PyPI,只要先去註冊帳號:
https://pypi.org/
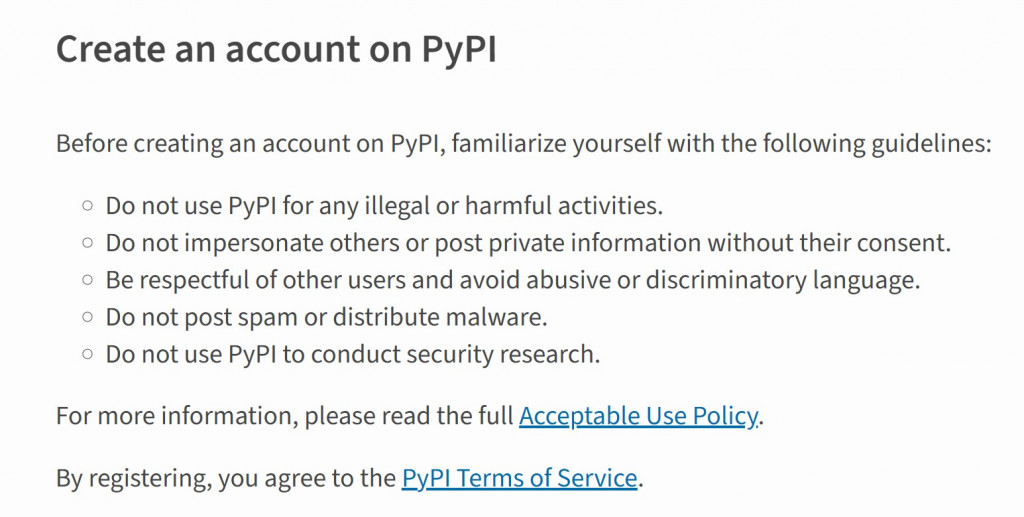
不過直接輸入帳號密碼會出現錯誤,現在 PyPI 已不再支援密碼登入,要改用 API Token:
error: Failed to publish `dist/agent_brain-0.1.0-py3-none-any.whl` to https://upload.pypi.org/legacy/
  Caused by: Upload failed with status code 403 Forbidden. Server says: 403 Username/Password authentication is no longer supported. Migrate to API Tokens or Trusted Publishers instead. See https://pypi.org/help/#apitoken and https://pypi.org/help/#trusted-publishers
進到帳號設定頁面,完成 2FA 認證後,點選 Add API token,即可生成一組 token。
然後在終端機中輸入 token 即可進行發佈。
由於這個 project 離完成應該還有一段距離,就先不 publish 了...
雖然沒有上傳到 PyPI,但我們仍然可以測試剛打包好的 wheel 檔。
在新的專案資料夾中執行:
pip install ../agent-brain/dist/agent_brain-0.1.0-py3-none-any.whl
接著寫一小段 code 測試:
from agent_brain import BaseTool, Brain


class UserInfoTool(BaseTool):
    def __init__(self):
        super().__init__(
            name="UserInfoTool",
            description="A tool to retrieve user information, which include name and age by user ID.",
            parameters={
                "type": "object",
                "properties": {
                    "user_id": {"type": "string", "description": "The ID of the user"}
                },
                "required": ["user_id"],
            },
        )

    async def execute(self, **kwargs) -> str:
        user_id = kwargs.get("user_id", "")
        user_db = {
            "1": {"name": "Alice", "age": 30},
            "2": {"name": "Bob", "age": 25},
        }
        user_info = user_db.get(user_id, {"name": "Unknown", "age": 0})
        return f"User ID: {user_id}, Name: {user_info['name']}, Age: {user_info['age']}"


async def test_brain_with_user_info_tool():
    tool = UserInfoTool()
    brain = await Brain.create(
        net="ReAct",
        memory="Messages",
        tools=[tool],
        structure_output=False,
    )

    task = "Get information for user with ID 1."
    async for output in brain.answer(task):
        print(output, end="", flush=True)


import asyncio

asyncio.run(test_brain_with_user_info_tool())
輸出結果如下圖:

今天算是真正把整個 agent-brain 做成一個可安裝的 package,
打包流程非常順暢,也讓整個專案的結構更加完整。
明天就是最後一天了呢...