

我們已經抵達應用程式的使用者介面層。它由核心路由結構、應用程式外殼(App Shell)以及集中式儀表板元件所組成。該儀表板協調了多個專門的子元件,包括相片上傳器、標籤清單、替代文字面板、音訊設定表單、播放控制項以及冷知識面板。
今天,我們將更新 App Shell 的版面配置並為其套用樣式。我們還會將預設與 catch-all 路由新增到路由組態中。
npm i --save-dev tailwindcss postcss @tailwindcss/postcss
{
  "plugins": {
    "@tailwindcss/postcss": {}
  }
}
當在新的 Angular 專案中選擇 TailwindCSS 時,Angular schematics 會安裝所需的相依性,並建立 .postcssrc.json 檔案。
npm i --save-dev --save-exact @fontsource/material-symbols-outlined
我對字型沒有任何偏好,因此我在應用程式中使用 material-symbols-outlined 字型。
@import '@fontsource/material-symbols-outlined/400.css';
@import 'tailwindcss';

.... global Tailwind CSS utility classes ...
Tailwind CSS 與字型已匯入至全域 style.css 中,以便 Angular 元件可以使用 Tailwind CSS 輔助類別(Utility classes)來套用樣式。
此 Shell 由標頭、頁尾以及一個在有新版本可用時提示使用者的 PWA 浮動通知(Toast notification)組成。為了保持根範本的乾淨與可讀性,標頭與頁尾已被提取到專用的 Angular 元件中。
@reference "../styles.css";

.app-shell {
  @apply min-h-screen bg-slate-900 text-slate-100 flex flex-col items-center p-4 sm:p-6 lg:p-8;
}

.app-container {
  @apply w-full max-w-6xl mx-auto flex-1 flex flex-col;
}

.app-main {
  @apply flex-1 w-full flex flex-col;
}

.app-footer {
  @apply mt-auto pt-8 sm:pt-12 block;
}
<div class="app-shell">
  <div class="app-container">
    <app-header />
    <main class="app-main">
      <router-outlet />
    </main>
    <app-footer class="app-footer" />
  </div>
</div>

@defer (on idle) {
  <app-pwa-update-banner />
}
<router-outlet /> 是一個 Angular 指令(Directive),用於延遲載入(Lazy-loading)路由以轉譯匹配的元件。
我們已經建立了 PwaUpdateBanner 元件,但 <app-header> 與 <app-footer> 尚未建立。接下來我們將建立標頭與頁尾元件。
import { Component } from '@angular/core';

@Component({
  selector: 'app-header',
  template: `
    <header class="app-header">
      <h1 class="header-title">Firebase AI Logic Obscure Fact Speech Generator</h1>
      <p class="header-subtitle">Upload an image to generate alt text and tags with Gemini</p>
    </header>
  `,
  styleUrl: './header.component.css',
})
export class HeaderComponent {}
該元件使用內嵌範本(Inline template)來建立包含標題與副標題的標頭。另一方面,CSS 樣式則位於獨立的 CSS 檔案中。當我們在該檔案中使用 Tailwind CSS 類別時,Tailwind 編譯錯誤不會被無聲地抑制。
@reference "../../../../../styles.css";

.app-header {
  @apply text-center mb-6 sm:mb-8;
}

.header-title {
  @apply text-2xl sm:text-4xl lg:text-5xl font-bold tracking-tight leading-tight text-transparent bg-clip-text bg-gradient-to-r from-indigo-400 to-emerald-400;
}

.header-subtitle {
  @apply mt-2 text-sm sm:text-base md:text-lg text-slate-400;
}
import { Component, computed } from '@angular/core';
@Component({
selector: 'app-footer',
template: `
<footer class="app-footer">
<div class="footer-content">
<p>© {{ copyrightYear() }} Image Analysis and Text-to-Speech Application.</p>
<p>Built with Angular, Firebase AI Logic, and TailwindCSS 4.</p>
</div>
</footer>
`,
styleUrl: './footer.component.css',
})
export class FooterComponent {
copyrightYear = computed(() => new Date(Date.now()).getFullYear());
}
該元件使用內嵌範本來建立包含版權宣告以及所使用技術堆疊簡短說明的頁尾。
@reference "../../../../../styles.css";

.app-footer {
  @apply bg-slate-800/50 border border-slate-700 rounded-2xl w-full;
}

.footer-content {
  @apply container mx-auto px-6 py-4 text-center text-gray-400;
}
DashboardComponent 作為所有子元件的父容器。目前,它保持最小化且輕量,以利於進行乾淨的路由設定。
import { Component } from '@angular/core';

@Component({
  selector: 'app-dashboard',
  imports: [],
  templateUrl: './dashboard.component.html',
  styleUrl: './dashboard.component.css',
})
export default class DashboardComponent {}
<section class="dashboard-main">
    <p>Dashboard component works!</p>
</section>
@reference "../../../styles.css";

.dashboard-main {
  @apply bg-slate-800/50 border border-slate-700 rounded-2xl p-6 md:p-8 shadow-2xl shadow-slate-950/50 backdrop-blur-sm;
}
在具備基本應用程式配置的情況下,我們現在可以設定路由來帶出我們的儀表板檢視。
import { ApplicationConfig } from '@angular/core';
import { provideRouter, withComponentInputBinding, withExperimentalAutoCleanupInjectors } from '@angular/router';
import { routes } from './app.routes';

export const appConfig: ApplicationConfig = {
  providers: [
    provideRouter(routes, withComponentInputBinding(), withExperimentalAutoCleanupInjectors()),
    ... other providers ...
  ],
};
provideRouter 提供者可確保在引導(Bootstrap)作業後,路由在應用程式中是可用的。routes 是一個包含路徑與匹配元件的路由列表。
import { Routes } from '@angular/router';

export const routes: Routes = [
  {
    path: 'dashboard',
    loadComponent: () => import('./features/dashboard/dashboard.component'),
  },
  {
    path: '',
    pathMatch: 'full',
    redirectTo: 'dashboard',
  },
  {
    path: '**',
    redirectTo: 'dashboard',
  },
];
當使用者瀏覽到 /dashboard 路徑時,應用程式會延遲載入該路由並轉譯 DashboardComponent。此外,空白的根路徑 ('') 與萬用字元 ('**') catch-all 路由都會自動重新導向回 /dashboard 路徑,以確保使用者一律能進入統一的儀表板檢視。
在最後一個步驟中,我們啟動伺服器以查看儀表板檢視。
在 Antigravity CLI 中,我們提示 Gemini 啟動開發伺服器
angular-cli: Start the development server
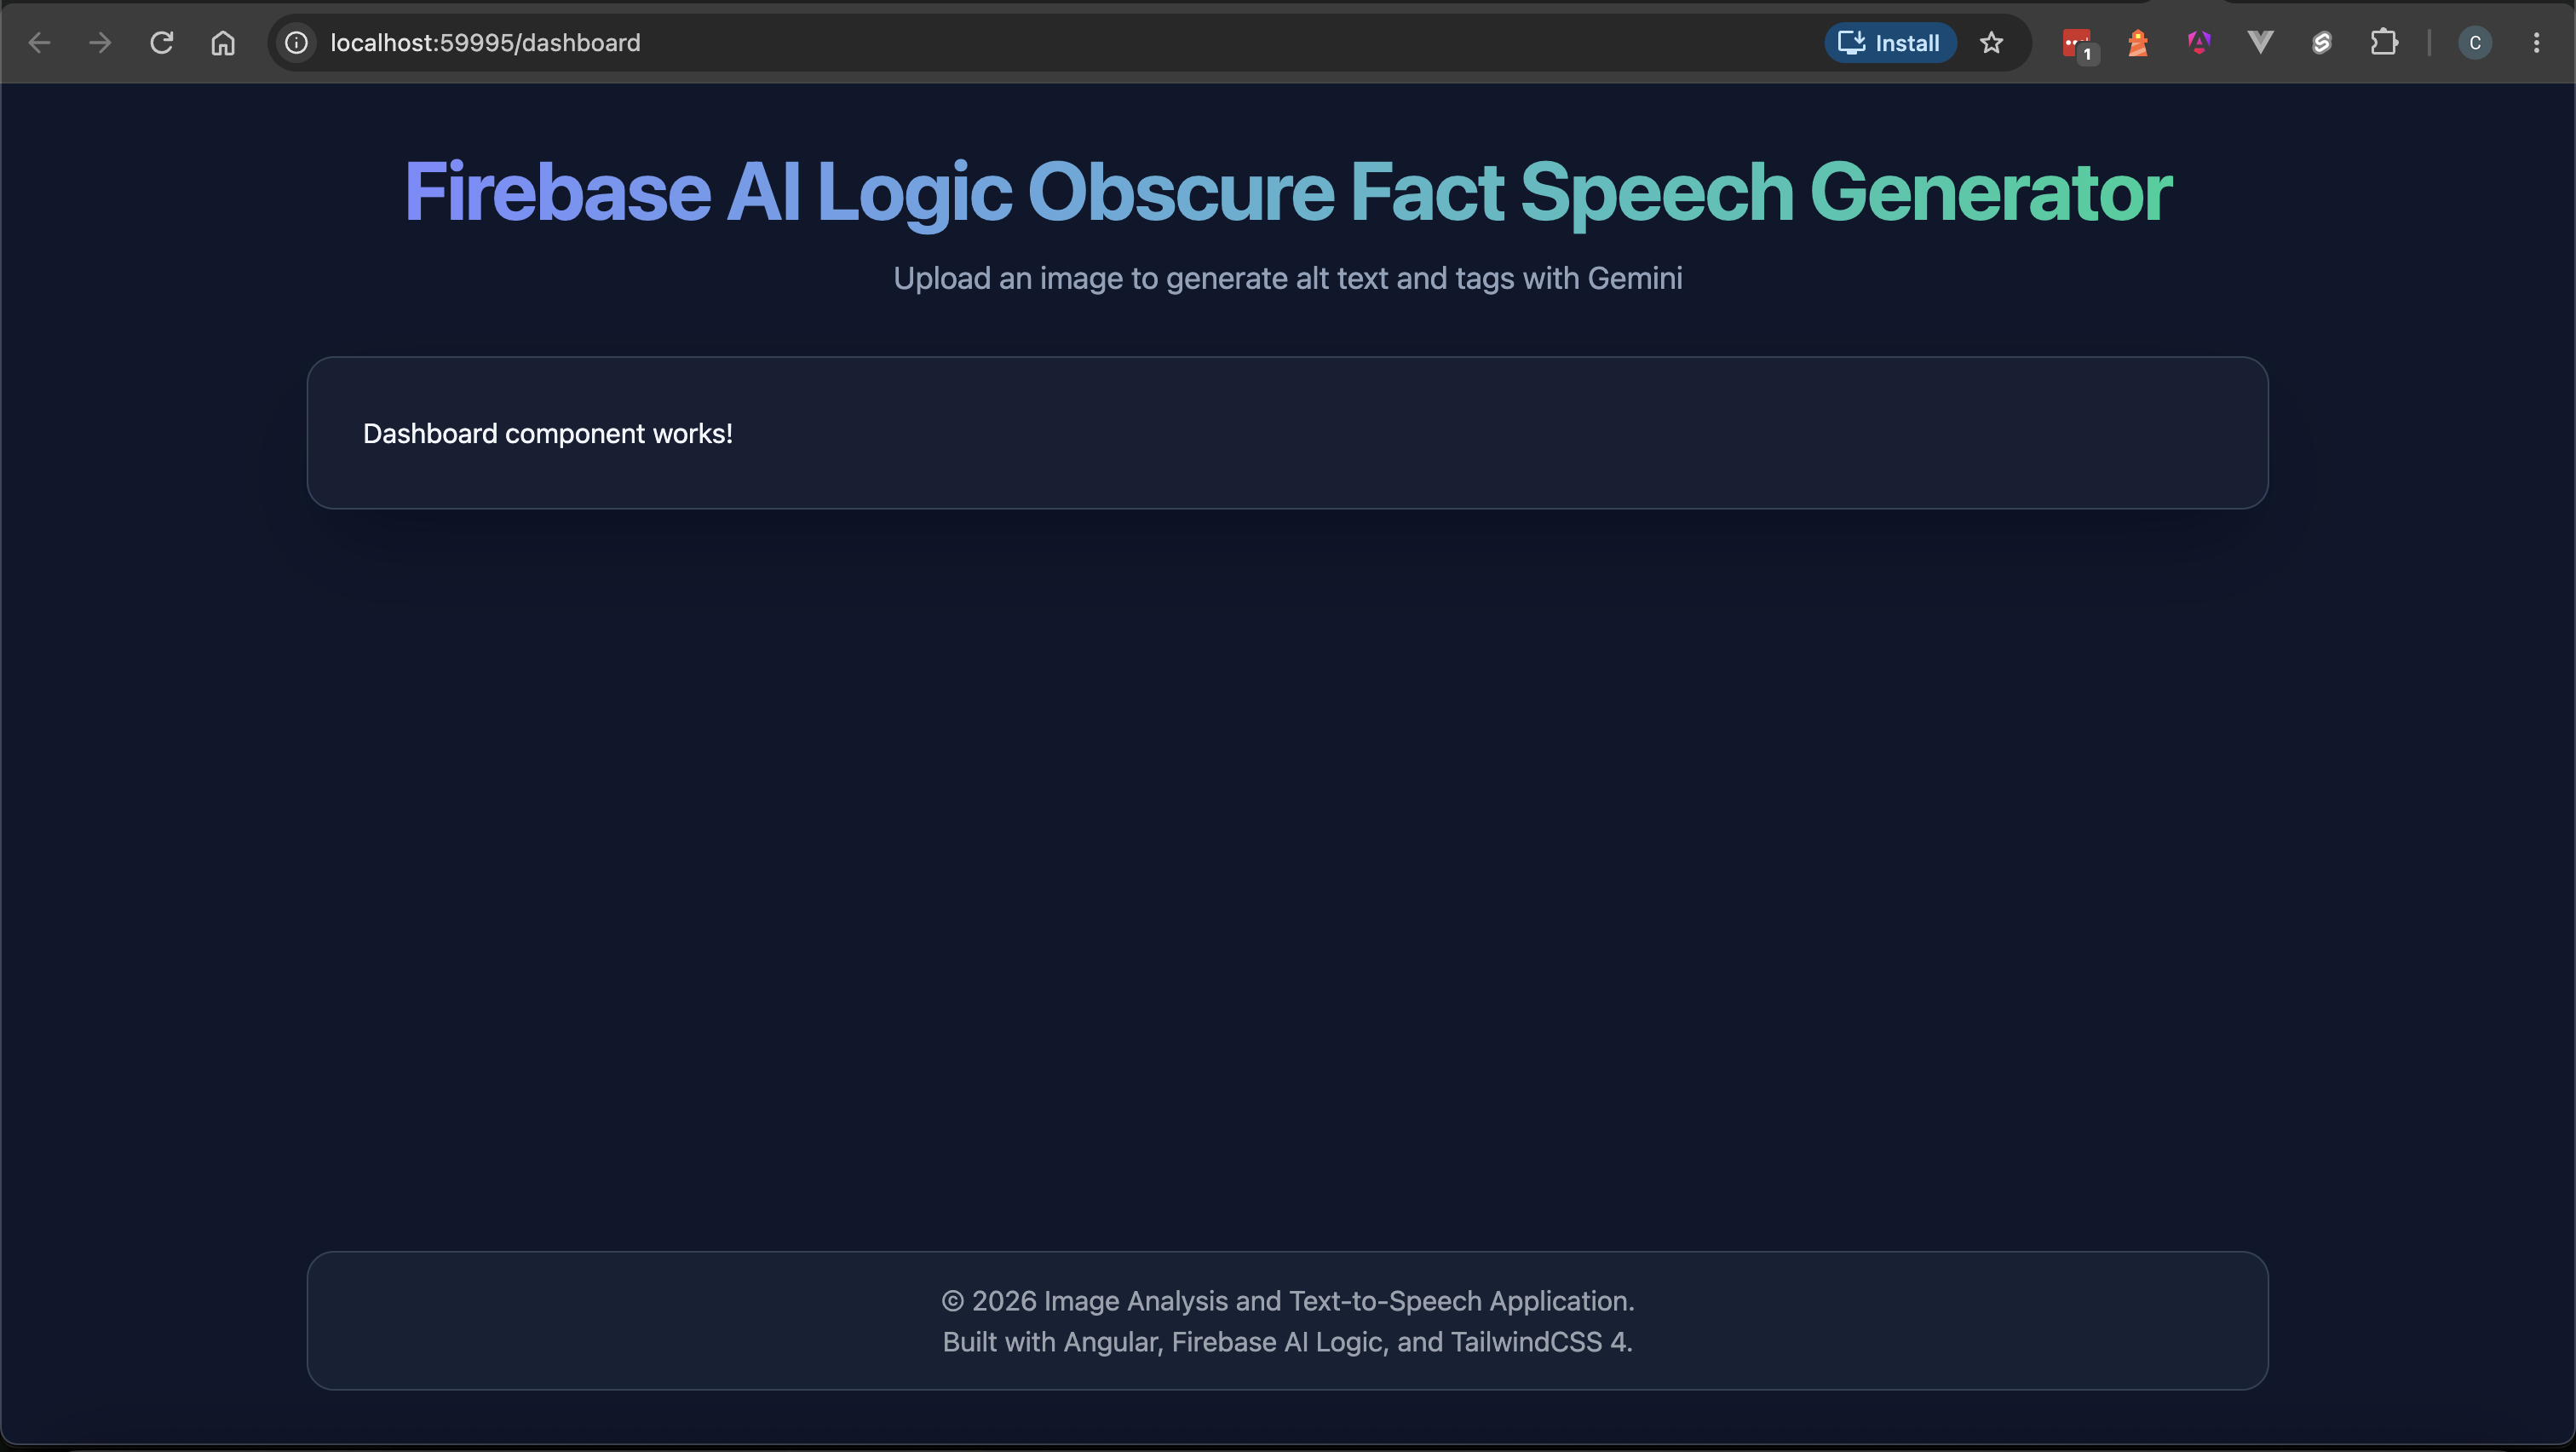
當我們完成測試後,可以選擇指示 Gemini 停止伺服器
angular-cli: Stop the development server
今天就到此為止。明天,我們將向 DashboardComponent 新增子元件,以實現上傳圖片、分析圖片以及產生文字回應。
Tailwind CSS
Material Icons Outlined


 iThome鐵人賽
 看影片追技術