

這篇介紹如何建立 JavaFX Button、套用按鈕風格,以及透過 EventHandler 回應點擊事件。最後也會將事件結果顯示在 JavaFX 的訊息對話框中。
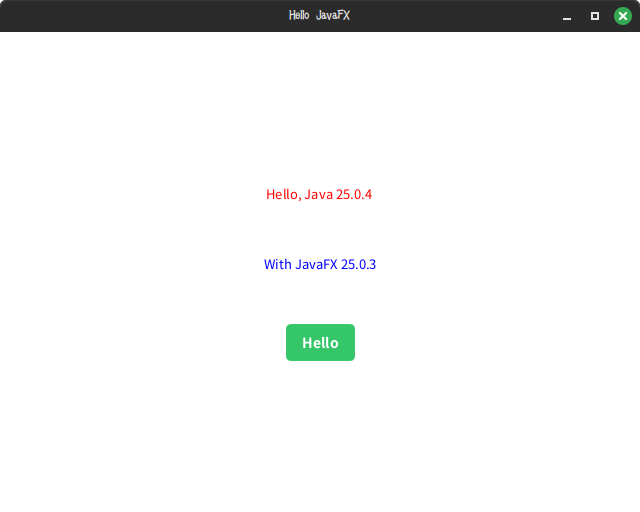
最簡單的互動元件應該就是按鈕了,建立一個按鈕加入到畫面:
(defun create-java-info-scene ()
  (prog* (......
          (btn-hello (new "javafx.scene.control.Button" "Hello")) ; 建立Button物件
          (box (new +VBox+ 50.5 (jnew-array-from-list "javafx.scene.Node"
                                 `(,label-java-version
                                   ,label-javafx-version
                                   ,btn-hello))))  ;; 將Button加入到畫面
          (scene-style (get-system-resource "res/style.css"))
          (result (new +scene+ box 640 480)))
     ......
     (return result)))
在 res/style.css 加入按鈕的預設風格:
/* Style for all buttons */
.button {
    -fx-background-color: #34c669;
    -fx-text-fill: white;
    -fx-font-size: 14px;
    -fx-font-family: "Arial";
    -fx-font-weight: bold;
    -fx-background-radius: 5px;
    -fx-padding: 8px 16px;
}

/* Style when hovering over the button */
.button:hover {
    -fx-background-color: #28a745;
    -fx-cursor: hand;
}

/* Style when the button is clicked/pressed */
.button:pressed {
    -fx-background-color: #1e7e34;
}
要綁定事件處理,需要透過 Node.setOnAction(handler) 進行:
(#"setOnAction" btn-hello *hello-btn-handler*)
*hello-btn-handler*是javafx.event.EventHandler的實現物件,在ABCL可以透過#'jinterface-implementation建立:
(defvar *hello-btn-handler*
  (jinterface-implementation
   "javafx.event.EventHandler"
   "handle" (lambda (event)
              (format t "Action for Event ~A~%" event))))
因為 JavaFX 的事件處理幾乎都會用到 javafx.event.EventHandler,可以為此建立一個巨集:
(defmacro make-event-handler (args &body body)
  `(jinterface-implementation
   "javafx.event.EventHandler"
   "handle" (lambda ,args
              ,@body)))
如此可以簡化建立EventHandler物件的方式:
(make-event-handler (event)
  (format t "Action for Event ~A~%" event))
Action for Event #<javafx.event.ActionEvent javafx.event.ActionEvent[source=.... {6DF3D250}>
Action for Event #<javafx.event.ActionEvent javafx.event.ActionEvent[source=.... {CE29DC7}>
Action for Event #<javafx.event.ActionEvent javafx.event.ActionEvent[source=.... {7F70AF59}>
Action for Event #<javafx.event.ActionEvent javafx.event.ActionEvent[source=.... {7A3564DC}>
Action for Event #<javafx.event.ActionEvent javafx.event.ActionEvent[source=.... {642E6C0D}>
讓應用不只是在終端機顯示訊息,進一步跳出一個訊息對話框,讓使用者知道已經點擊了按鈕:
(prog ((alert (make-messagebox "Clicked Button")))
   (#"show" alert))
#'make-messagebox是依照個人習慣建立的函式,實際上建立的是javafx.scene.control.Alert:
(defun make-messagebox (msg)
  (new +Alert+ +AlertType.INFORMATION+
       msg
       (jarray-from-list
        `(,+ButtonType.OK+))))
為簡化寫法,定義的一些常數:
(defconstant +Alert+ "javafx.scene.control.Alert")
(defconstant +AlertType+ "javafx.scene.control.Alert$AlertType")
(defconstant +AlertType.INFORMATION+
  (jfield +AlertType+ "INFORMATION"))
(defconstant +ButtonType+ "javafx.scene.control.ButtonType")
(defconstant +ButtonType.OK+
  (jfield +ButtonType+ "OK"))
畢竟我最早接觸的視窗程式是 VB6,在 JAVA-calculator 也使用 Swing 的
MessageDialog()。
按下按鈕後,程式會觸發事件處理器,並顯示點擊結果:
這篇完成了第一個 JavaFX 互動元件。後續可以再延伸處理更多 Dialog 類型與互動情境。


 iThome鐵人賽
 看影片追技術