昨天介紹GSP的implicit variable的使用以及controller如何處理表單(addPost),今天要跟大家介紹新的概念或是說名詞: Service,基本上就是將類似addPsot這樣的表單動作抽象化成一個class,只要宣告該Service就可以使用該功能,避免所謂的DRY(Don't Repeat Yourself),一直重複copy&post相同的程式碼在不同的地方,但卻做相同的動作,將延續昨日的addPost並加以改寫,接著介紹databind這個方法可以協助programmer將網頁表單資料(params)直接與domain object對應的屬性作bind,或是白話說將網頁傳來的params map所包含的資料直接更新domain object所對應的屬性,今天將以一個註冊表單為例作為介紹
首先新增Service->com.JasonMicroBlog.post,則Grails會建立PostService以及對應的PostServiceSpec
PostService目前只提供一項服務就是新增post,故我們宣告
Post createPost(String Id, String content)
這個方法,Id是用來搜尋user的,而content是post的內容,此方法裡面就是昨天在addPost裡的程式碼,差別在於errormessage我們用PostExecption來catch,PostService程式碼如下:
class PostService { //本PostService主要提供addPost服務
    static transactional =true //exception發生的話就rollback
	Post createPost(String Id, String content){
		//主要工作就是新增Post
		def user =User.where{userId =~ Id}.get()
		if(user){
			def post=new Post(content:content)
			user.addToPosts(post);
			if(post.validate()&& user.save()){
				return post //Service最後當然是回傳post
			}else{
				throw new PostException(
					message:"Hey!You forgot typing something!!", post:post
					)
			}
		}
		throw new PostException(message:"The user not exist or not found")
	}//以上都跟昨天addPost的程式碼大同小異,除了自行宣告PostException

}
//自己宣告一個Exeption繼承自RunTimeException
class PostException extends RuntimeException{
	String message
	Post post
}
再來到PostController,第一步則需要宣告postService變數讓PostController與PostService連結(wiring)起來,
def postService
,接著改寫addPost方法,與postService搭配,我們需要相同的傳入變數
addPost(String id, String content)
,新增post的工作現在就交給postService,故整個PostController程式碼改寫如下(昨天的程式碼註解掉,給大家參考)
package com.JasonMicroBlog

class PostController {

    static scaffold = true
	def postService
	/*宣告postService意味PostService
	 * inject到PostController來使用
	 * 同樣的,也可以inject到任何Controller
	 * 使用,增加程式碼重複使用
	 */
	def posthistory(){

		def user =User.where{userId =~ params.id}.get()
		if(!user){
			response.sendError(404)
		}else{
			[user:user]
		}

	}
	def addPost(String id, String content){
		try{
			def newPost=
				postService.createPost(id, content)
				//呼叫createPost方法新增post
				flash.message="New post: ${newPost.content} successfully added"
		}catch(PostException pe){
			flash.message=pe.message
		}
		redirect (action: 'posthistory', id:params.id)
	}

//	def addPost={ //定義addPost處理表單
//			def user =User.where{userId =~ params.id}.get()
//			//新增post前再check一下user是否存在
//			if(user){
//				def post=new Post(content:params.content)
//				//先假定表單的addPost的網頁表單變數為content
//				user.addToPosts(post);
//				//新增Post
//				if(user.save()){ //呼叫save方法,把資料persist到資料庫
//					flash.message="Post Successfully created"
//					/*因新增post後網頁將重新導向,故須採用flash
//					 * 這個implicit variable
//					 */
//				}else{
//					flash.message="Warning:Invaild or empty content"
//				}
//			}else{
//				flash.message="The user is not found or does not exist"
//			}
//			redirect (action: 'posthistory', id: params.id)
//			/*重新導向之網頁語法為 action:'網頁名稱'後面接網頁傳遞變數
//			 * ,因為屬同一網頁,params.id即為網址列中"/Jason"
//			 */
//		}
//
}
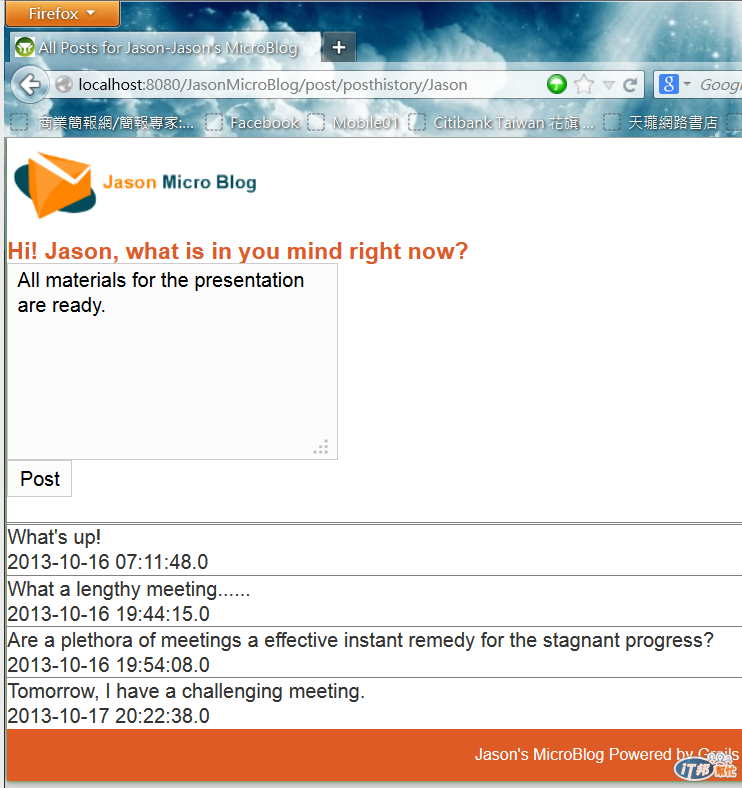
執行run-app,如果沒有打任何訊息,則出現

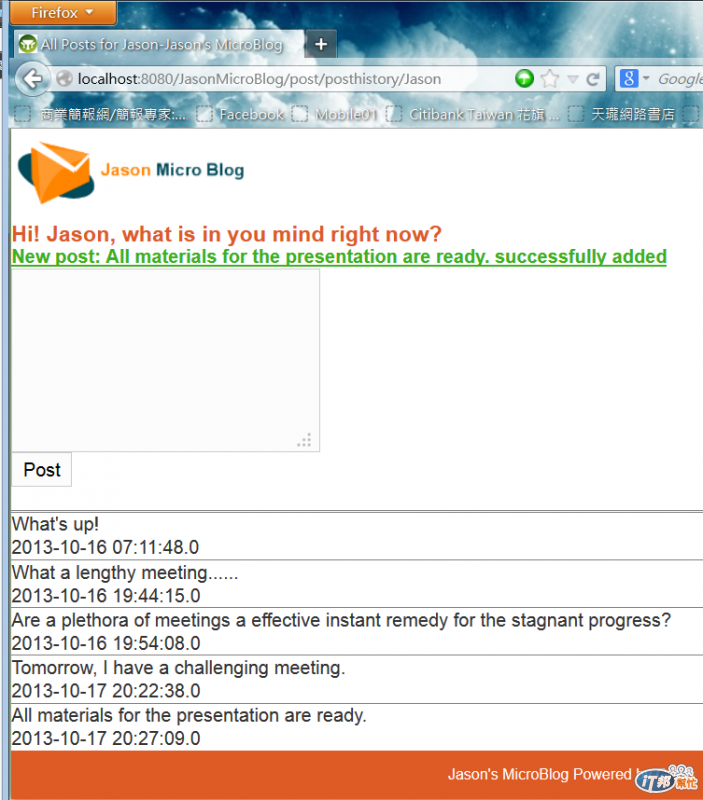
新增Post成功,則出現
接下來介紹bindData()這個方法,有兩種constructor,一種是告訴bindData那些屬性要bind,另外則相反,告訴bindData那些不要bind,例如第一種範例為
bindData(user, params) //相當於user.properties=params(皆為map)
,第二種
bindData(user, params, ['password'])//password不隨之更新
,當然也可以直接這樣寫
user.profile.properties['city', 'education']=params
,只更新指定屬性。
接下來先以簡單版的使用者註冊作為例子:
首先,先到UserController新增處理register表單的code如下
class UserController {

   static scaffold = true

   def register(){
	   if(request.method == "POST"){
		   //判斷register是否為POST,g:form預設都是
		   def user=new User(params)
		   //params是map,以當作constructor參數建立一個新的user物件
		   if(user.validate()){
			   user.save()//persist使用者到資料庫
			   flash.message="New User Successfully Created!!"
			   redirect(uri:'/user/list')
			   //新增完成後導向使用者清單
		   }else{
				 flash.message ="Error in Registration"
				 return [user:user]
		   }
	   }
   }
}
接著新增->register.gsp
<%@ page contentType="text/html;charset=UTF-8" %>


<meta http-equiv="Content-Type" content="text/html; charset=UTF-8"/>
<meta name="layout" content="main"/>
<title>Register A New User</title>


  <div class="body">
  <h1>Register New User</h1>
    <g:if test="${flash.message}">
       <font size=3 color=#3bb11d>
			<strong>
			<u> ${flash.message} </u>
			</strong>
			</font>
    </g:if>
    <g:form action="register">
        <dl>
            <dt>User Id</dt>
            <dd>
                <g:textField name="userId" value="${user?.userId}"/>
            </dd>

            <dt>Password</dt>
            <dd>
                <g:passwordField name="password" value="${user?.password}"/>
            </dd>

            <dt>Personal Page</dt>
            <dd>
                <g:textField name="personalPage" value="${user?.personalPage}"/>
            </dd>

            <dt><g:submitButton name="register" value="Register"/></dt>
        </dl>
    </g:form>
  </div>
run-app後,輸入資料頁面如下

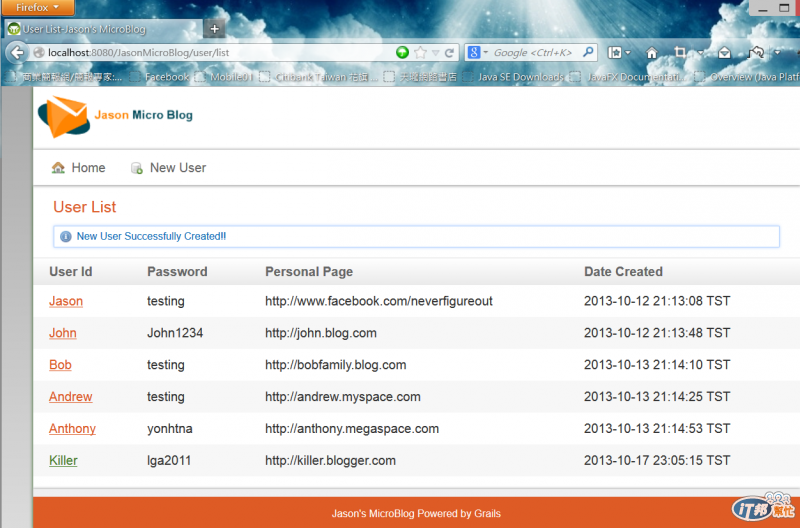
註冊成功後導向使用者清單網頁
若vaildate fail則會回傳錯誤訊息

明天繼續介紹結合Profile跨Domain Class的註冊表單,以及介紹g:haserrors標籤,當使用者輸入不符格式資料時如何handle。