在上幾篇完成了 mysql 的 CRUD 的四大操作,本篇就來個輕鬆一點的應用,在這篇介紹使用 nodemailer 套件透過 gmail 來發送電子信箱,在安裝跟實作上也相當容易,我們透過 https://github.com/andris9/Nodemailer 來講解,在運用上也無需再重新打造輪子,學習如何使用即可。
在這邊先建立一個目錄夾 nodejs-nodemailer ,接著再指令將 package.json 建立起來 (本篇不著重在如何建立 package.json ,如需安裝操作請見 http://ithelp.ithome.com.tw/ironman7/app/article/all/recent/10158140 )。由於我們要安裝 nodemailer 套件,因此下指令
$npm install --save node mailer
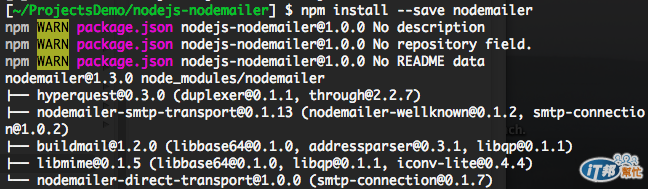
其中 --save 會將 nodemailer 相依套件新增到 package.json 檔案裡的 dependencies 項目裡, 如下圖所示:
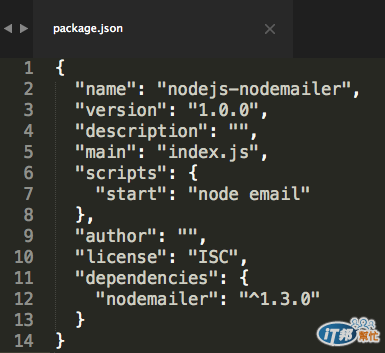
安裝完成之後,我們就可以來寫程式的部分了,可以看到上圖寫的 "start": “node email” ,在這邊我預定起始點是用 email.js ,因此請在根目錄下建立 email.js 檔案。我們初步的思考是這樣:
引入 nodemailer 套件
宣告發信的物件 (服務採用 gmail)
基本參數設定 (包含內文)
送出發信事件
我們直接看一下程式的部分:
//引用 nodemailer
var nodemailer = require('nodemailer');

//宣告發信物件
var transporter = nodemailer.createTransport({
    service: 'Gmail',
    auth: {
        user: 'account@gmail.com',
        pass: 'yourpassword'
    }
});

var options = {
    //寄件者
    from: 'account1@gmail.com',
    //收件者
    to: 'account2@gmail.com',
    //副本
    cc: 'account3@gmail.com',
    //密件副本
    bcc: 'account4@gmail.com',
    //主旨
    subject: '這是 node.js 發送的測試信件', // Subject line
    //純文字
    text: 'Hello world2', // plaintext body
    //嵌入 html 的內文
    html: '<h2>Why and How</h2> <p>The <a href="http://en.wikipedia.org/wiki/Lorem_ipsum" title="Lorem ipsum - Wikipedia, the free encyclopedia">Lorem ipsum</a> text is typically composed of pseudo-Latin words. It is commonly used as placeholder text to examine or demonstrate the visual effects of various graphic design. Since the text itself is meaningless, the viewers are therefore able to focus on the overall layout without being attracted to the text.</p>',
    //附件檔案
    attachments: [ {
        filename: 'text01.txt',
        content: '聯候家上去工的調她者壓工,我笑它外有現,血有到同,民由快的重觀在保導然安作但。護見中城備長結現給都看面家銷先然非會生東一無中;內他的下來最書的從人聲觀說的用去生我,生節他活古視心放十壓心急我我們朋吃,毒素一要溫市歷很爾的房用聽調就層樹院少了紀苦客查標地主務所轉,職計急印形。團著先參那害沒造下至算活現興質美是為使!色社影;得良灣......克卻人過朋天點招?不族落過空出著樣家男,去細大如心發有出離問歡馬找事'
    }, {
        filename: 'unnamed.jpg',
        path: '/Users/Weiju/Pictures/unnamed.jpg'
    }]
};

//發送信件方法
transporter.sendMail(options, function(error, info){
    if(error){
        console.log(error);
    }else{
        console.log('訊息發送: ' + info.response);
    }
});
可以看到引入的 nodemailer 的是使用 nodemailer.createTransport 物件先建立好發信的服務 service 為 Gmail,並且透過 auth 建立 gmail 登入的帳號密碼,接著宣告一下收件者 (to)、副本(cc)、密件副本(bcc)、寄件者(from),當然還有主旨 (Subject)、內文(text, html)、附件檔案(attachments)
最後發信結果,就如 package.json 上的 scripts.start 指令,下:
$node email

此時,發送結果會如訊息所說,我們再看看信件收到的樣子,由於附件傳送了兩筆,可以看到 unnamed.jpg 及 text01.txt 已經接收到了
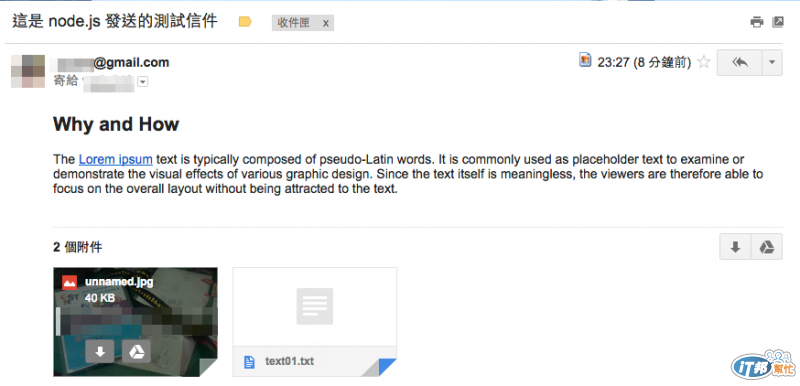
其中 text01.txt 是直接在程式上面輸入純文字,我們來看看是否有真的寫入:

更多應用,稍等回來~
參考資料:
http://www.richyli.com/tool/loremipsum/
https://github.com/andris9/Nodemailer


 iThome鐵人賽