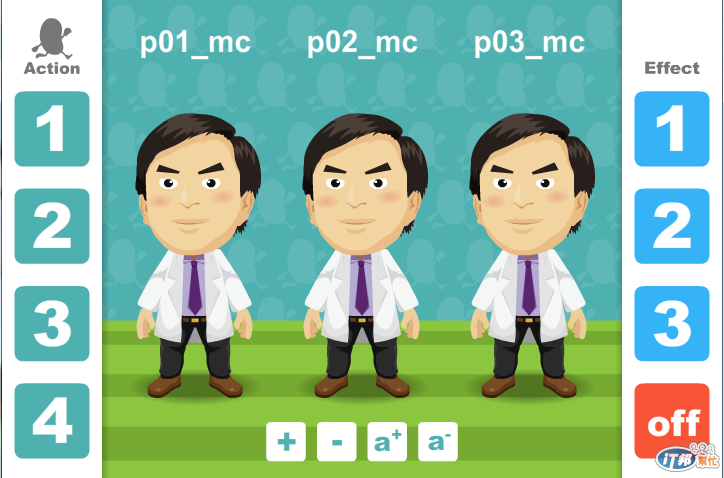
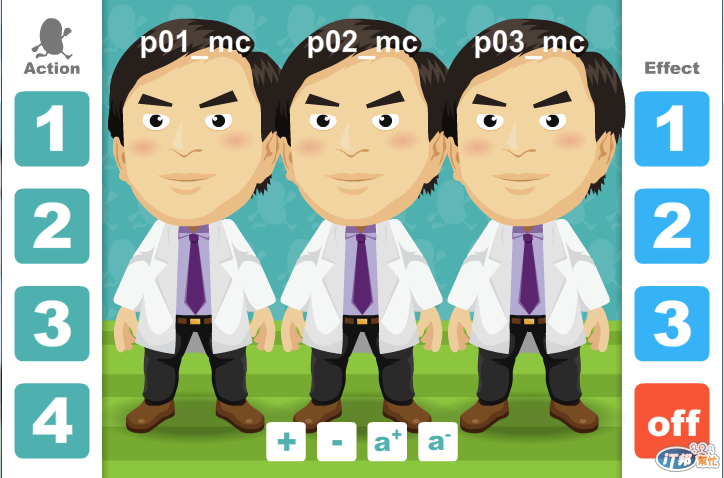
上一篇我們已經把整個動畫裡面需要用到as的部分都完成了,
完成畫面如下~所有的功能都可以點按測試,

但我們看一下完成的語法部分,
/* 人物屬性*/
p01_btn.addEventListener(MouseEvent.CLICK,attribute_01);
p02_btn.addEventListener(MouseEvent.CLICK,attribute_02);
p03_btn.addEventListener(MouseEvent.CLICK,attribute_03);
p04_btn.addEventListener(MouseEvent.CLICK,attribute_04);
function attribute_01(e) {
	p02_mc.scaleX = p02_mc.scaleX*1.1;
	p02_mc.scaleY = p02_mc.scaleY*1.1;
}
function attribute_02(e) {
	p02_mc.scaleX = p02_mc.scaleX/1.1;
	p02_mc.scaleY = p02_mc.scaleY/1.1;
}
function attribute_03(e) {
	p02_mc.alpha = p02_mc.alpha + 0.1 ;
}
function attribute_04(e) {
	p02_mc.alpha = p02_mc.alpha - 0.1 ;
}
倘若今天我要讓3個人物 mc 都套用變形的話,是不是就要寫成
/* 人物屬性*/
p01_btn.addEventListener(MouseEvent.CLICK,attribute_01);
p02_btn.addEventListener(MouseEvent.CLICK,attribute_02);
p03_btn.addEventListener(MouseEvent.CLICK,attribute_03);
p04_btn.addEventListener(MouseEvent.CLICK,attribute_04);
function attribute_01(e) {
	p01_mc.scaleX = p01_mc.scaleX*1.1;
	p01_mc.scaleY = p01_mc.scaleY*1.1;
	p02_mc.scaleX = p02_mc.scaleX*1.1;
	p02_mc.scaleY = p02_mc.scaleY*1.1;
	p03_mc.scaleX = p03_mc.scaleX*1.1;
	p03_mc.scaleY = p03_mc.scaleY*1.1;
}
function attribute_02(e) {
	p01_mc.scaleX = p01_mc.scaleX/1.1;
	p01_mc.scaleY = p01_mc.scaleY/1.1;
	p02_mc.scaleX = p02_mc.scaleX/1.1;
	p02_mc.scaleY = p02_mc.scaleY/1.1;
	p03_mc.scaleX = p03_mc.scaleX/1.1;
	p03_mc.scaleY = p03_mc.scaleY/1.1;
}
function attribute_03(e) {
	p01_mc.alpha = p01_mc.alpha + 0.1 ;
	p02_mc.alpha = p02_mc.alpha + 0.1 ;
	p03_mc.alpha = p03_mc.alpha + 0.1 ;
}
function attribute_04(e) {
	p01_mc.alpha = p01_mc.alpha - 0.1 ;
	p02_mc.alpha = p02_mc.alpha - 0.1 ;
	p03_mc.alpha = p03_mc.alpha - 0.1 ;
}
這樣一看,其實有很多地方都是重複性很高的~
若今天的 mc 或 btn 有十幾、二十幾個,那我想每個都寫完應該幾百行去了吧....
所以今天要來試著該如何來縮短優化語法,以提升簡便以及再利用性質~
迴圈可以同時對命名邏輯相同,譬如我們要對 p01_mc、p02_mc、p03_mc 做控制,
我們就會改成 this["p0"+i+"_mc"] ,配合 for 語法,這樣就可以同時呼叫3個 mc 了
先來說一下 for 語法公式是 for( i=起始數; i<=對象最大數; i++){ 內容 };
那我們直接來實作一下吧,原本是
/* 人物屬性*/
p01_btn.addEventListener(MouseEvent.CLICK,attribute_01);
p02_btn.addEventListener(MouseEvent.CLICK,attribute_02);
p03_btn.addEventListener(MouseEvent.CLICK,attribute_03);
p04_btn.addEventListener(MouseEvent.CLICK,attribute_04);
function attribute_01(e) {
	p01_mc.scaleX = p01_mc.scaleX*1.1;
	p01_mc.scaleY = p01_mc.scaleY*1.1;
	p02_mc.scaleX = p02_mc.scaleX*1.1;
	p02_mc.scaleY = p02_mc.scaleY*1.1;
	p03_mc.scaleX = p03_mc.scaleX*1.1;
	p03_mc.scaleY = p03_mc.scaleY*1.1;
}
function attribute_02(e) {
	p01_mc.scaleX = p01_mc.scaleX/1.1;
	p01_mc.scaleY = p01_mc.scaleY/1.1;
	p02_mc.scaleX = p02_mc.scaleX/1.1;
	p02_mc.scaleY = p02_mc.scaleY/1.1;
	p03_mc.scaleX = p03_mc.scaleX/1.1;
	p03_mc.scaleY = p03_mc.scaleY/1.1;
}
function attribute_03(e) {
	p01_mc.alpha = p01_mc.alpha + 0.1 ;
	p02_mc.alpha = p02_mc.alpha + 0.1 ;
	p03_mc.alpha = p03_mc.alpha + 0.1 ;
}
function attribute_04(e) {
	p01_mc.alpha = p01_mc.alpha - 0.1 ;
	p02_mc.alpha = p02_mc.alpha - 0.1 ;
	p03_mc.alpha = p03_mc.alpha - 0.1 ;
}
經過 for 迴圈以後就,變成
/* 人物屬性*/
for( var i=1; i<=4; i++){
	this["p0"+i+"_btn"].addEventListener(MouseEvent.CLICK, this["attribute_0"+i] );
	}
function attribute_01(e) {
	for( var i=1; i<=3; i++){
		this["p0"+i+"_mc"].scaleX = this["p0"+i+"_mc"].scaleX*1.1;
		this["p0"+i+"_mc"].scaleY = this["p0"+i+"_mc"].scaleY*1.1;
	}
}
function attribute_02(e) {
	for( var i=1; i<=3; i++){
		this["p0"+i+"_mc"].scaleX = this["p0"+i+"_mc"].scaleX/1.1;
		this["p0"+i+"_mc"].scaleY = this["p0"+i+"_mc"].scaleY/1.1;
	}
}
function attribute_03(e) {
	for( var i=1; i<=3; i++){
		this["p0"+i+"_mc"].alpha = this["p0"+i+"_mc"].alpha + 0.1;
	}
}
function attribute_04(e) {
	for( var i=1; i<=3; i++){
		this["p0"+i+"_mc"].alpha = this["p0"+i+"_mc"].alpha - 0.1;
	}
}
這樣,是不是就可以省掉很多重複寫的問題了呢!?
而且看起來也清爽多了,之後如果要多加按鈕~
只要再把 i<=(數字); 改成對應的數量就好了~也方便我們之後維護~

