今天來練習一下session的部分
先前模擬線上人數的練習
之前的練習只能反映出現在的session有多少個
但實務上會希望加上登入登出的機制
要看目前登入顯上人數,而非把登出的也算進去
先前的listender仍繼續留著暫時不使用
在這裡先新增一支myLoginListener 的Listener
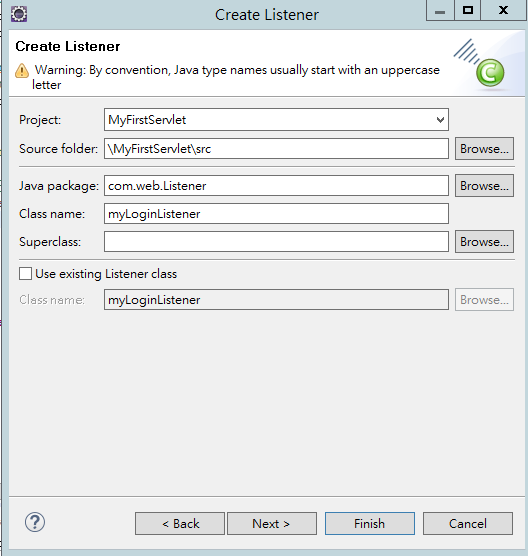
選用HttpSessionAttributeListener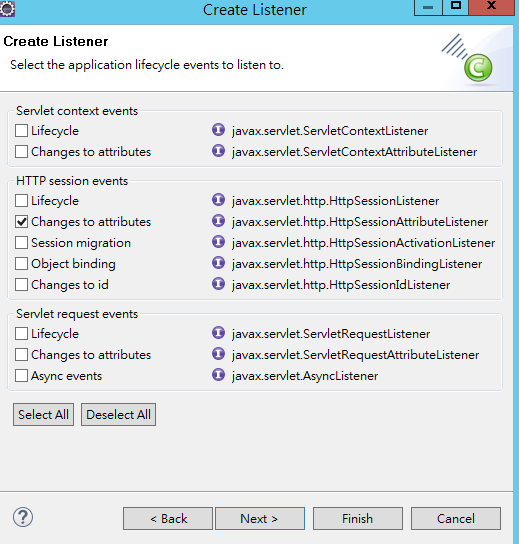
HttpSessionAttributeListener裡面會預設三個method
在這裡的步驟和前幾天的myListener.java很像
宣告一個變數去儲存當session被setAttribute或是被removeAttribute時的紀錄
宣告一個變數去儲存登入人數
 private static int tSessions;
    public static int GetSessions() {
        return myLoginListener.tSessions;
      }
在attributeAdded和attributeRemoved去做加減的紀錄
 public void attributeAdded(HttpSessionBindingEvent arg0)  {
         // TODO Auto-generated method stub
    	tSessions++;
    }
	/**
     * @see HttpSessionAttributeListener#attributeRemoved(HttpSessionBindingEvent)
     */
    public void attributeRemoved(HttpSessionBindingEvent arg0)  {
         // TODO Auto-generated method stub
    	tSessions--;
    }
再來是調整LoginServlet的部分
原先在doPost裡面是直接去抓myListener.GetSessions()
因為現在要把目前的session給set到我新建的一個屬性
再去取出myLoginListener.getSession()顯示有多少人登入
LoginServlet.java
 //在裡只驗證密碼和DD裡面的是否相同就好,來模擬多人在同個web的case
		if(secretPassword.equals(password) )
		{
			request.setAttribute("myname",name); //本來就有的屬性,歡迎頁面所使用的user name
            //儲存當前的session
			HttpSession session = request.getSession();
			//將目前的session當作屬性儲存起來
            //同時myLoginListener在這裡會增加1
            session.setAttribute("myname",name);

			request.setAttribute("cont",myLoginListener.GetSessions());
			request.getRequestDispatcher("Index.jsp").forward(request, response);
			return;
		}
之前的練習並沒有做logout
因為今天要實現登入登出的功能
所以新增一個logoutServlet
當user點選時觸發,並將剛剛新增個屬性給remove
一樣是只使用doPost方法
LogoutServlet.java
protected void doPost(HttpServletRequest request, HttpServletResponse response) throws ServletException, IOException {
		HttpSession session = request.getSession();
        //這裡因為當user登出,目前的session屬性將被移除
        //會觸發myLoginListener的attributeRemoved
		session.removeAttribute("myname");
		System.out.println("removeAttribute session:"+session.getId());
		request.getRequestDispatcher("Longin.jsp").forward(request, response);
	}
Index.jsp
<body>
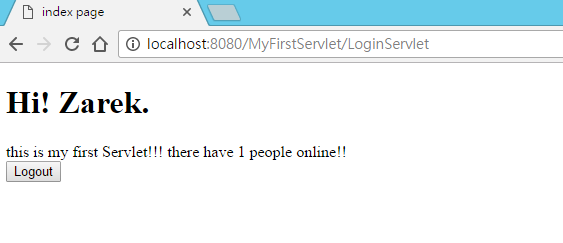
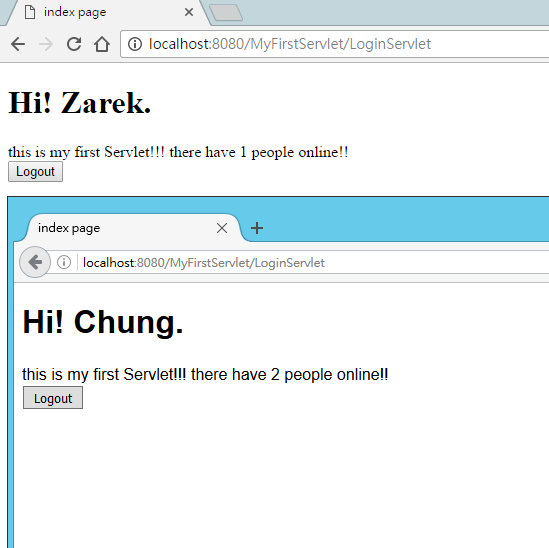
<h1>Hi! <%= request.getAttribute("myname") %>.</h1> this is my first Servlet!!!
there have <%=request.getAttribute("cont") %> people online!!
<!-- 新增logout button -->
<form action='Logout' method="post">
<input name="button" type="submit" id="button" value="Logout">
</form>
</body>
web.xml
<servlet>
    <servlet-name>LogoutServlet</servlet-name>
    <servlet-class>com.servlet.LogoutServlet</servlet-class>
 </servlet>
 <servlet-mapping>
    <servlet-name>LogoutServlet</servlet-name>
    <url-pattern>/Logout</url-pattern>
  </servlet-mapping>
在這裡有個很重的地方
因為先前我的filter是設定成url-pattern
並用斜線加星號
<url-pattern>/*</url-pattern>
但並沒有去設定要對應怎樣的servlet
所以這個filter是針對web上的每個servlet
因此在這裡要限制只能使用在LoginServlet上
web.xml
  <filter>
    <filter-name>MyFilter</filter-name>
    <filter-class>com.web.Filter.MyFilter</filter-class>
  </filter>

  <filter-mapping>
    <filter-name>MyFilter</filter-name>
    <servlet-name>LoginServlet</servlet-name>
  </filter-mapping>
再來因為現在filter沒有使用url對應了
所以必須要將之前在LoginServlet設定的url-pattern在改過來
不然web只會接受/LoginServlet的request
web.xml
 <servlet-mapping>
    <servlet-name>LoginServlet</servlet-name>
    <url-pattern>/</url-pattern>
  </servlet-mapping>
因為我們將本來的來源從myListener改為myLoginListener
但屬性名稱還是叫做cont
因此JSP只需新增logout就好,其他的都不用改
request.getAttribute("cont")
先用chrome登入模擬user1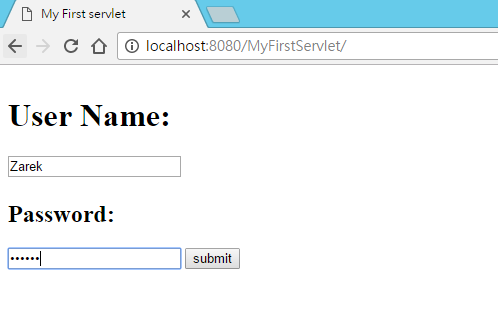
再用Firefox模擬第二個user
將第1個user 登出,使用IE登入,結果為2個正確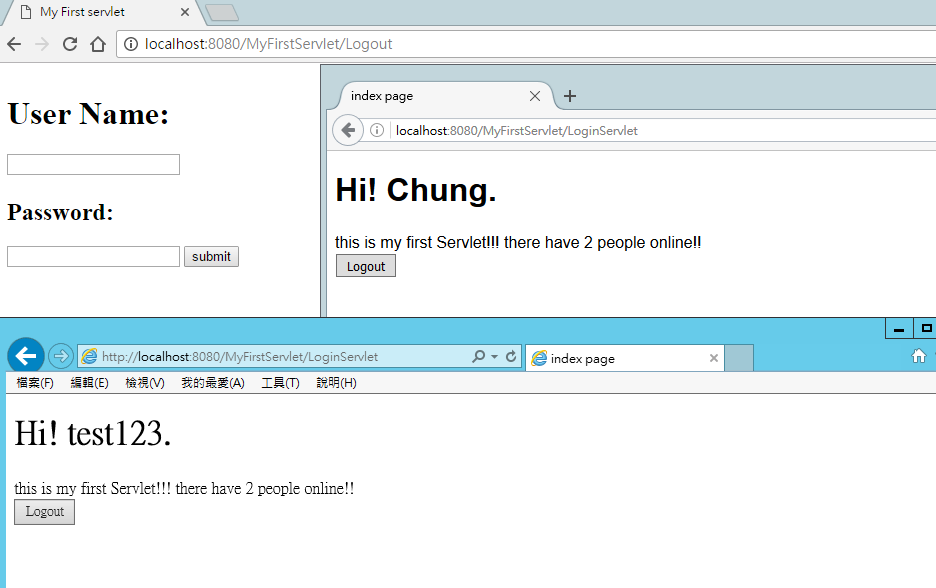
今天先示範到這裡
簡單的寄錄一下內容
這兩天有空再做補充說明