本來預計今天要深入的介紹 React Native FlexBox 的,但是想想沒有其他元件做搭配排版,這樣顯得單調許多,所以接下來我會再多介紹一些元件。
今天我們要來介紹 <Text> 也是在先前初始專案中有看到的顯示文字的元件,這個元件非常的簡單我們直接來看看如何使用吧。
一樣在開頭 import { Text } from 'react-native'; 就可以使用摟
<Text style={{ color: '#fff', fontSize: 30 }}> Hellow!! </Text>
也一樣是放 style ,然後 <Text></Text> 中間能擺你要放的文字
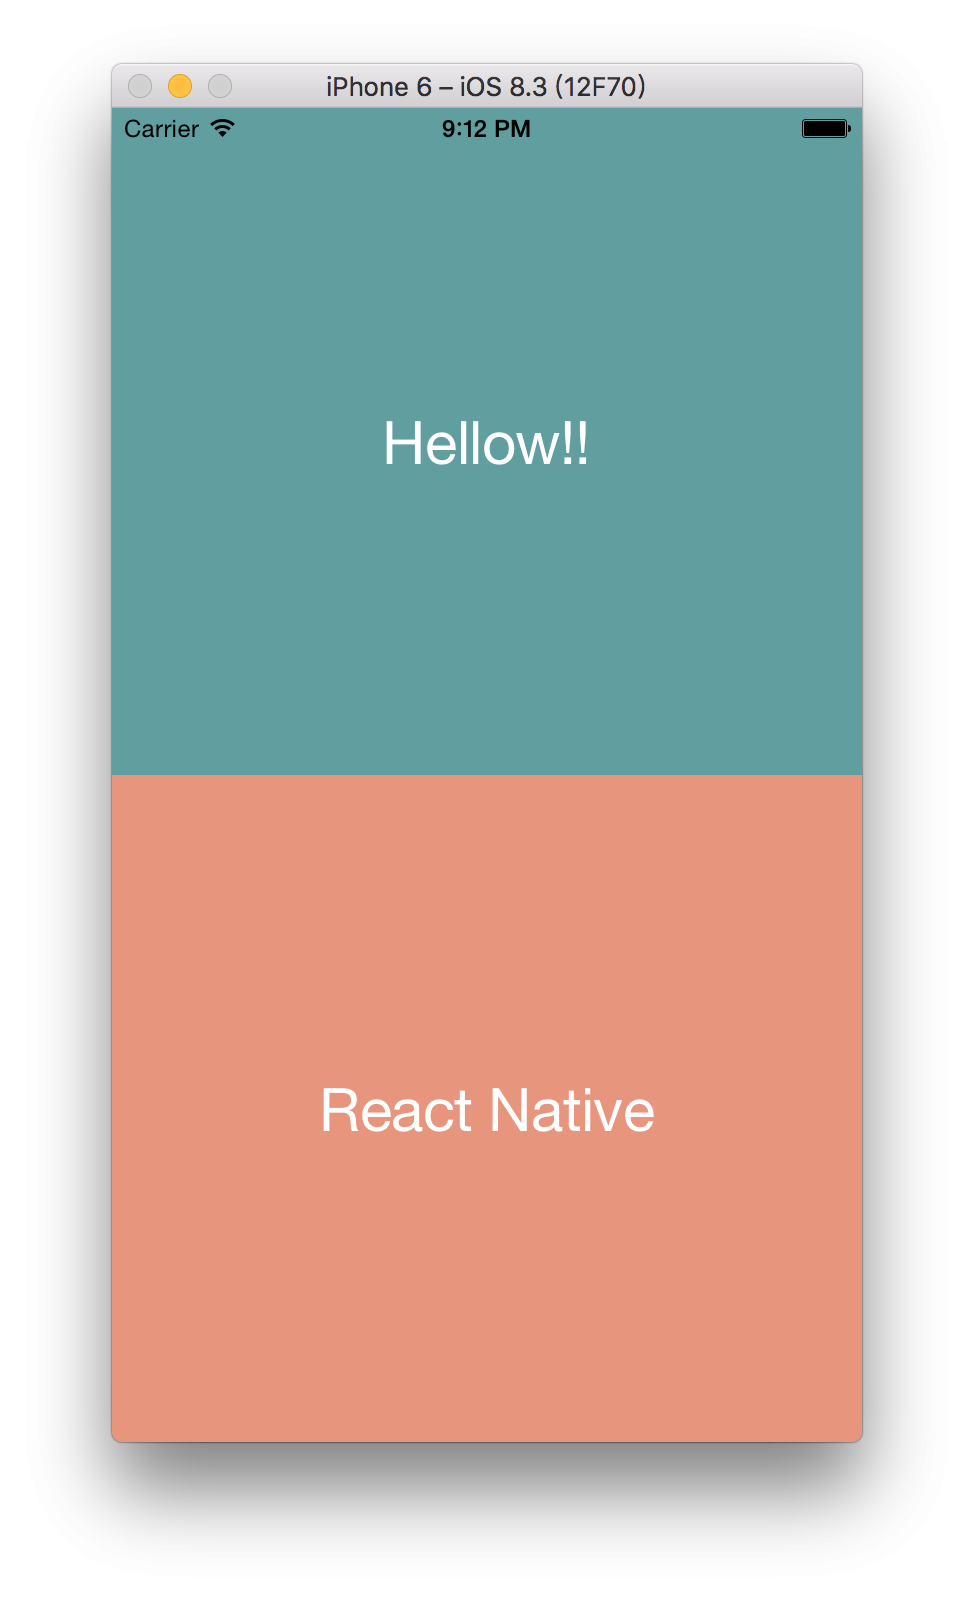
延伸昨天的範例來做一個小 Sample 吧
/**
 * Sample React Native App
 * https://github.com/facebook/react-native
 * @flow
 */

import React, { Component } from 'react';
import {
  AppRegistry,
  StyleSheet,
  View,
  Text
} from 'react-native';

export default class HelloReactNative extends Component {
  render() {
    return (
      <View style={{ flex: 1 }}>
        <View style={[styles.center, { backgroundColor: 'cadetblue' }]}>
          <Text style={{ color: '#fff', fontSize: 30 }}> Hellow!! </Text>
        </View>
        <View style={[styles.center, { backgroundColor: 'darksalmon' }]}>
          <Text style={{ color: '#fff', fontSize: 30 }}> React Native </Text>
        </View>
      </View>
    );
  }
}

const styles = StyleSheet.create({
  center: {
    flex: 1,
    justifyContent: 'center',
    alignItems: 'center',
  }
});

AppRegistry.registerComponent('HelloReactNative', () => HelloReactNative);
結果:
把這串貼上你的編輯器試試看吧,這裡也有簡單用到 Flex 做文字置中的動作,非常簡單吧
關於 Text 的 style , IOS 跟 Android 有些微差異,可以參考這裡
有問題歡迎來 React Native Taiwan 問喔
創科資訊
