一款 App 裡面沒有圖片就太單調了,所以今天來介紹 React Native 元件裡面如何顯示圖片吧
跟其他元件一樣可以直接使用 import { Image } from 'react-native'; 就可以使用 Image 了,然後我們可以看官方的文件有哪些 props 可以使用,我們可以看到有一個 props 叫做 source 這個 source 就是我們放圖片路徑的地方,可以使用 require 然後指定相對路徑的方式把圖片 import 進來
<Image style={styles.center} source={require('./assets/cat1.jpg')} />
當然除了使用本地的檔案,也可以直接使用連結的方式
<Image
  style={[styles.center, { width: 400 }]}
  source={{ uri: 'http://lorempixel.com/1920/1920/cats' }}
/>
這裡我們能注意到一個小地方,在使用本地檔案的時候,沒有設定圖片寬高,但是在使用 uri 的方式卻要使用,這算是一個小雷點,一開始使用 Image 沒有注意的話很容易圖片跑不出來
這裡在用前幾天介紹的元件組合成一個小範例
/**
 * Sample React Native App
 * https://github.com/facebook/react-native
 * @flow
 */

import React, { Component } from 'react';
import {
  AppRegistry,
  StyleSheet,
  View,
  Text,
  Image
} from 'react-native';

export default class HelloReactNative extends Component {
  render() {
    return (
      <View style={{ flex: 1 }}>
        <View style={styles.center}>
          <Image style={styles.center} source={require('./assets/cat1.jpg')}>
            <Text style={styles.textCenter}> Hellow!! </Text>
          </Image>
        </View>
        <View style={[styles.center, { backgroundColor: 'darksalmon' }]}>
          <Image style={[styles.center, { width: 400 }]} source={{ uri: 'http://lorempixel.com/1920/1920/cats' }}>
            <Text style={styles.textCenter}> React Native </Text>
          </Image>
        </View>
      </View>
    );
  }
}

const styles = StyleSheet.create({
  center: {
    flex: 1,
    justifyContent: 'center',
    alignItems: 'center',
  },
  textCenter: {
    color: '#fff',
    backgroundColor: 'rgba(50,50,50,0.3)',
    fontSize: 40,
  }
});

AppRegistry.registerComponent('HelloReactNative', () => HelloReactNative);
結果會長這樣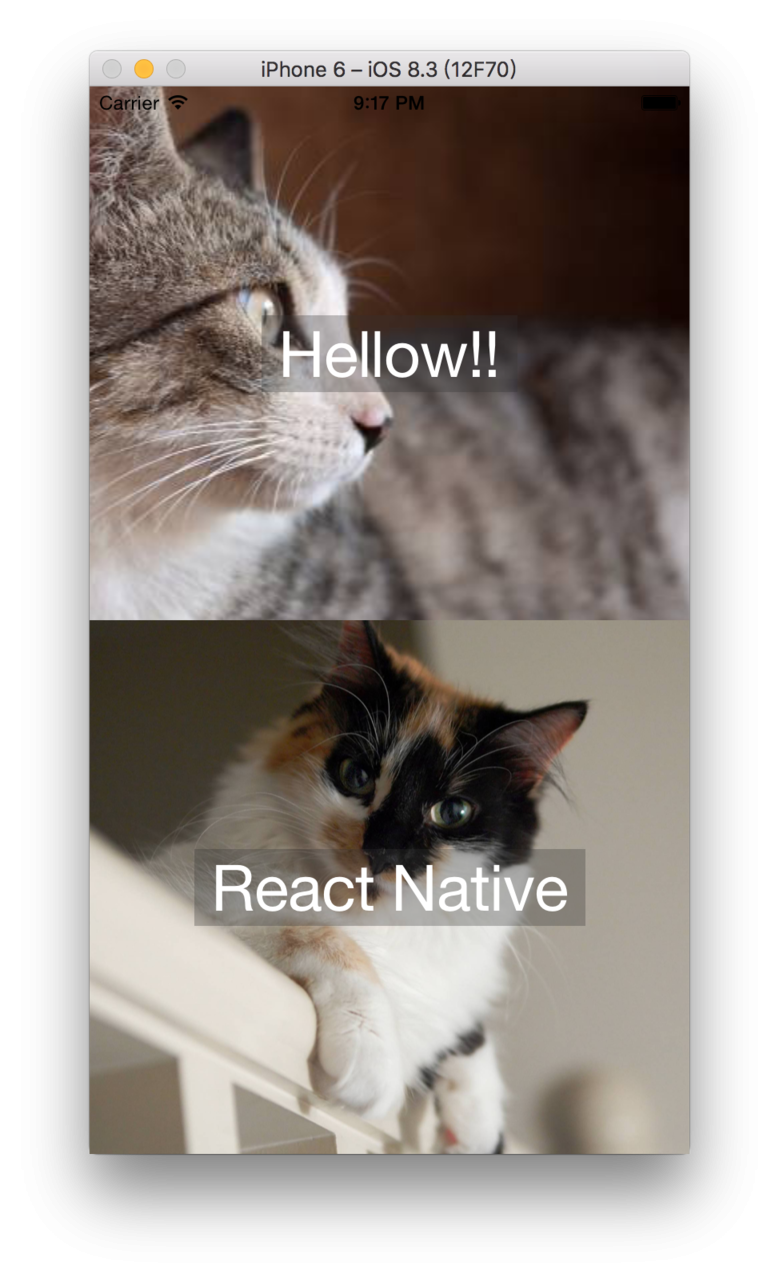
這裡有用到一個好服務 http://lorempixel.com 可以產生一些 mock 的圖片放在 image 裡面,不會因為要測試 Image 還要另外找圖片,很不方便,另外如果想要低調一點的可以使用 https://placehold.it/
Image 還有一些比較實用的 props 像是resizeMode 可以讓圖片做出一些不同的效果
cover: 在保持圖片寬高比的前提下縮放圖片,直到寬度和高度都大於等於容器視圖的尺寸(如果容器有padding內襯的話,則相應減去)。譯註:這樣圖片完全覆蓋甚至超出容器,容器中不留任何空白。contain: 在保持圖片寬高比的前提下縮放圖片,直到寬度和高度都小於等於容器視圖的尺寸(如果容器有padding內襯的話,則相應減去)。譯註:這樣圖片完全被包裹在容器中,容器中可能留有空白stretch: 拉伸圖片且不維持寬高比,直到寬高都剛好填滿容器。repeat: 重複平鋪圖片直到填滿容器。圖片會維持原始尺寸。僅iOS可用。center: 居中不拉伸。各個不同的效果長這樣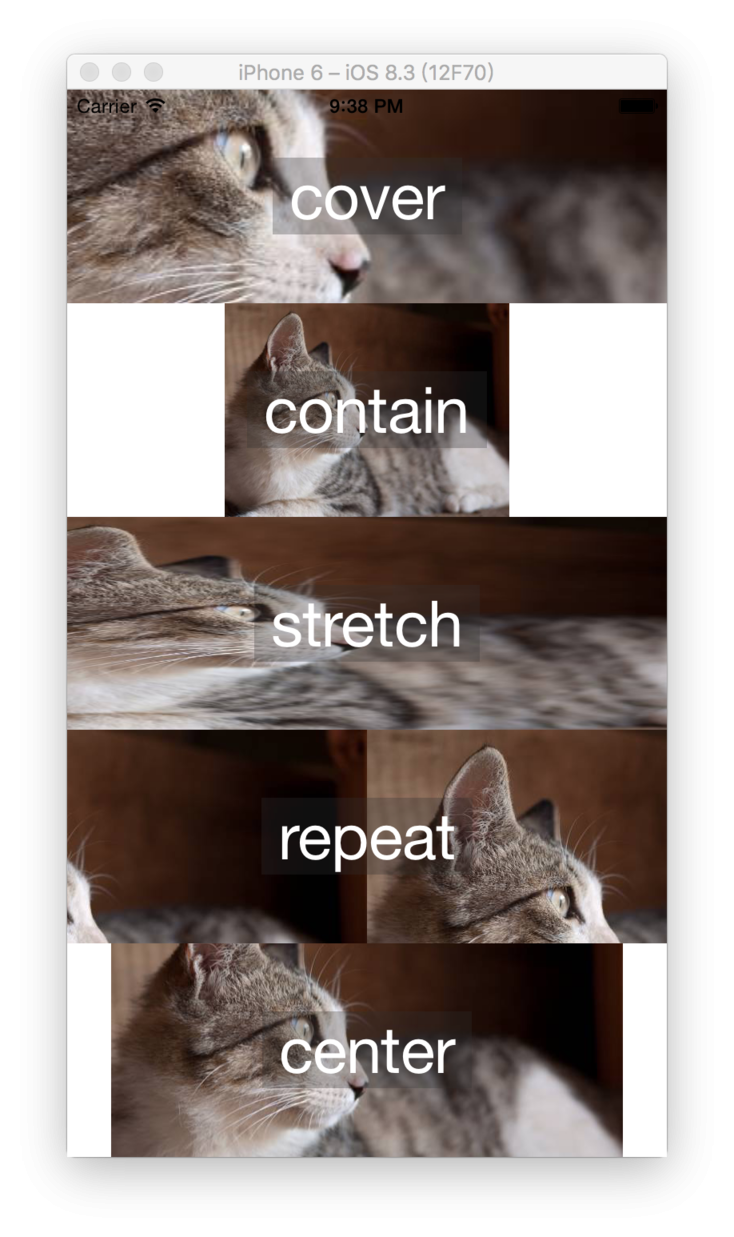
有問題歡迎來 React Native Taiwan 問喔
創科資訊


 iThome鐵人賽