這裡要做出一個用BezierPath換臉的View
首先 File > New File Cocoatouch class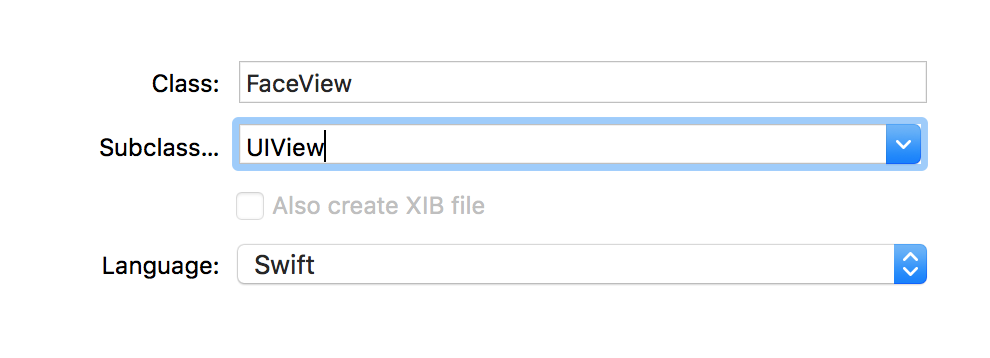
你的FaceView建完會長這樣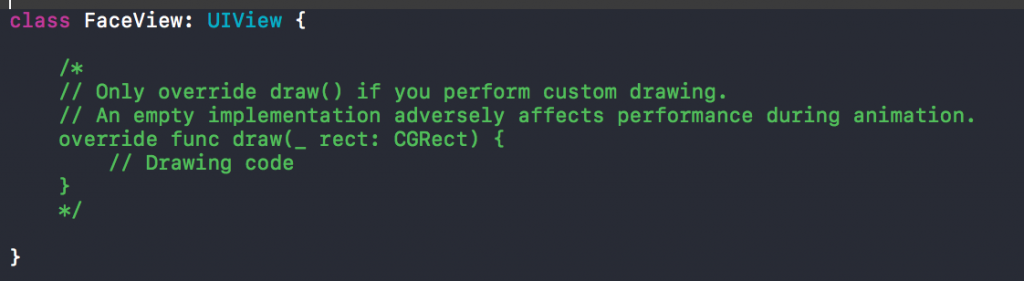
這邊DrawRect被註解掉,除非你真的有畫東西,不然系統會以為你有要畫東西吃掉效能
再來將View移出來對準藍色的線方便設定constrants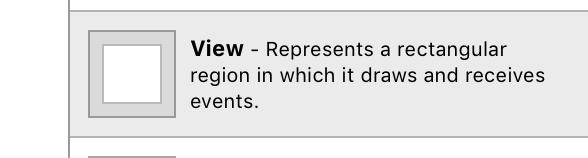
在來點選你的view 在identify inspector裡設定他為faceView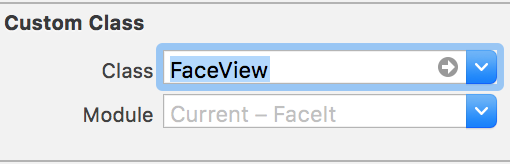
接下來設定View的content mode 為 Redraw
這樣你的bounds改變他也會重畫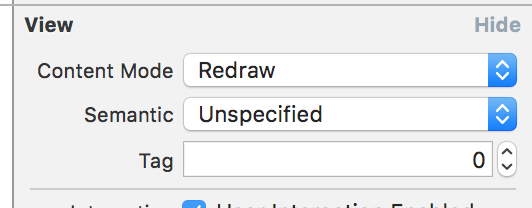
程式碼如下
import UIKit

class FaceView: UIView {

    //你臉的大小倍率
    var scale : CGFloat = 0.9

    //這邊用computed property因為妳的bounds還沒完全初始化完成
    //你要畫的臉半徑
    var skullRadius : CGFloat {
        return min(bounds.size.width, bounds.size.height)/2
    }
    //抓取中心點
    var skullCenter : CGPoint{
        return CGPoint(x :bounds.midX,y: bounds.midY)
    }
    //這邊把臉部一些數值放進結構裡
    private struct Ratios{
        static let SkullRadiusToEyeOffset :CGFloat = 3
        static let SkullRadiusToEyeRadius :CGFloat = 10
        static let SkullRadiusToMouthWidth :CGFloat = 1
        static let SkullRadiusToMouthHeight :CGFloat = 3
        static let SkullRadiusToMouthOffset :CGFloat = 3
    }
    //眼睛的Type
    enum Eye {
        case left
        case right
    }
    //創造圓圈的func
    private func creatCircleAtPoint(midPoint :CGPoint,withRadus radius : CGFloat)->UIBezierPath{

        // 這邊畫出圓弧線中心點
        // arcCenter 弧線中心點
        // radius 半徑
        // 弧度開始結束 0~360 剛好是0到2pi

        let path = UIBezierPath(
            arcCenter: midPoint,
            radius: radius,
            startAngle: 0.0,
            endAngle: CGFloat(2*M_PI),
            clockwise: false
        )
        //設定寬度
        path.lineWidth = 5.0
        return path
    }
    //畫出眼睛
    private func pathForEye(eye:Eye)->UIBezierPath{
        let eyeRidus = skullRadius/Ratios.SkullRadiusToEyeRadius
        let eyeCenter = getEyeCenter(eye: eye)
        return creatCircleAtPoint(midPoint: eyeCenter, withRadus: eyeRidus)
    }
    //抓取要畫的眼睛的中心點
    private func getEyeCenter(eye : Eye) -> CGPoint{
        let eyeOffset =  skullRadius/Ratios.SkullRadiusToEyeOffset
        var eyeCenter = skullCenter
        //先將眼睛往上移
        eyeCenter.y -= eyeOffset
        //判斷左右
        switch eye {
        case .left:
            eyeCenter.x += eyeOffset
        case .right:
            eyeCenter.x -= eyeOffset
        }
        return eyeCenter
    }

    private func pathForMouth () -> UIBezierPath {
        //先設定基本屬性
        let mouthWdith = skullRadius/Ratios.SkullRadiusToMouthWidth
        let mouthHeight = skullRadius/Ratios.SkullRadiusToMouthHeight
        let mouthOffset = skullRadius/Ratios.SkullRadiusToMouthOffset
        //要畫的地方範圍
        let mouthRect  = CGRect(x: skullCenter.x - mouthWdith/2, y: skullCenter.y + mouthOffset, width: mouthWdith, height: mouthHeight)
        //微笑弧度
        let mouthCurve = 0.3
        //微笑弧度 * 嘴巴區域高度 變成嘴巴微笑的程度
        let smilleoffset = CGFloat(CGFloat(max(-1, min(mouthCurve,1))) * mouthRect.height)
        //再來創造點
        let start = CGPoint(x: mouthRect.minX, y: mouthRect.minY)
        let end = CGPoint(x: mouthRect.maxX, y: mouthRect.minY)
        //微笑的控制點
        let cp1 = CGPoint(x: mouthRect.minX + mouthRect.width / 3, y: mouthRect.minY + smilleoffset)
        let cp2 = CGPoint(x: mouthRect.maxX - mouthRect.width / 3, y: mouthRect.minY + smilleoffset)
        //創在微笑
        let path = UIBezierPath()
        path.move(to: start)
        path.addCurve(to: end, controlPoint1: cp1, controlPoint2: cp2)
        path.lineWidth = 5.0
        return path
    }


    // Only override draw() if you perform custom drawing
    // An empty implementation adversely affects performance during animation.
    override func draw(_ rect: CGRect) {
        // Drawing code
        let skull = creatCircleAtPoint(midPoint:  skullCenter,withRadus: skullRadius)
        //創造想要的顏色 set()是設定勾勒及填滿的顏色
        UIColor.green.set()
        //勾勒出來
        skull.stroke()
        pathForEye(eye: .left).stroke()
        pathForEye(eye: .right).stroke()
        pathForMouth().stroke()
    }
}
最後結果就出來拉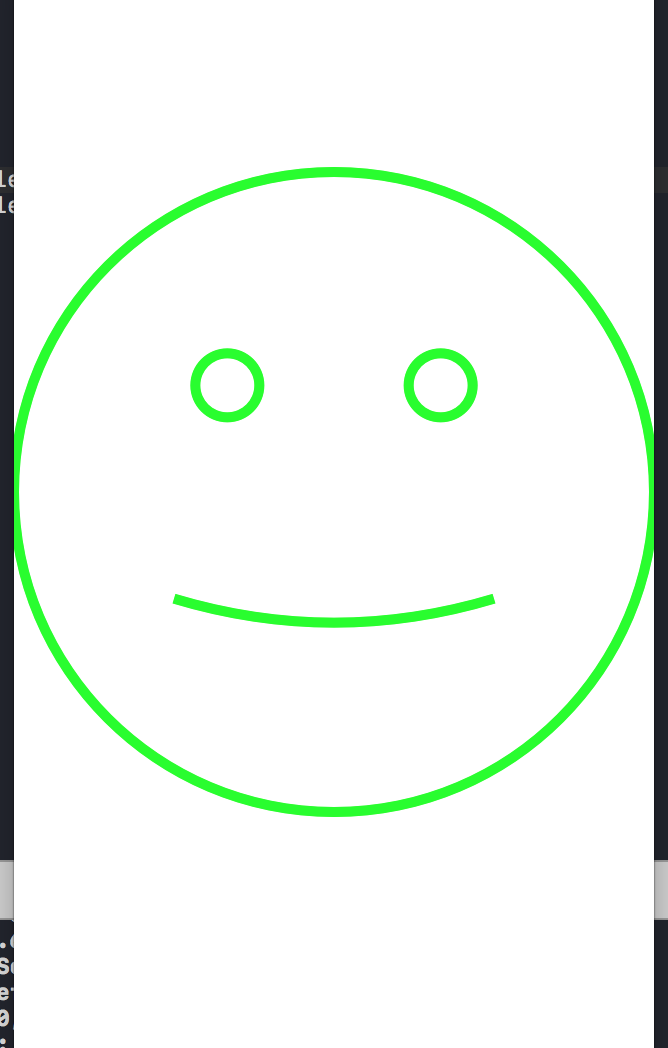


 iThome鐵人賽