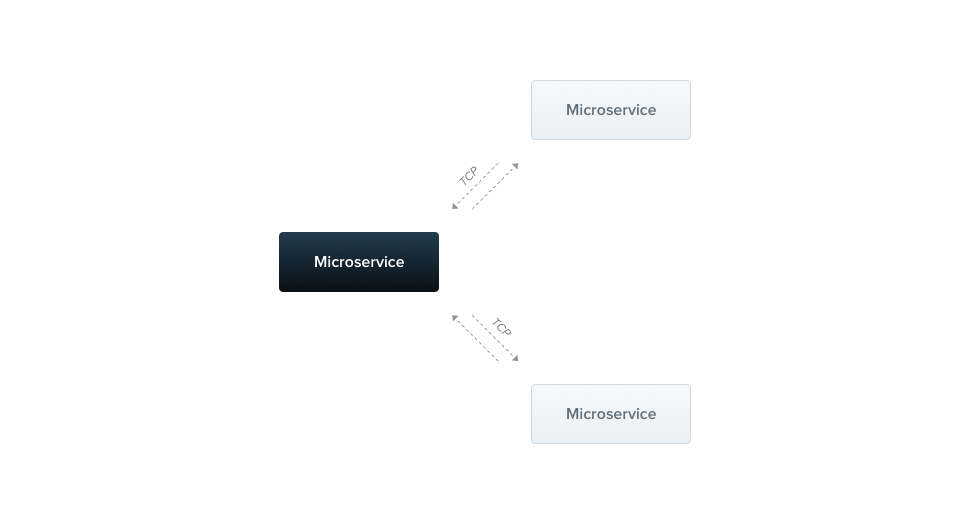
這邊的MicroServices的意思是透過transport layer(傳輸層)的協議(TCP)起一個應用程式提供服務。Nestjs原生支持兩種方式,TCP、Redis pub/sub,不過透過實作 CustomTransportStrategy介面,就可以簡單導入新的transport strategy。
git clone https://github.com/nestjs/typescript-starter.git project
cd project
npm install
import { NestFactory } from '@nestjs/core';
import { ApplicationModule } from './modules/app.module';
import { Transport } from '@nestjs/microservices';
import { INestMicroservice } from '@nestjs/common/interfaces';

async function bootstrap() {
	const app = await NestFactory.create(ApplicationModule);
	app.connectMicroservice({
	  transport: Transport.TCP,
	});

	await app.startAllMicroservicesAsync();
	await app
	.listen(3001).then(()=>{
		console.log('MicroService is starting.');
	})
	.catch((error)=>{
		console.error('Something wrong happened,',error);
	})
  }
  bootstrap();
connectMicroservice 會將MicroService連結到NestApplication介面,並將Application轉換成混合型介面。另外,connectMicroservice()方法可以傳入四個參數,
npm start

4. 改寫AppController,程式碼如下。
src/modules/app.controller.ts
import { Controller, Get } from '@nestjs/common';
import { MessagePattern, Transport, Client, ClientProxy } from '@nestjs/microservices';
import { Observable } from 'rxjs/Observable';

@Controller()
export class AppController {
  @Client({ transport: Transport.TCP})
  client: ClientProxy;

  //策略模式,自定義一個策略名稱sayHi
  @MessagePattern({ cmd: 'sayHi' })
  //傳入data
  sayHi(data: string): Observable<string> {
    return Observable.of("Hi,I'm MicroService.");
  }

  @Get()
  call(): Observable<string> {
    //呼叫使用一個策略,選定sayHi
    const pattern = { cmd: 'sayHi' };
    //由於send()要傳入兩個參數,pattern 和 data,data這邊給定空字串。
    const data = '';
    return this.client.send<string>(pattern, data);
  }
}

MicroService成功。
程式碼都在github
