串Restful API的工程師常很苦惱該傳什麼參數?參數型別為何?這事情其實很容易發生。Swagger,這個第三方服務可以解決這問題,讓你開發完Restful API後文檔也一併建立了,如此我們就可以給一段Swagger網址,供測試Restful API+看參數文檔。
還沒開表的大大可以執行這段SQL script
USE [IronManNest]
GO

/****** Object:  Table [dbo].[Users]    Script Date: 2017/12/20 下午 10:47:14 ******/
SET ANSI_NULLS ON
GO

SET QUOTED_IDENTIFIER ON
GO

CREATE TABLE [dbo].[Users](
	[ID] [int] IDENTITY(1,1) NOT NULL,
	[Name] [nvarchar](50) NULL,
	[Age] [int] NULL,
 CONSTRAINT [PK_Users] PRIMARY KEY CLUSTERED
(
	[ID] ASC
)WITH (PAD_INDEX = OFF, STATISTICS_NORECOMPUTE = OFF, IGNORE_DUP_KEY = OFF, ALLOW_ROW_LOCKS = ON, ALLOW_PAGE_LOCKS = ON) ON [PRIMARY]
) ON [PRIMARY]
GO
import { NestFactory } from '@nestjs/core';
import * as express from 'express';
import * as bodyParser from 'body-parser';
import { ApplicationModule } from './app/app.module';
import { INestApplication } from '@nestjs/common';
import { SwaggerModule, DocumentBuilder } from '@nestjs/swagger';

async function bootstrap() {
  //創建express 實例
  const instance = express();
  //middleware
  instance.use(bodyParser.json());
  instance.use(bodyParser.urlencoded({ extended: false }));
  //NestFactory.create()接受一個模組引數,和一個可選的express實例引數,並返回Promise。
  const app = await NestFactory.create(ApplicationModule, instance);

  //swagger options
  const options = new DocumentBuilder()
    .setTitle('Users Restful API')
    .setDescription('The users Restful API description')
    .setVersion('1.0')
    .addTag('users')
    .build();

  //restful API 文檔
  const document = SwaggerModule.createDocument(app, options);

  //打開http://localhost:3000/api 就會連結到swagger服務。
  SwaggerModule.setup('/api', app, document);

  await app.listen(3000)
}

bootstrap();
完成後就可以打開http://localhost:3000/api,會連到Swagger服務。
export class CreateUsersDTO {

    readonly ID: number;

    readonly Name:string;

    readonly Age:number;
}
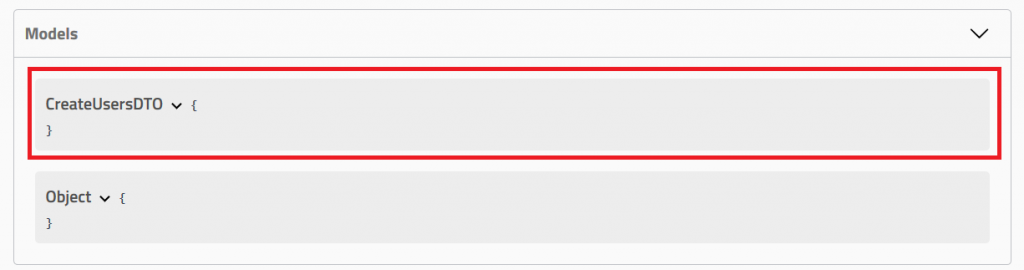
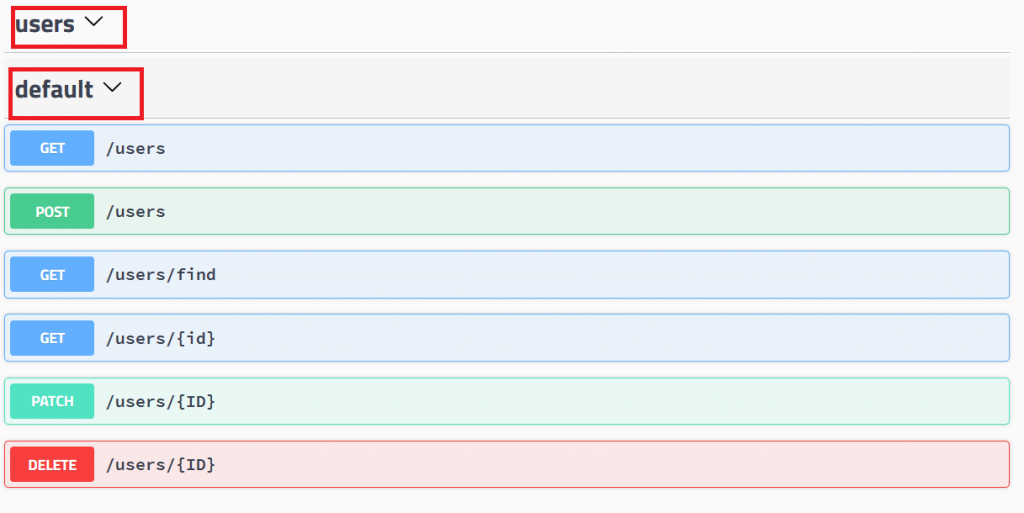
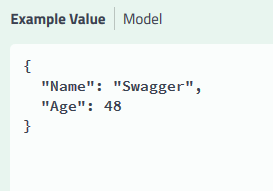
完成後看一下SwaggerPost /users,請看Model部分,目前屬性都沒有帶到Swagger服務。
另外,default會帶基本CRUD的HTTP 方法的route,但users的箭頭向下,沒有帶任何的HTTP route,後續我們需要將UsersController連結到Swagger服務,讓users有HTTP CRUD route。
import { ApiModelProperty } from '@nestjs/swagger';

export class CreateUsersDTO {

    @ApiModelProperty()
    readonly ID: number;

    @ApiModelProperty()
    readonly Name: string;

    @ApiModelProperty()
    readonly Age: number;
}
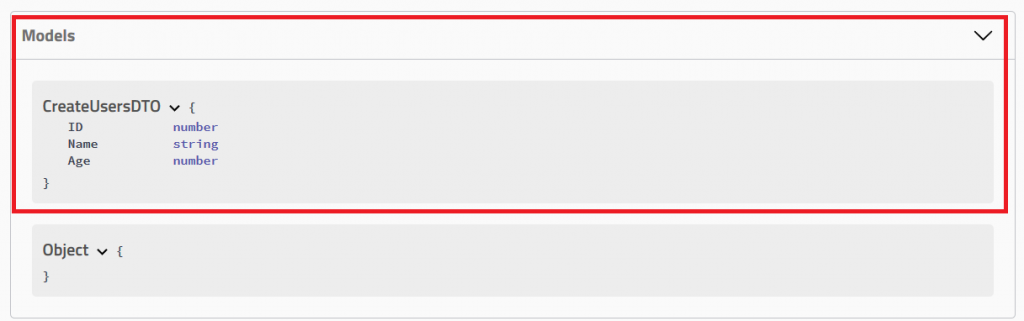
將該DTO物件的屬性帶上@ApiModelProperty裝飾器,如此這個DTO物件的屬性宣告就會帶給SwaggerModule。看一下Swagger Model部分,目前屬性都有帶到Swagger服務。
//swagger服務要顯示的項目名稱
@ApiUseTags('users')
@Controller()
export class UsersController {.......}
@Post('users')
    public async createUser( @Response() res, @Body() createUsersDTO: CreateUsersDTO) {

        const users = await this.usersServices.create(createUsersDTO);
        return res.status(HttpStatus.OK).json(createUsersDTO);
    }
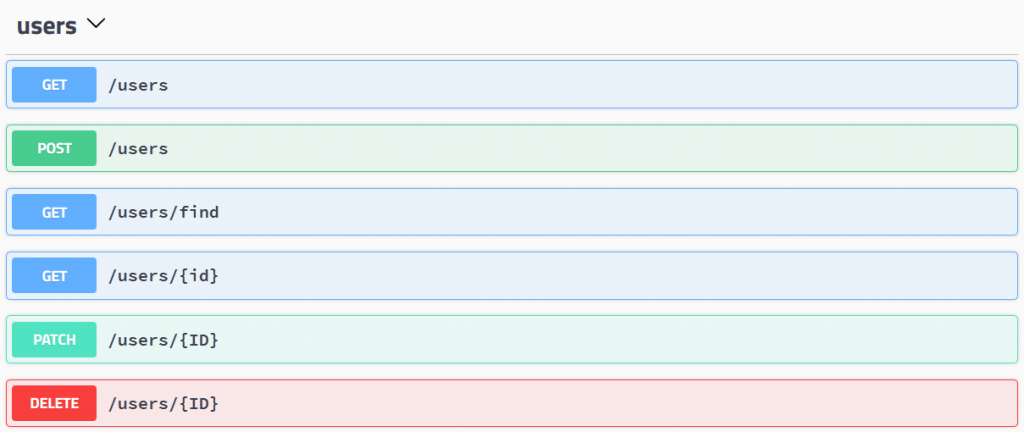
SwaggerModule會在route找尋@Body(), @Query(), @Param()等裝飾器,進而產生文檔。所以我們將Post要傳的@Body()參數,通通將其型別改成屬於CreateUsersDTO型別。現在Swagger畫面上的users也有HTTP CRUD的方法了。
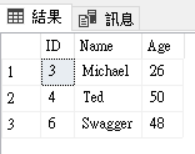
成功串接Swagger服務。
程式碼都在github