
Lineage M 這個遊戲在抽完卡片以後,卡片會進入收藏夾裡面,收藏到特定的卡組後會有一些 buff.
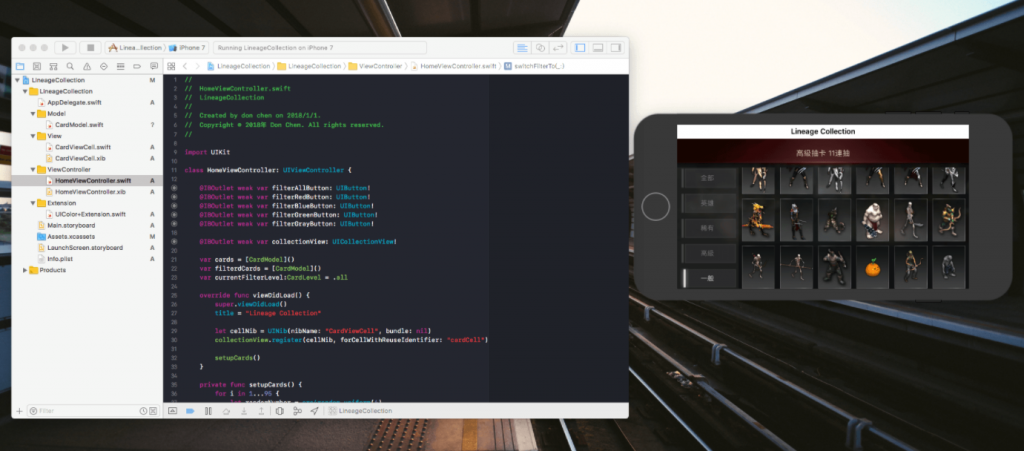
所以呢,開卡包的角子機效果做完以後,接著想做一個卡片的瀏覽工具。

繼續沿用之前的 CardModel 定義卡片的分類以及卡片的圖案
enum CardLevel {
    case all
    case gray
    case green
    case blue
    case red
}

struct CardModel {
    var level:CardLevel
    var image:UIImage
}
這次瀏覽圖片使用 UICollectionView 所以我們通過繼承 UICollectionViewCell 來顯示圖片。
根據拿到的 model 來改變底圖,和卡片圖案。
class CardViewCell: UICollectionViewCell {

    @IBOutlet weak var bgImageView: UIImageView!
    @IBOutlet weak var monsterImageView: UIImageView!

    var model:Any?

    override func awakeFromNib() {
        super.awakeFromNib()
        // Initialization code
    }

    func loadContent() {
        if let data = model as? CardModel {
            switch data.level {
                case .gray:
                    bgImageView.image = UIImage(named: "img-card-bg-gray")

                case .green:
                    bgImageView.image = UIImage(named: "img-card-bg-green")

                case .blue:
                    bgImageView.image = UIImage(named: "img-card-bg-blue")

                case .red:
                    bgImageView.image = UIImage(named: "img-card-bg-red")

                default: break
            }
            monsterImageView.image = data.image
        }

    }

}
這個介面的結構很簡單,頂部一張圖片,左側通過 StackView 放入5個按鈕,右側放置一個 UICollectionView.
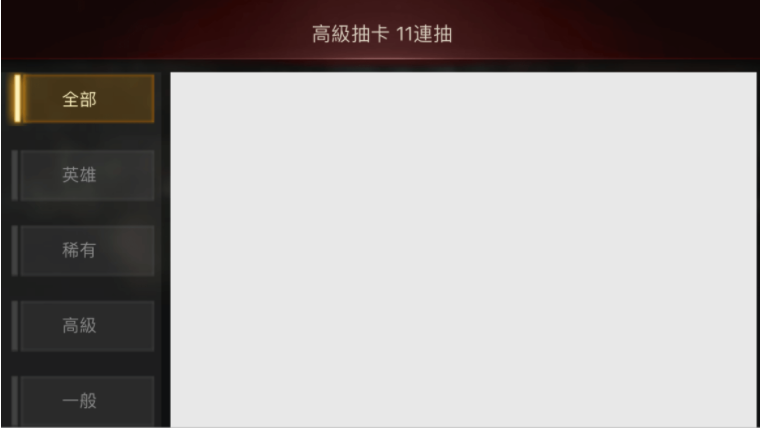
建立基本卡組
一開始我們需要一套卡組 (cards) 來進行瀏覽,這裡準備了95張卡片圖案,隨機分配他們不同的 cardLevel.
private func setupCards() {
    for i in 1...95 {
        let randomNumber = arc4random_uniform(4)
        var cardLevel:CardLevel = .gray
        switch randomNumber % 4 {
            case 0: cardLevel = .gray
            case 1: cardLevel = .green
            case 2: cardLevel = .blue
            case 3: cardLevel = .red
            default: break
        }

        let card = CardModel(level: cardLevel, image: UIImage(named:"monster-\(i)")!)
        cards.append(card)
    }

    filterdCards = cards
}
當其中一個篩選按鈕被點下時,會執行 switchFilterTo 方法,並根據 filterType 執行幾個動作:
private func switchFilterTo(_ type:CardLevel) {
    filterAllButton.setBackgroundImage(UIImage(named:"btn-black"), for: .normal)
    filterRedButton.setBackgroundImage(UIImage(named:"btn-black"), for: .normal)
    filterBlueButton.setBackgroundImage(UIImage(named:"btn-black"), for: .normal)
    filterGreenButton.setBackgroundImage(UIImage(named:"btn-black"), for: .normal)
    filterGrayButton.setBackgroundImage(UIImage(named:"btn-black"), for: .normal)

    filterAllButton.setTitleColor(UIColor.linGray, for: .normal)
    filterRedButton.setTitleColor(UIColor.linGray, for: .normal)
    filterBlueButton.setTitleColor(UIColor.linGray, for: .normal)
    filterGreenButton.setTitleColor(UIColor.linGray, for: .normal)
    filterGrayButton.setTitleColor(UIColor.linGray, for: .normal)

    switch type {
        case .all:
            filterAllButton.setBackgroundImage(UIImage(named:"btn-yellow"), for: .normal)
            filterAllButton.setTitleColor(UIColor.linYellow, for: .normal)
            currentFilterLevel = .all

        case .gray:
            filterGrayButton.setBackgroundImage(UIImage(named:"btn-gray"), for: .normal)
            filterGrayButton.setTitleColor(UIColor.linWhite, for: .normal)
            currentFilterLevel = .gray

        case .green:
            filterGreenButton.setBackgroundImage(UIImage(named:"btn-green"), for: .normal)
            filterGreenButton.setTitleColor(UIColor.linGreen, for: .normal)
            currentFilterLevel = .green

        case .blue:
            filterBlueButton.setBackgroundImage(UIImage(named:"btn-blue"), for: .normal)
            filterBlueButton.setTitleColor(UIColor.linBlue, for: .normal)
            currentFilterLevel = .blue

        case .red:
            filterRedButton.setBackgroundImage(UIImage(named:"btn-red"), for: .normal)
            filterRedButton.setTitleColor(UIColor.linRed, for: .normal)
            currentFilterLevel = .red
    }


    if currentFilterLevel == .all {
        filterdCards = cards
    } else {
        filterdCards = cards.filter{ $0.level == self.currentFilterLevel }
    }

    collectionView.reloadData()
}
為了方便更改一些顏色,這裡直接對 UIColor 進行擴充。
extension UIColor {
    static let linWhite  = UIColor(red: 225/255, green: 225/255, blue: 225/255, alpha: 1.0)
    static let linGray   = UIColor(red: 132/255, green: 132/255, blue: 132/255, alpha: 1.0)
    static let linGreen  = UIColor(red: 38/255, green: 138/255, blue: 20/255, alpha: 1.0)
    static let linYellow = UIColor(red: 1.0, green: 247/255, blue: 195/255, alpha: 1.0)
    static let linBlue   = UIColor(red: 27/255, green: 118/225, blue: 168/255, alpha: 1.0)
    static let linRed    = UIColor(red: 194/255, green: 33/255, blue: 43/255, alpha: 1.0)

}


 iThome鐵人賽