先做一個報告的介面 (interface),用來指定報告的內容
第一步: 到模型目錄 src/app/models,建立一個 report.ts 檔
ng generate interface report
第二步:修改 report.ts 如下
export interface Report {
    id: number;
    master: string;
    image: string;
    title: string;
    report: string;
}
第三步: 修改 src/app/models/index.ts,加入 report
export * from './user';
export * from './response';
export * from './report';
再來做一個服務(service) 用來連結後端的資料
第一步:到會員模組下 src/app/member, 建立一個目錄 services
mkdir services
第二步:利用 angular-cli 建立一個服務,順便註冊到模組
ng generate service reports --module member
第三步:修改 reports.service.ts
import { Injectable } from '@angular/core';
import { HttpClient, HttpErrorResponse } from '@angular/common/http';

import { AppConfig } from '../../share';
import { Report, Response } from '../../models';

import { BehaviorSubject } from 'rxjs/BehaviorSubject';
import { Observable } from 'rxjs/Observable';
import { of } from 'rxjs/observable/of';

@Injectable()
export class ReportsService {
    reports$: BehaviorSubject<Report[]>;
    constructor(
        private appConfig: AppConfig,
        private http: HttpClient
    ) {
        this.reports$ = new BehaviorSubject([]);
        this._getReports();
    }
    // get report from server
    getReportsFromServer(): Observable<Response> {
        return this.http.get<Response>(this.appConfig.apiUrl + '/reports');
    }
    _getReports() {
        this.getReportsFromServer()
            .subscribe(res => {
                if (res.success) {
                    this.reports$.next(res.payload);
                } else {
                    console.log('server side error');
                }
            }, (err: HttpErrorResponse) => {
                if (err.error instanceof Error) {
                    console.log('client-side error');
                } else {
                    console.log('server-side error');
                }
            })
    }
    getReports(): Observable<Report[]> {
        return this.reports$;
    }
}
BehaviorSubject,HttpClient 連結後端,因為使用@auth0/angular-jwt,連結時會自動加入 token 在 http header。next() push 給 subscriber。BehaviorSubject,會保留最後一筆資料,所以當有新的 Subscriber 連接時,我們都有資料可以給。我們會用到兩個元件 (Component),一個是顯示所有報告的摘要(report-list),一個顯示一個報告的內容(report)
第一步:在 src/app/memeber 模組下建立兩個元件,它們會預設註冊到模組中
ng generate component report-list
ng generate component
第二步:修改 member-routing.module.ts 路由。
import { NgModule } from '@angular/core';
import { Routes, RouterModule } from '@angular/router';

import { ReportListComponent } from './report-list/report-list.component';
import { ReportComponent } from './report/report.component';
const routes: Routes = [
    {
        path: '',
        children: [
            { path: 'report-list', component: ReportListComponent },
            { path: 'report/:rptId', component: ReportComponent },
            { path: '', redirectTo: 'report-list', pathMatch: 'full' }
        ]
    }
]
@NgModule({
    imports: [RouterModule.forChild(routes)],
    exports: [RouterModule]
})
export class MemberRoutingModule { }
我們預計使用延遲加載 (lazy loadding) 的方式載入這個模組,所以根目錄會是 '',延遲加載會讓我們在進入網站的時間縮短,當有需要這個模組時,才會從伺服器下載這塊模組,詳情請參考官方文件
第三步:修改 src/app/app-routing.module.ts
// ... 省略
const routes: Routes = [{
    path: '',
    children: [
        { path: 'home', component: HomeComponent },
        { path: 'user', redirectTo: '/user', pathMatch: 'full' },
        { path: 'member', loadChildren: './member/member.module#MemberModule' },
        { path: '', redirectTo: '/home', pathMatch: 'full' },
    ]
}];
//... 省略
使用 loadChildren 並指到 member 模組目錄,提供 export 的目標 #MemberModule,這樣就可以達到延遲加載的目的,一切順利的話,當您打入 http://localhost:4200/member 時,會出現下面截圖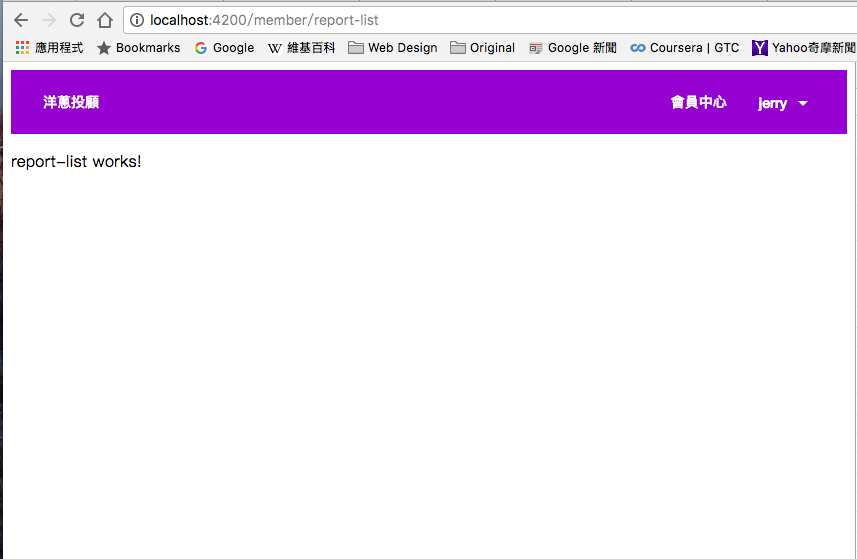
因為使用延遲加載,當 Angular 編譯時,會多產生一個塊(Chunk),member.module.chunk.js,這個塊就會在使用者需要的時候加載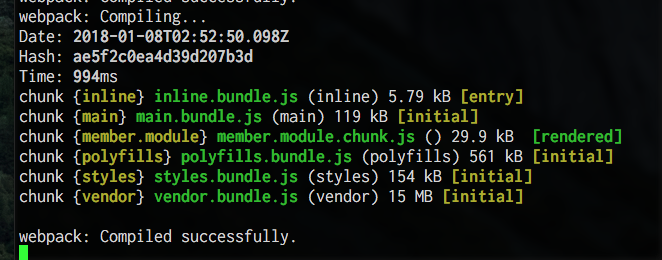
雖然現在這個塊很小,但是當模組添加功能,會越長越大。
第一步:修改 report-list.component.ts
import { Component, OnInit } from '@angular/core';
import { Router } from '@angular/router';

import { ReportsService } from '../services/reports.service';
import { Report } from '../../models';
import { Observable } from 'rxjs/Observable';
@Component({
    selector: 'app-report-list',
    templateUrl: './report-list.component.html',
    styleUrls: ['./report-list.component.css']
})
export class ReportListComponent implements OnInit {
    reports$: Observable<Report[]>;
    constructor(
        private reportService: ReportsService,
        private router: Router
    ) { }

    ngOnInit() {
        this.reports$ = this.reportService.getReports();
    }

    onClick(report: Report) {
        this.router.navigate(['/member/report', report.id]);
    }
}
ReportService
reports$: Observable<Report[]>中member/report/rptId 的頁面。第二步:我們預計使用 Angular Material 跟 @angular/flex-layout,需要修改 src/app/share/share.module.ts 如下:
import { MatToolbarModule, MatButtonModule, MatCardModule, MatFormFieldModule, MatCheckboxModule } from '@angular/material';
import { MatInputModule, MatIconModule, MatMenuModule, MatSnackBarModule} from '@angular/material';
import { FlexLayoutModule } from '@angular/flex-layout';
// ... 省略
@NgModule({
    imports: [
    // ... 省略
        MatSnackBarModule,
        FlexLayoutModule,
        ReactiveFormsModule
    ],
    exports: [
    //... 省略
        MatSnackBarModule,
        FlexLayoutModule,
        ReactiveFormsModule
    ],
第三步:將 share 模組加入 member模組中
//... 省略
import { ShareModule } from '../share';
@NgModule({
    imports: [
        CommonModule,
        MemberRoutingModule,
        ShareModule
    ],
    declarations: [ReportListComponent, ReportComponent],
    providers: [ReportsService]
})
export class MemberModule { }
第四步:修改 report-list.component.html
<div class="container">
  <div fxLayout="row" fxLayout.lt-sm="column" fxLayoutGap="20px" fxLayoutWrap>
    <mat-card fxFlex [ngStyle.gt-sm]="{'max-width': 'calc(25% - 20px)'}"  *ngFor="let report of (reports$ | async)" class="card" (click)="onClick(report)">
      <mat-card-header fxLayout = "row" fxLayoutAlign="start" class="card-header" fxLayoutGap="10px">
        <div class="avatar-text">
          {{report.master.charAt(0)}}
        </div>
        <div fxFlex= "70%">{{report.title}}</div>
      </mat-card-header>
      <img mat-card-image alt="report image" src="{{report.image}}"/>
      <mat-card-content fxLayout="column">
        {{ report.report.slice(0, 50) + '...'}}
      </mat-card-content>
      <mat-card-footer>
        {{report.master}}
      </mat-card-footer>
    </mat-card>
  </div>
</div>
說明一下:
.lt-sm時( mediaQuery: '(max-width: 599px)'),用欄顯示,也就是一張卡接著一張卡 (mat-card),請參考 Flex-Layout 官方文件,當大於 .gt-sm 時,最大寬度不超過 25% - 20pxmat-car 來顯示一份報告,mar-card-header 包含了投顧老師的大頭貼,這裡用第一個字代表,跟報告的標題, mat-content 包含了報告摘錄 (前 50 個字),mat-card-footer 則是投顧老師名稱.center {
display:blcok;
left: 50%;
top: 50%;
transform: translate(-50%,-50%);
}
.container {
width: 80%;
margin-left: auto;
margin-right: auto;
}
.card {
margin-top: 15px;
min-width: 300px;
}
.card:hover {
cursor: pointer;
}
.card-header {
min-height: 50px;
margin-bottom: 10px;
font-size: 16px;
font-weight: 800;
}
.avatar-text {
height: 50px;
width: 50px;
border-radius: 50%;
background: #eee;
text-align: center;
line-height: 50px;
font-size: 20px;
font-weight: bold;
}
好了,這時登入後,瀏覽器打入 http://localhost:4200/member 就可以見到以下截圖
點擊其中一份摘要會進入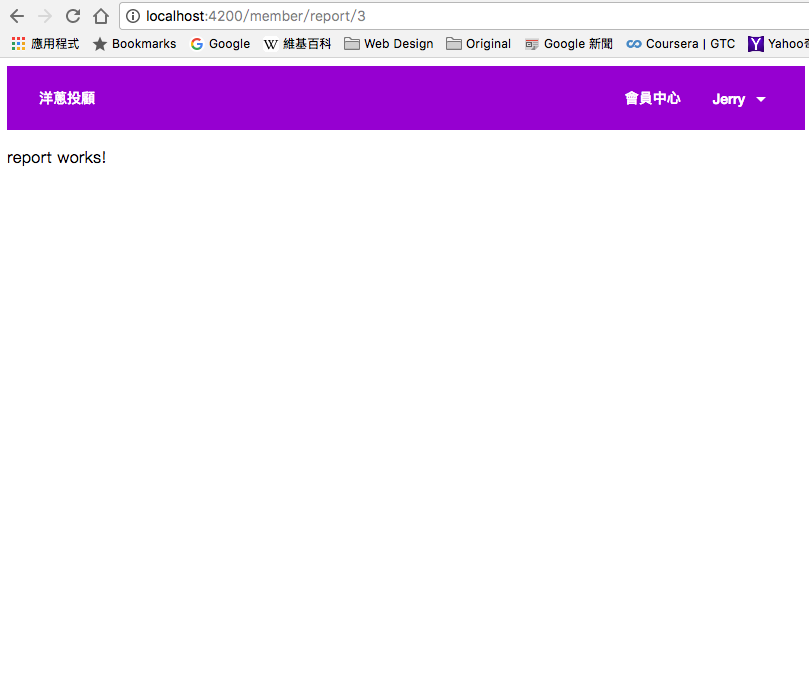
下次我們再來將剩下的部分做完 (report.component,前端鎖定這個路由,更新 routerLink)


 iThome鐵人賽