來介紹一下在 iOS11 所新增的 ARKit
今天主要是要做一個簡單的 AR 範例,可以在畫面中加入一個自己的所建立的物體
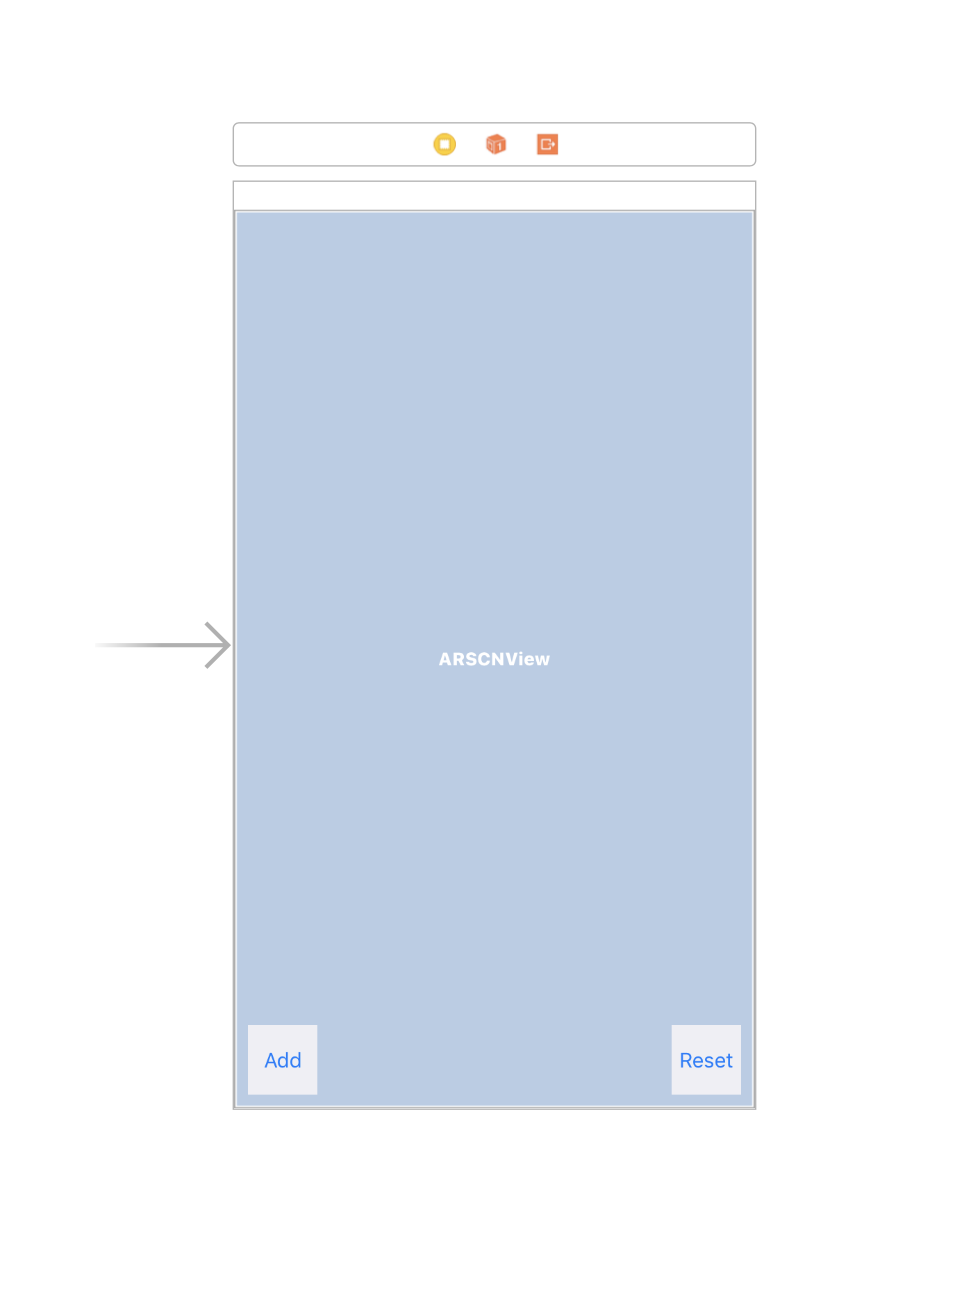
在 StoryBoard 先將畫面加入 ARSCNView 及 Button

ARSCNView 是主要要顯示 AR 的 View

然後在程式碼的部分
首先我們要先 import ARKit
import ARKit
再將 ARSCNView 拉進程式碼中做關聯
@IBOutlet weak var sceneView: ARSCNView!
在加入一個變數
let configuration = ARWorldTrackingConfiguration()
然後在 viewDidLoad 的部分加入
self.sceneView.debugOptions = [ARSCNDebugOptions.showFeaturePoints, ARSCNDebugOptions.showWorldOrigin]
self.sceneView.session.run(configuration)
self.sceneView.autoenablesDefaultLighting = true
debugOptions 中有兩個屬性
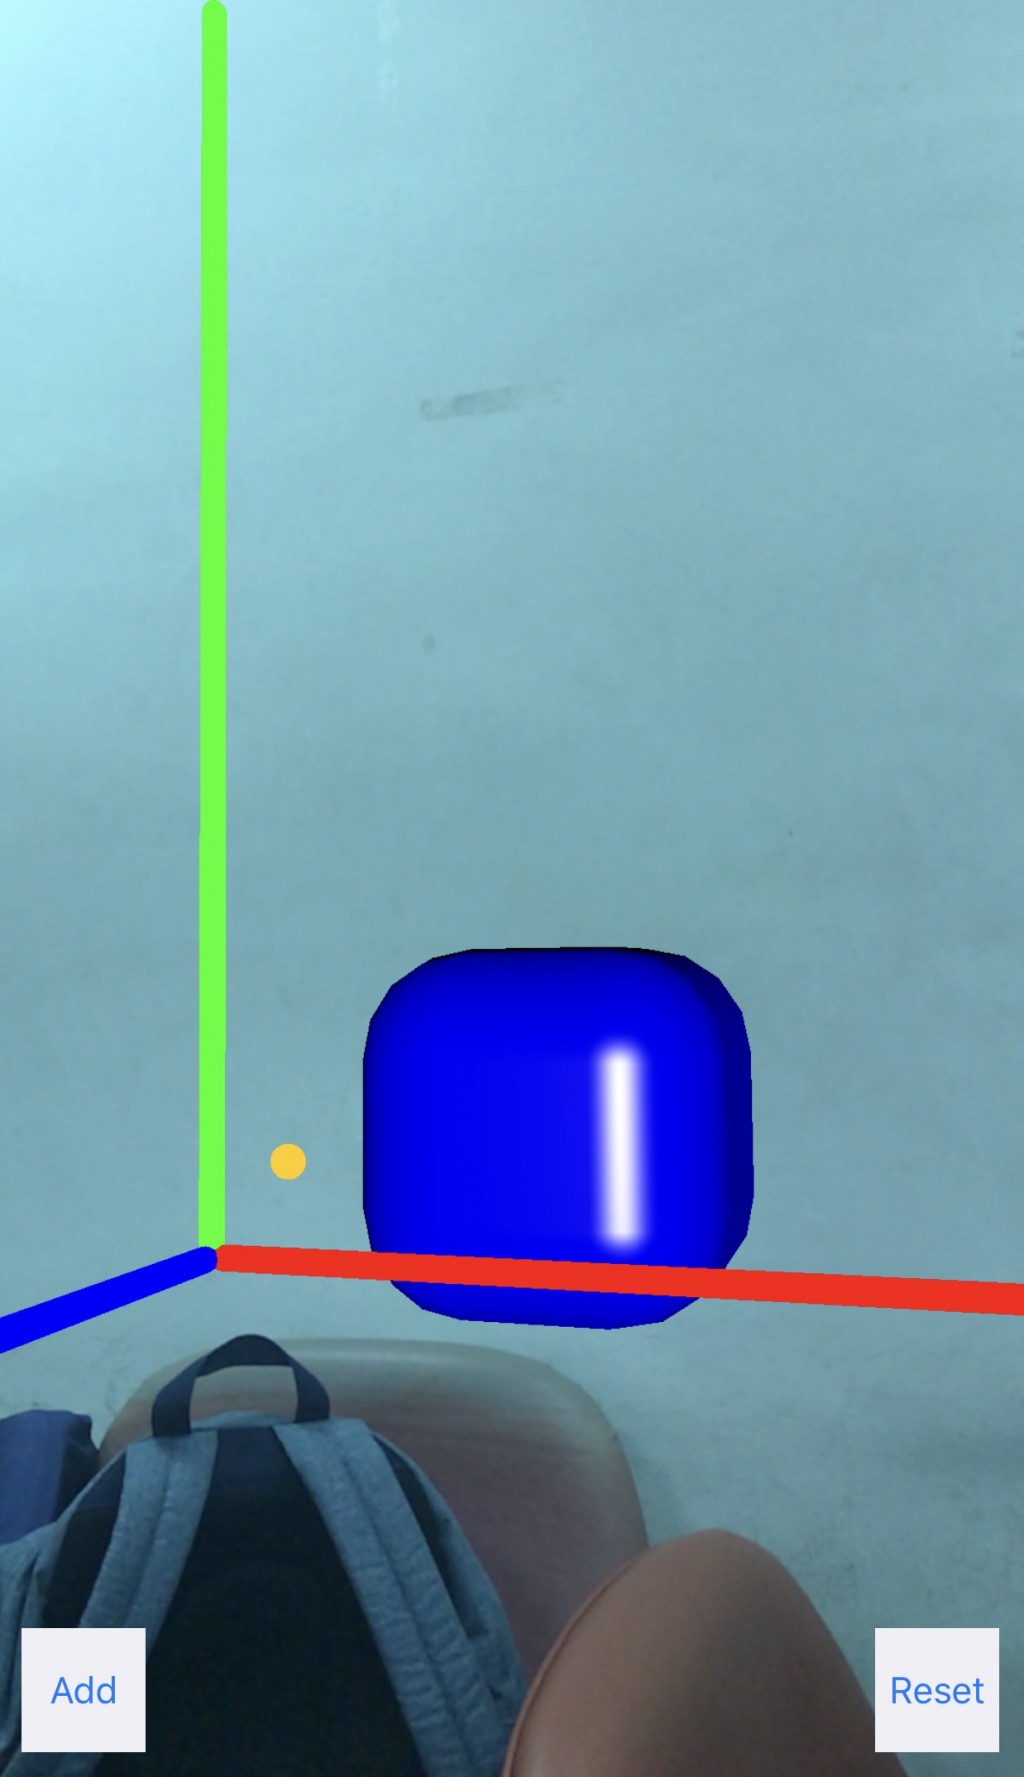
showFeaturePoints:會在畫面中顯示 ARKit 所偵測到的特徵點
showWorldOrigin:會在畫面中顯示 ARKit 的原點
autoenablesDefaultLighting:是在 ARKit 中加入環境反射
接著要將我們的 Add Button 拉進程式碼中做關聯
並加入一個 SCNNode 這是一個在 ARKit 中的節點
在這個節點加入一個 SCNBox 並設定他的寬高長及圓角
並將位置設定在 xyz 軸的 (0, 0, -0.2)
最後再將這個節點加入進我們的 sceneView
@IBAction func addAction(_ sender: UIButton) {
    let node = SCNNode()
    node.geometry = SCNBox(width: 0.1, height: 0.1, length: 0.1, chamferRadius: 0.03)
    node.geometry?.firstMaterial?.diffuse.contents = UIColor.blue // 表面顏色
    node.geometry?.firstMaterial?.specular.contents = UIColor.white // 反射顏色
    node.position = SCNVector3Make(0, 0, -0.2)
    self.sceneView.scene.rootNode.addChildNode(node)
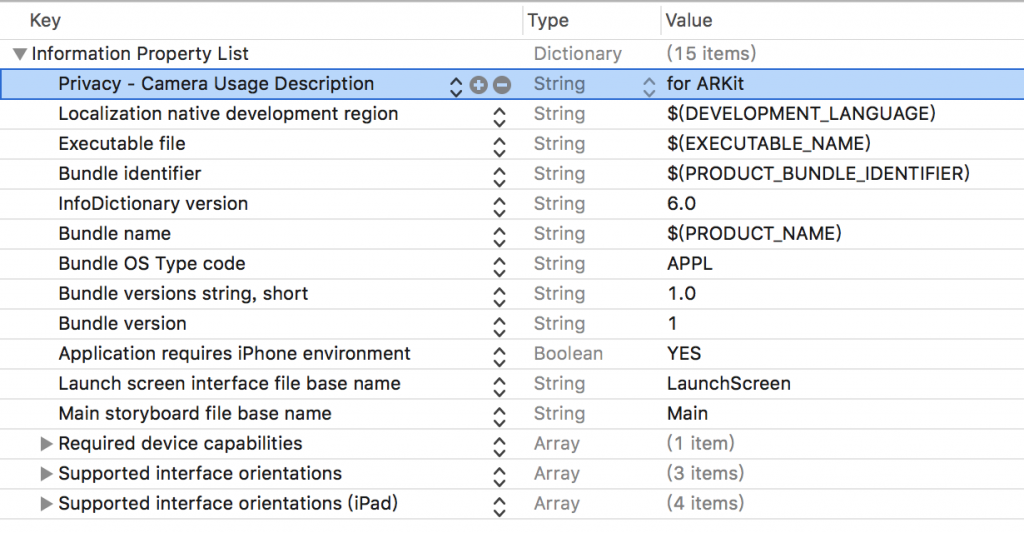
最後並在 info.plist 加入
效果如下
