雲端平台能有更快速簡便的方式達到目前所需,聽說可以連作業系統都不用管..這麼好康的事情為啥我們不試試呢?
這次來到已經釘選好的GAE...App Engine,開啟我們的第一個無作業系統程式之旅吧!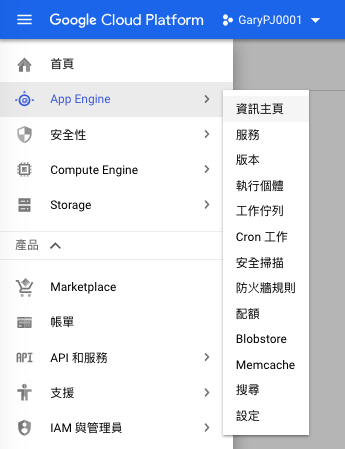
下面就是目前所支援的程式語言,這次我就拿Java作為首波的範例吧!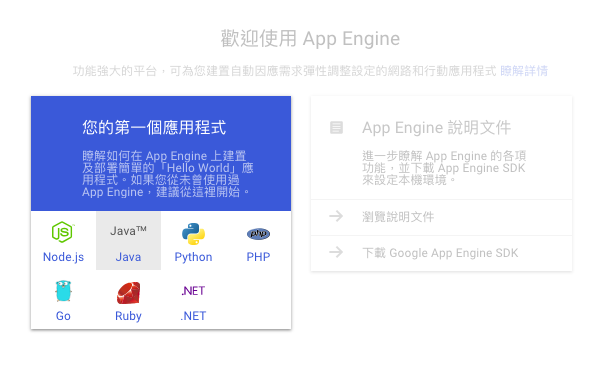
地區自選,我選擇最近的東亞..(台灣)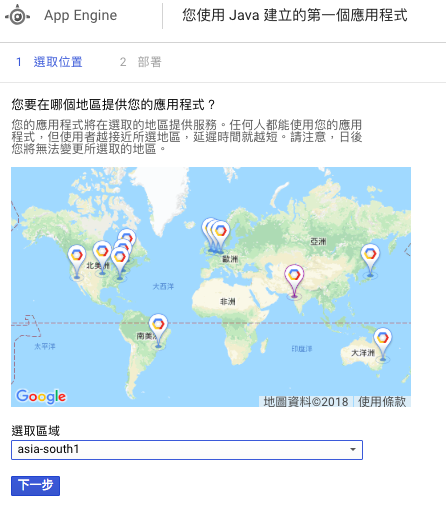
開始準備部署環境中
Google最好的地方就是跟人民再一起...怕你不熟沒關係,直接引導你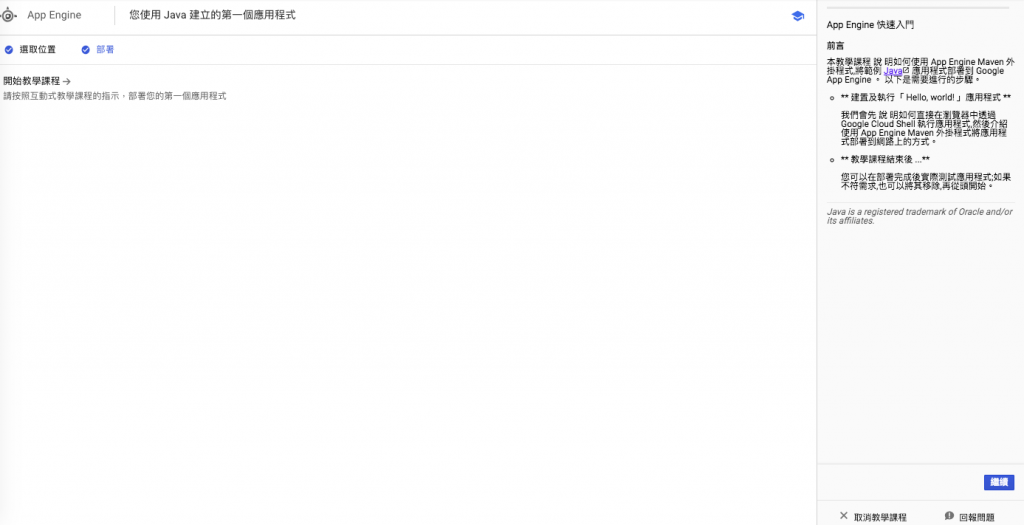
選擇現有指定專案後繼續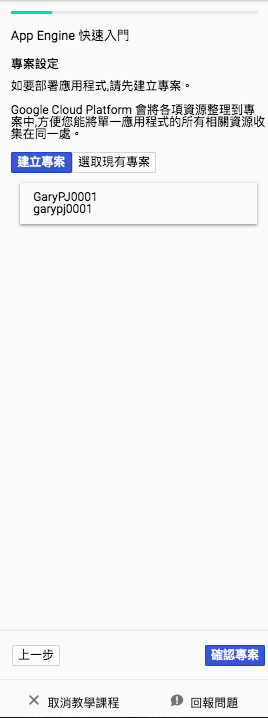
第一次介面也不熟..直接引導,先開始命令游標開啟Shell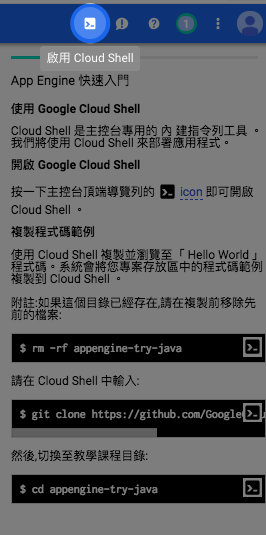
裡面只是影片示範,右下角啟用Shell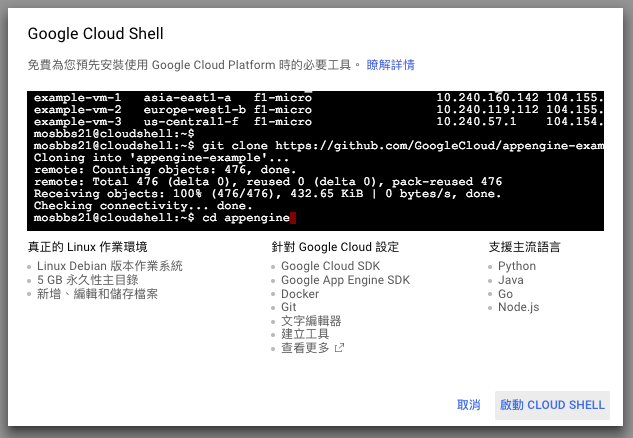
開啟後會在此專案內Shell環境中已Ready
我們透過引導來一步步執行範例程式,右邊從上到下有一步步的指令直接複製就會同步到Shell裡面了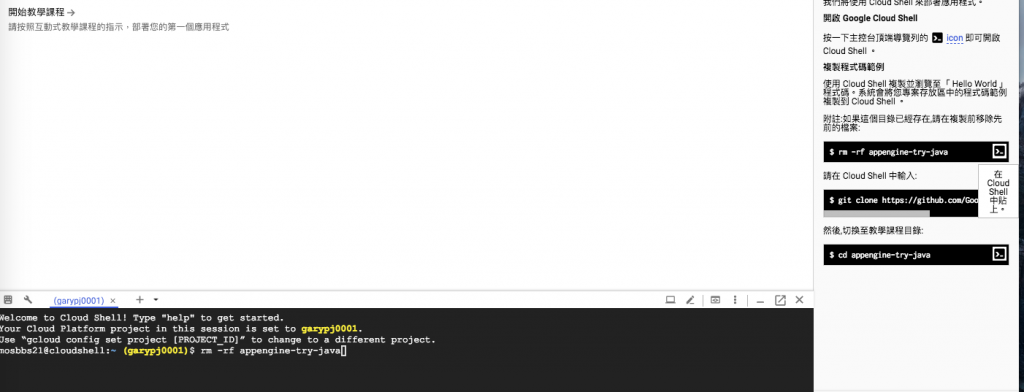
執行中(這都直接依照右列引導程式命令一步步執行,過程就不在囉說)
設定部署作業中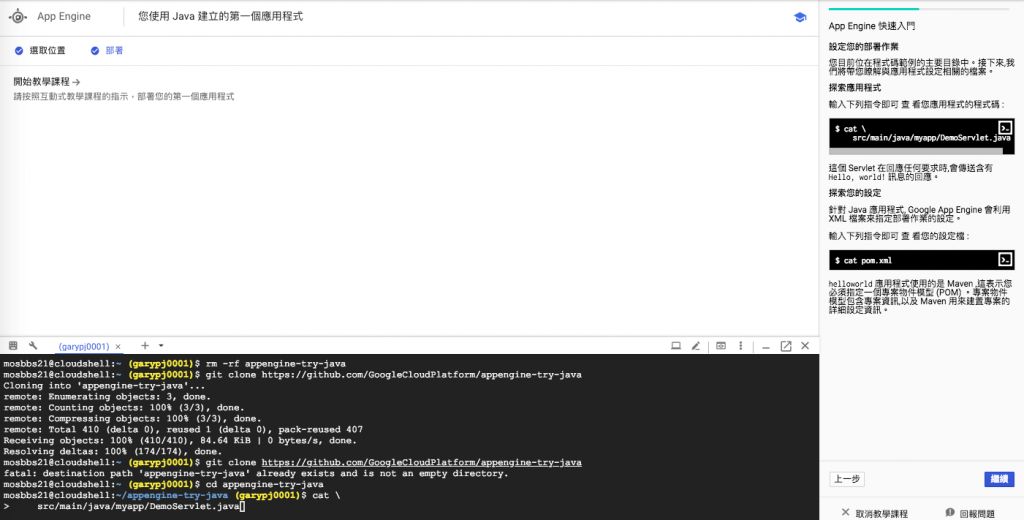
測試應用程式繼續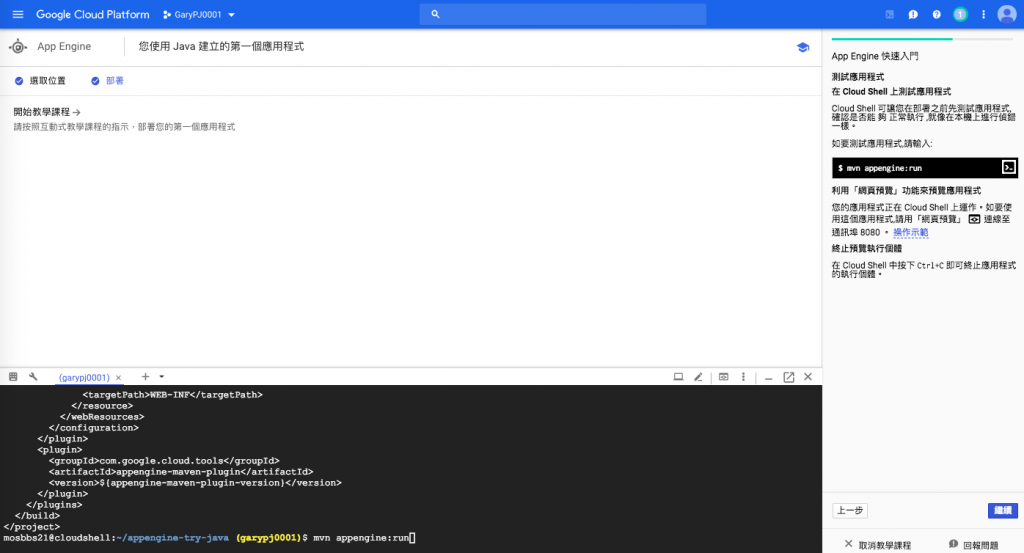
執行此程式碼進行中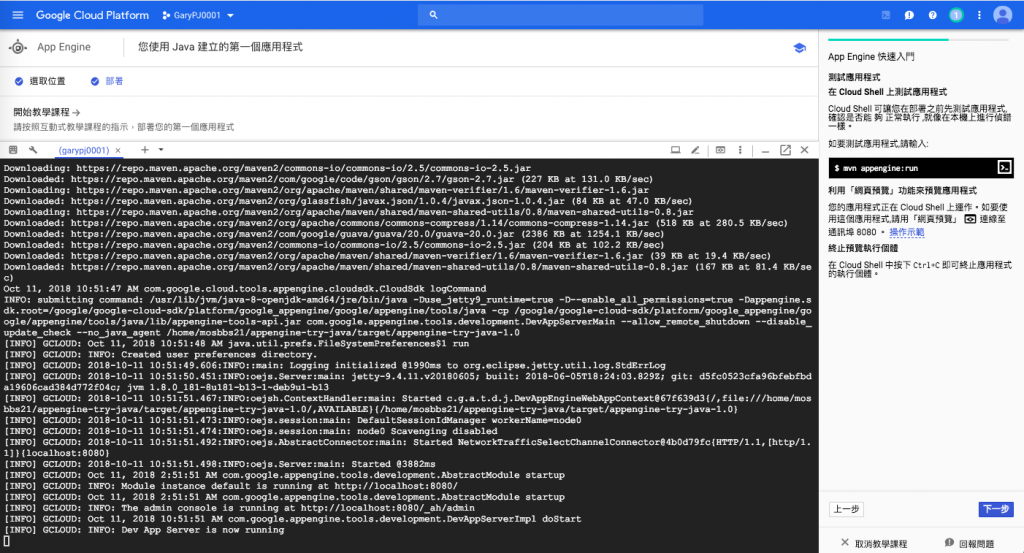
從功能預覽直接連線看是否能顯示網頁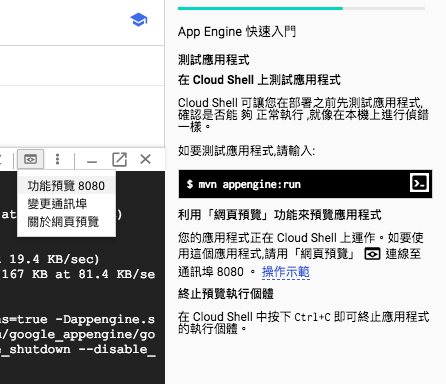
有嘍!剛剛經過導覽的基本範例網站已經正常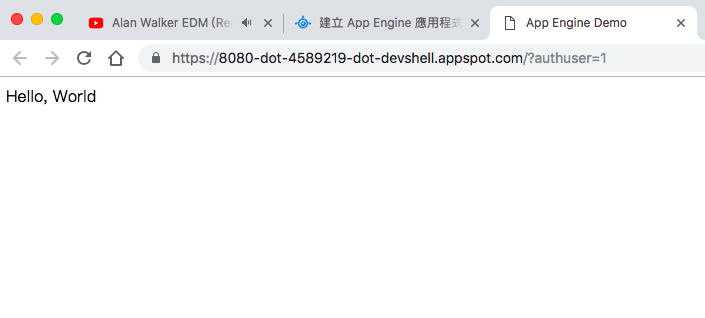
如果沒有問題就開始正式佈建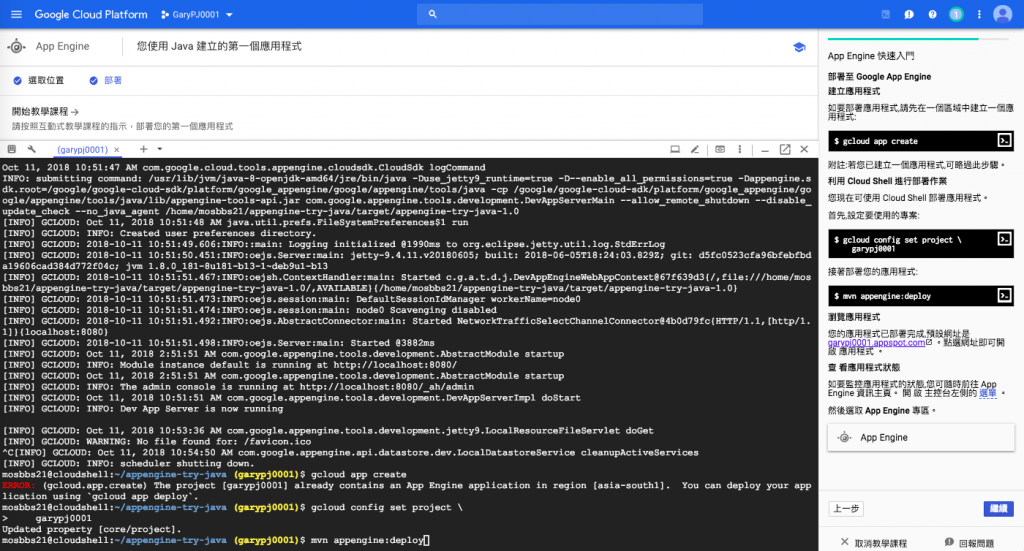
建立完成就可以關閉此教學引導嘍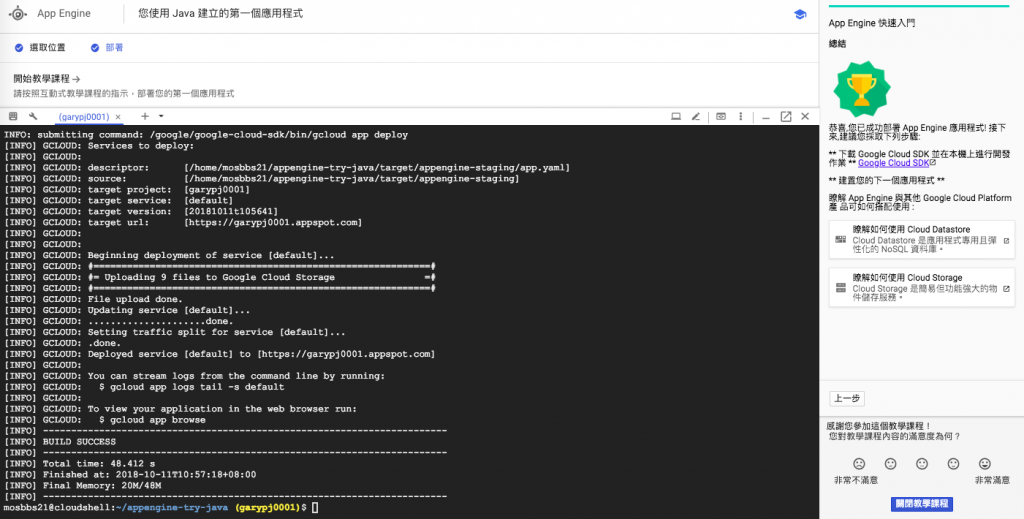
回到GAE資訊主頁來檢視除了預設摘要外有很多的面向可以即時檢視儀表狀態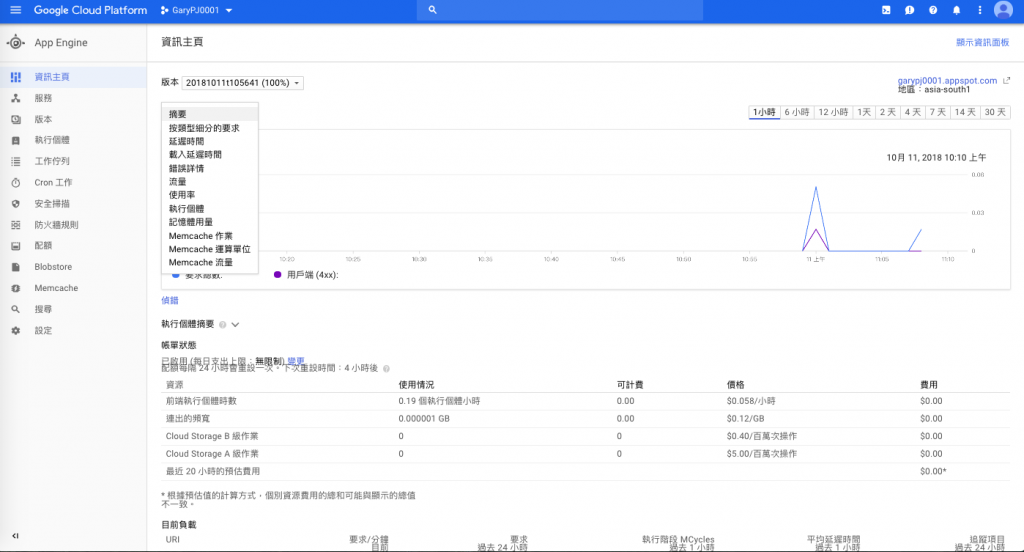
舉例這是按照動態靜態網頁要求來區分服務要求的數據及下面帳單服務時間的成本檢視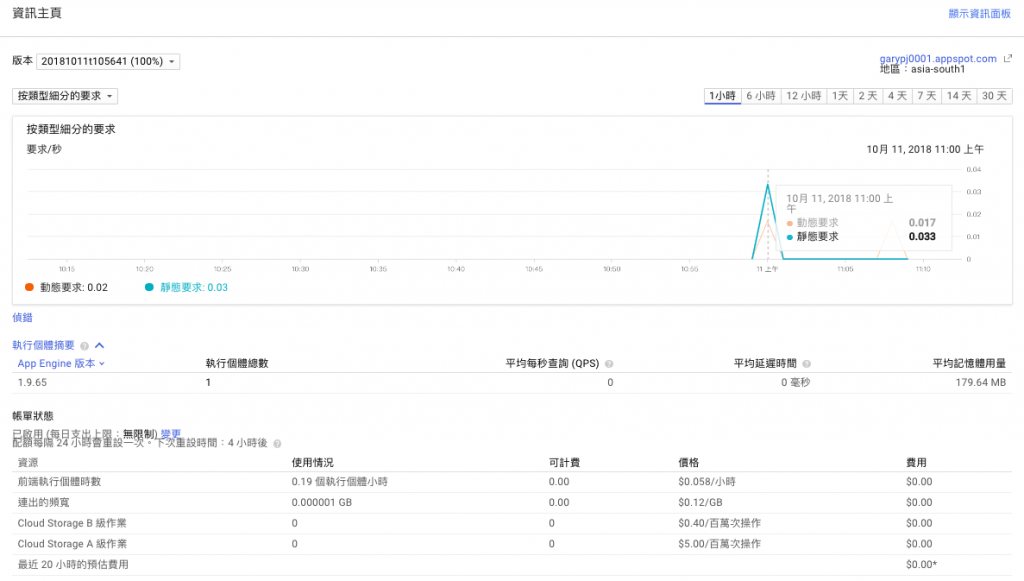
再到服務來看有個剛剛建立的網站標示為預設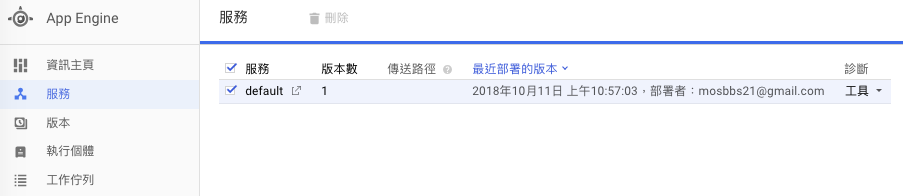
我們在測試連線一下此範例網站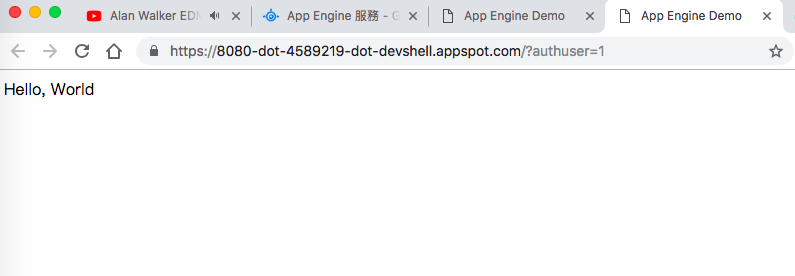
其實我們剛建立好還並不知道如果發生異常要怎麼來診斷查問題,先從紀錄來看看吧!
我們看到了診斷所用的是Stackdriver監看工具來做,包含紀錄服務類型,紀錄層級如警告,重大等..或是時間點都能視需求篩選檢視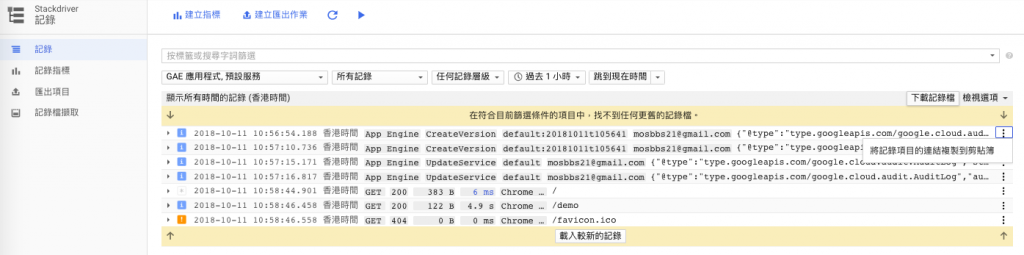
在回到偵錯來看看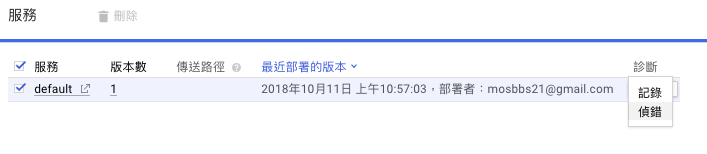
原來需要GitHub授權才行,直接啟動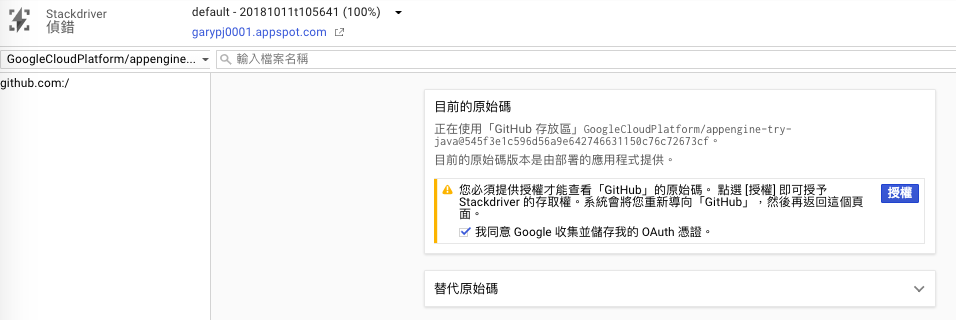
離開原來網站要跳到GitHub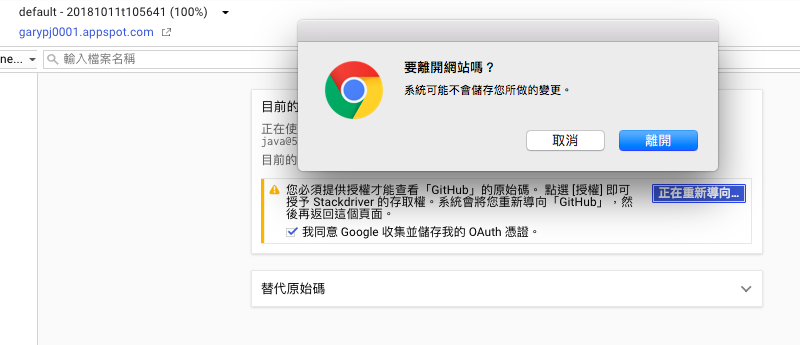
準備登入GitHub,還沒有帳號可以申請一下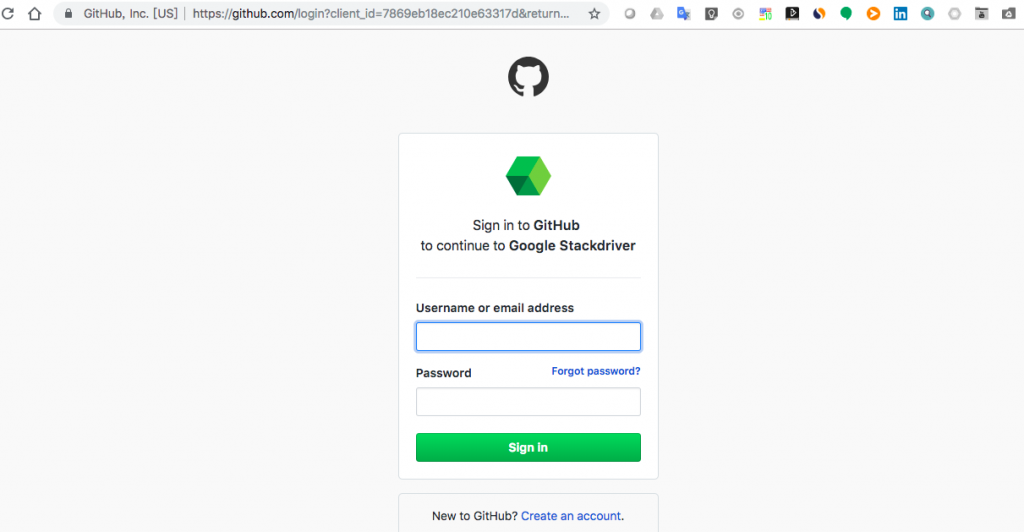
GitHub登入成功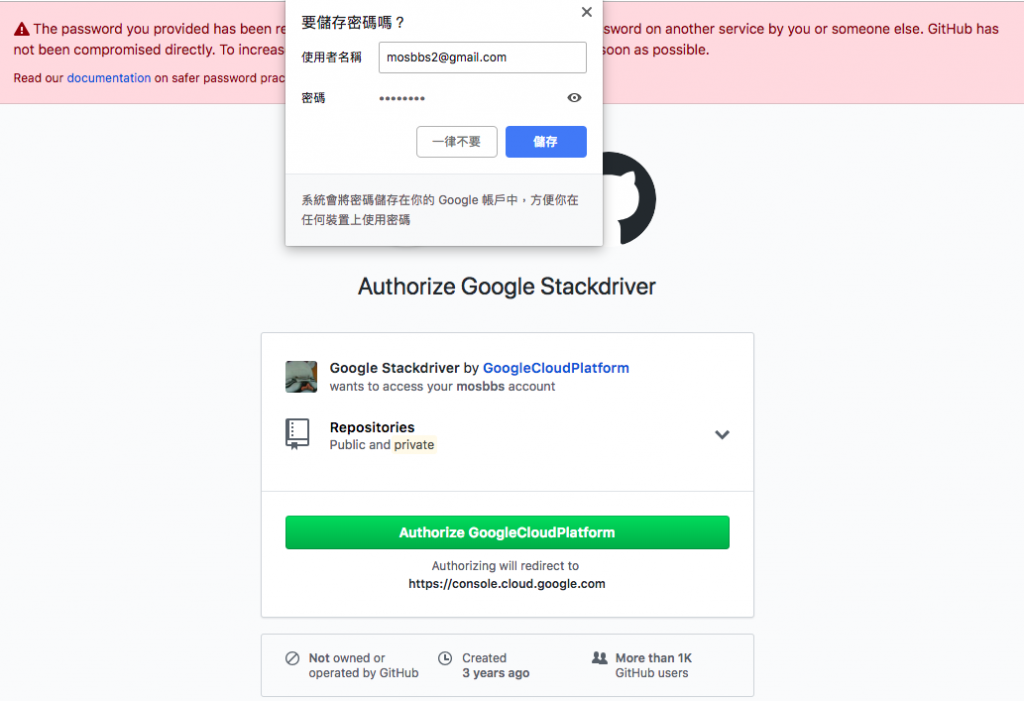
準備授權給GCP Stackdriver,就授權吧!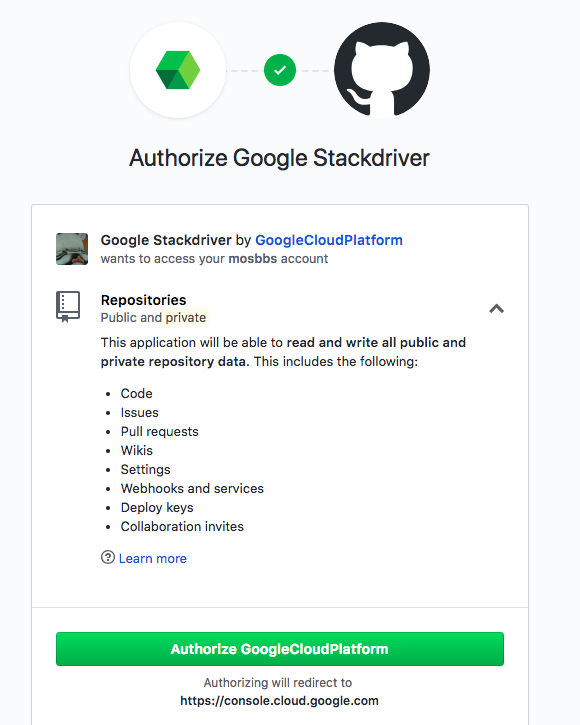
題外話如果需要變更來源的話也可以從這裡調整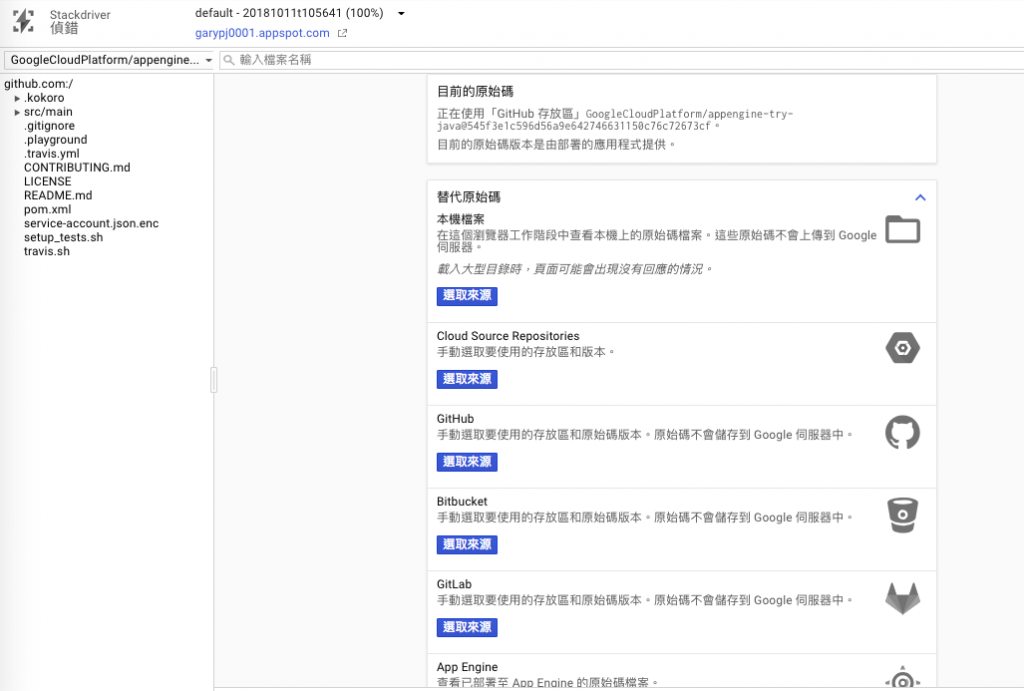
我們在選取版本功能來看目前此網站的程式語言類型與版本及空間環境
也可以檢視目前的程式設定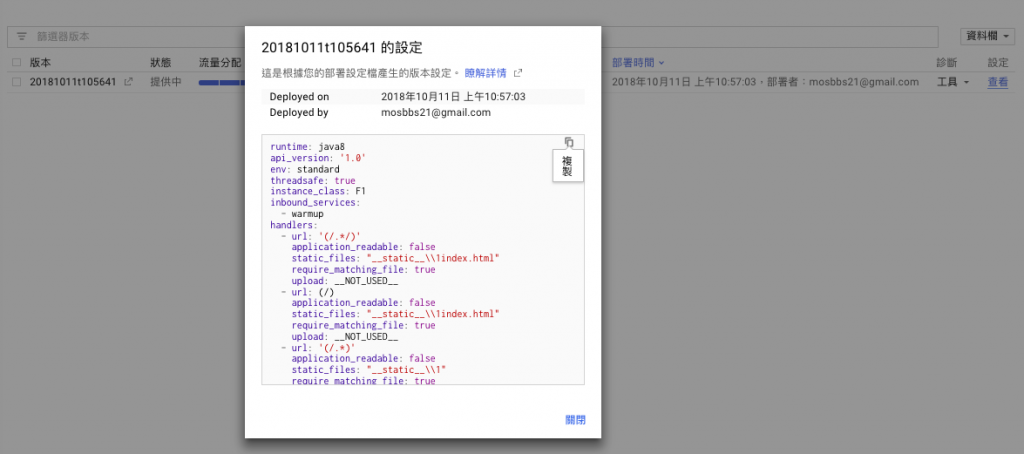
也可以設定流量檢視類型需求
目前只有對IP與Cookies,我選擇隨機(應該就是兩者都有)
從資料欄可以視需求調整檢視項目(原本預設的沒法動啦)
再來現在資安猖獗..我們都需要對自己的網站程式碼有基本的檢測能力,來建立一下(其實GCE也有..不過都是測URL..搞不好可以混用)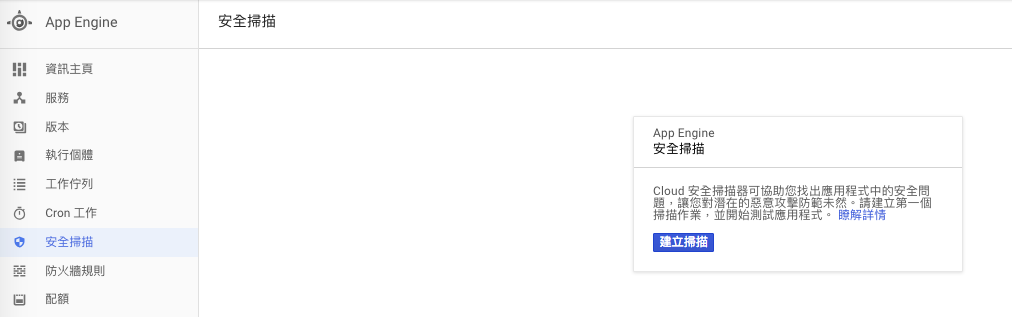
建立安全掃描包含自訂名稱,測試網站,是否需要驗證,因為這網站沒有驗證機制選無即可,再配合排程時間以及想要用哪種環境做模擬的Client,設定OK後建立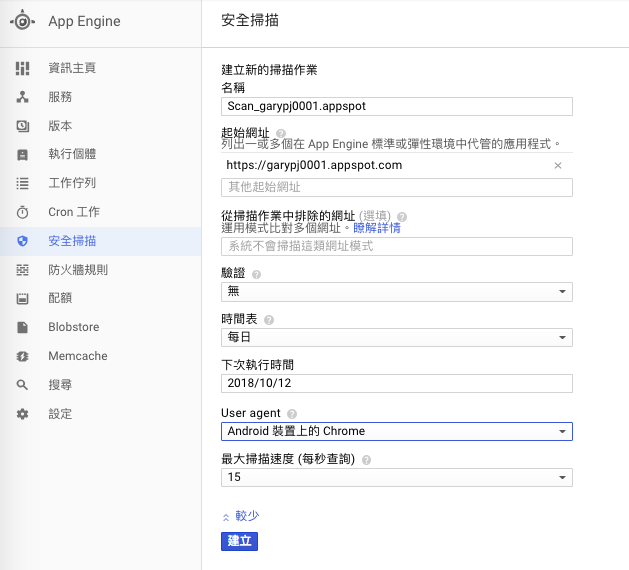
建立好沒有開始啟動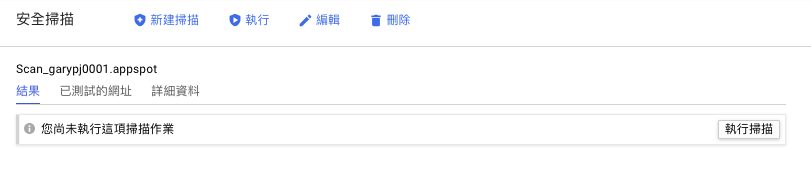
開始執行掃描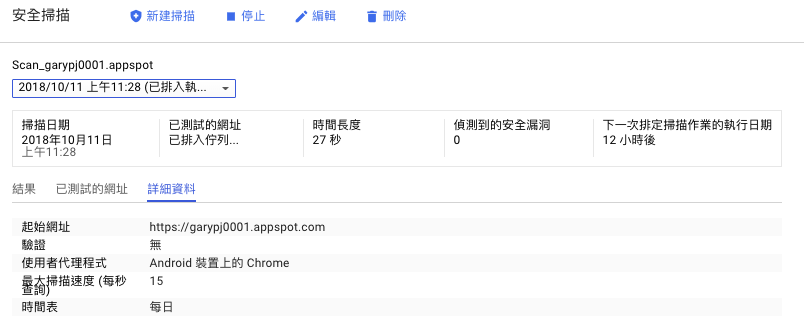
執行結束是需要手動停止的,我們看到測試的方法是透過get..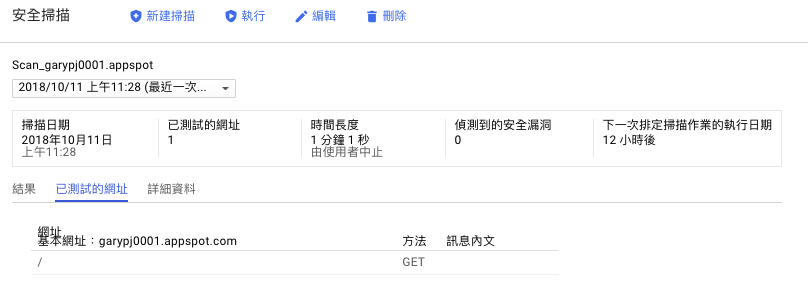
測試結果狀況呈現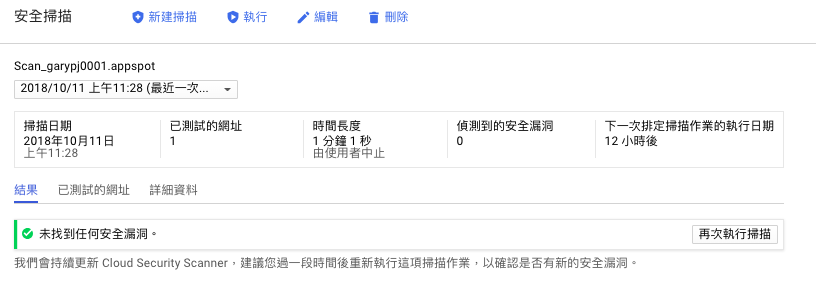
再到防火牆功能處預設有一筆全部允許的規則,如果想要有所限制可以在此設置
直接來實驗一下拿自己來開刀...我先看一下我NB對外的Public IP
設置一筆Deny此IP的規則另外優先序要比預設來得高即可
立馬直接來實測一下,真的被403直接拒絕了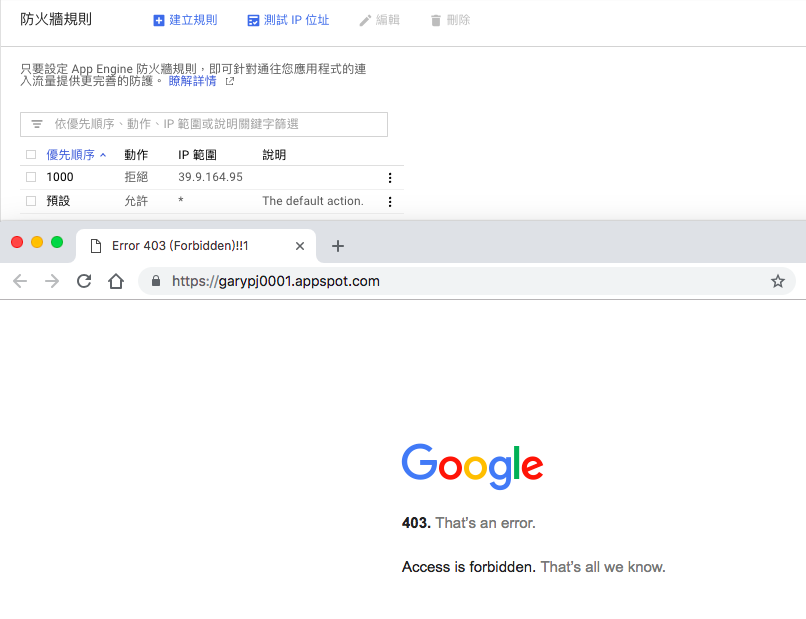
我們也可以從測試IP的功能來知道被哪個規則給套用了,當設置一多是個不錯的檢查方式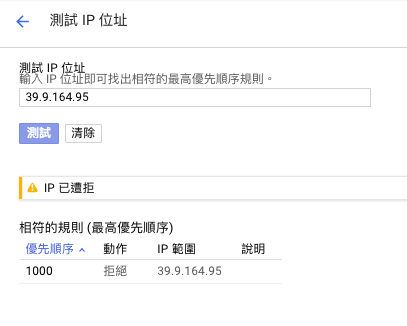
另外在配額功能也可以檢視正在使用以及還尚未使用到的資源類型及可用額度用量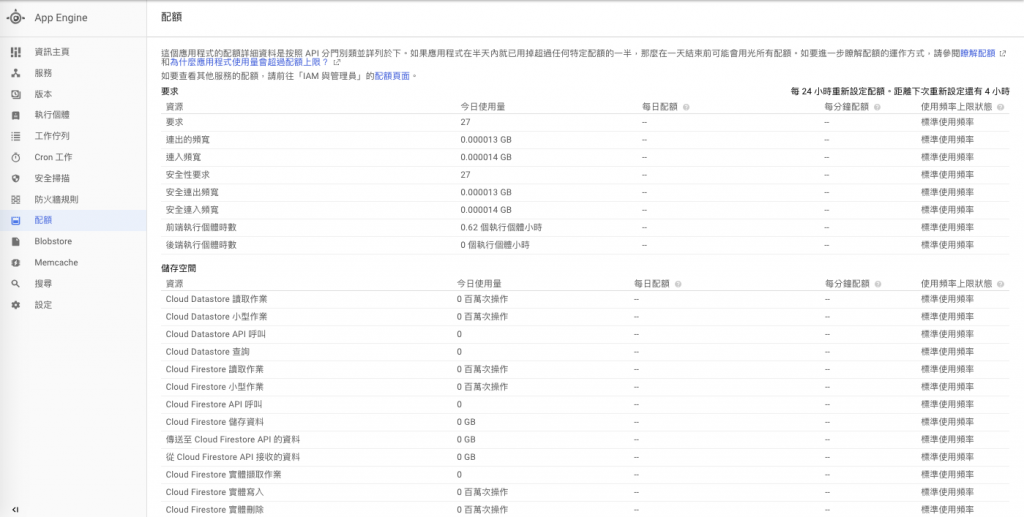
在記憶體快取功能預設是共用,如果需要提升效能可以改成專用並配置需要的空間(GB為單位)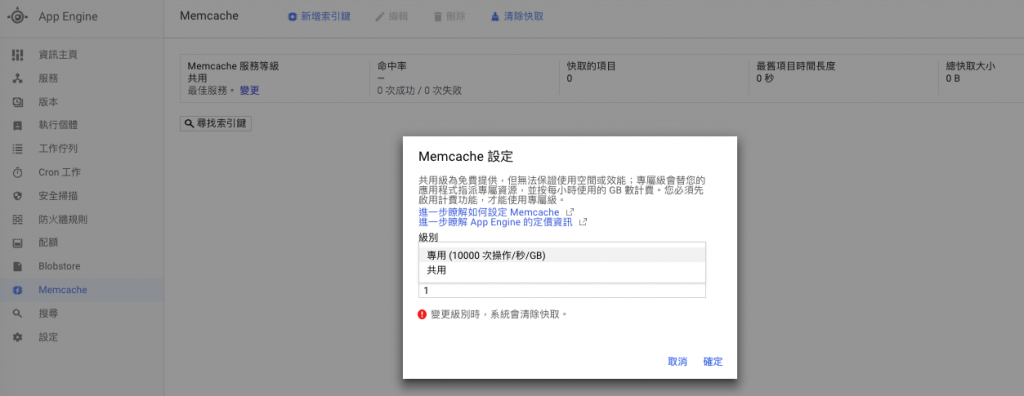
最後從設定上對於這GAE也是有些細項設置,包含Google登入Cookie的保留時間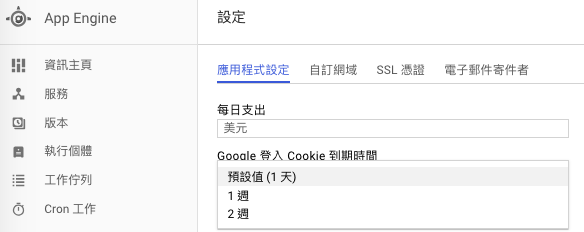
Google驗證預設是帳戶API,當然也可以改成網域方式,另外如果暫時無使用應用程式可以做停用以及永久禁止程式碼下載安全限制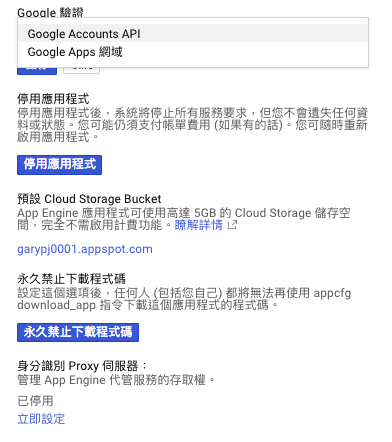
再來我們會有不想用預設的GAE網址,改用自訂網域來解析,剛好我還有快到期的公用網域服務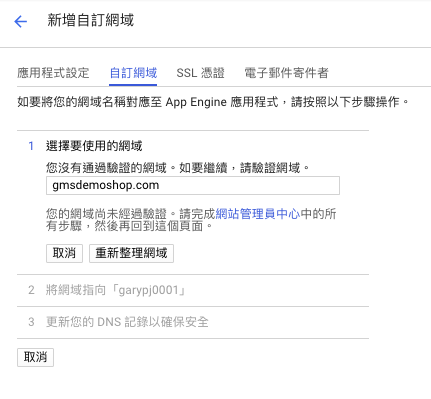
沒錯就是GoDaddy,其實還有非常多間,請自選自己申請的網域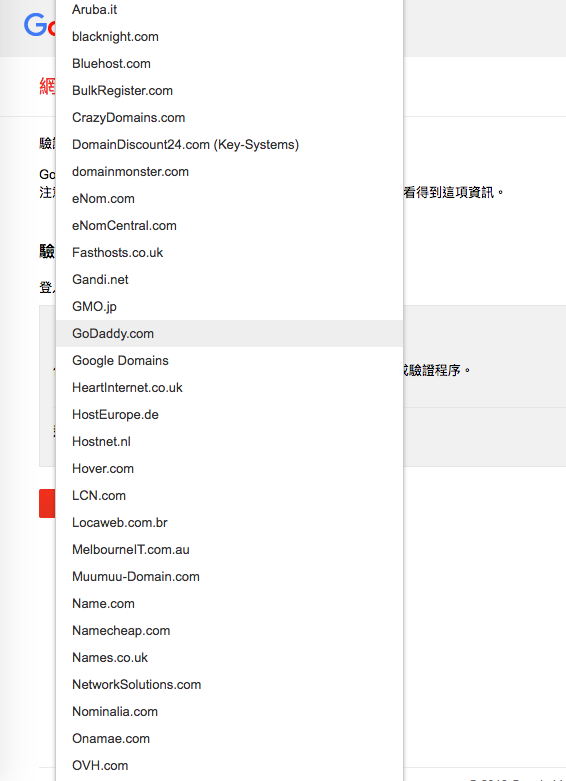
我們就驗證吧!
首先就會自動帶到GoDaddy登入頁面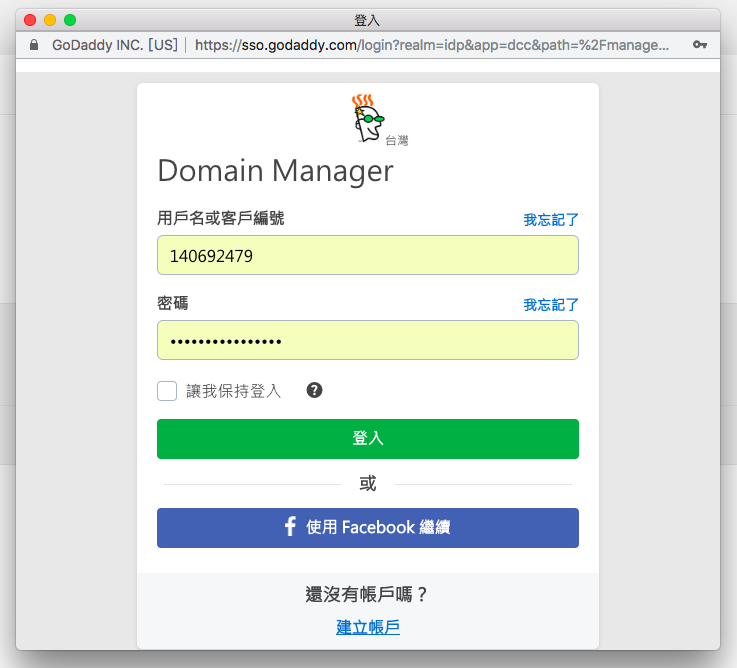
讓GAE存取授權
網域驗證中需要一分鐘時間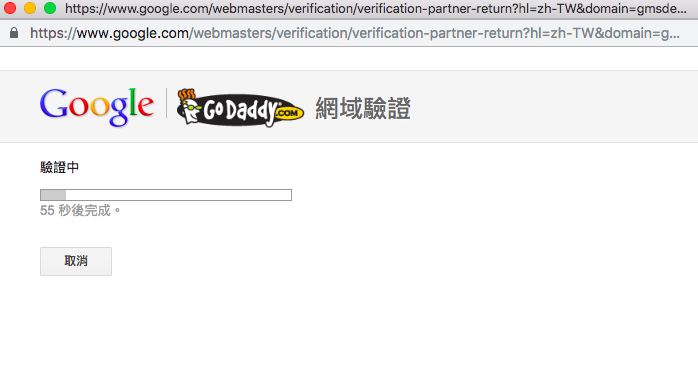
驗證完成就可以回到資源頁面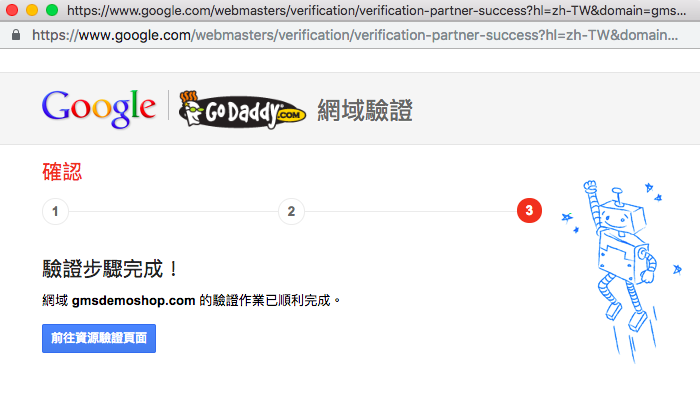
檢視剛剛驗證完成的歷程及TXT紀錄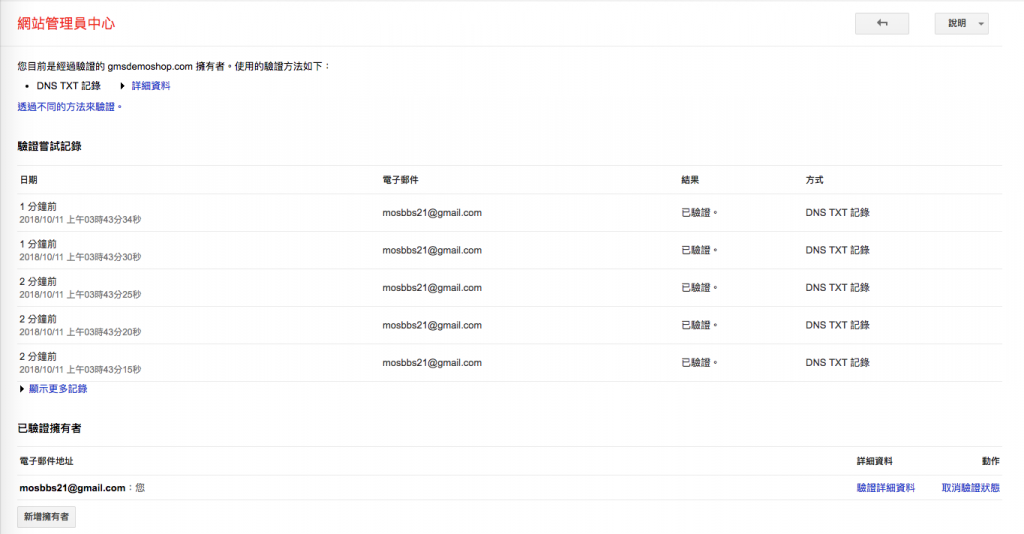
回到GAE的自訂網域重新整理一下更新狀態已經驗證成功啦!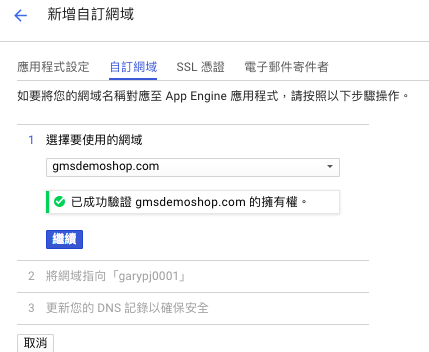
自訂網域名稱紀錄未來對應之用
重新掃描一下完成
更新GoDaddy上的DNS紀錄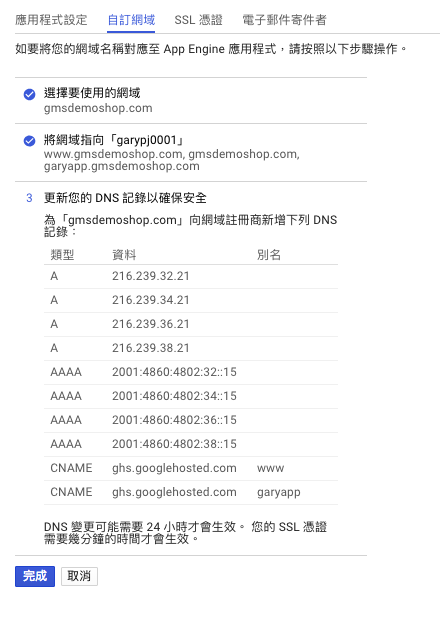
自訂網域DNS設置完成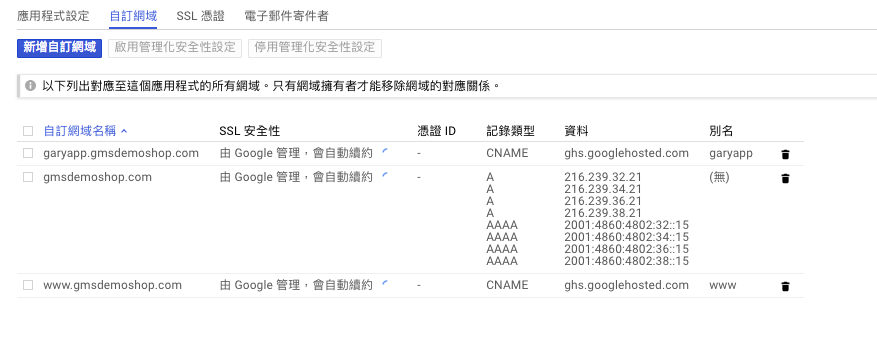
最後我們再來試試用Shell部署另一個範例網站(這是程式編輯器新增功能)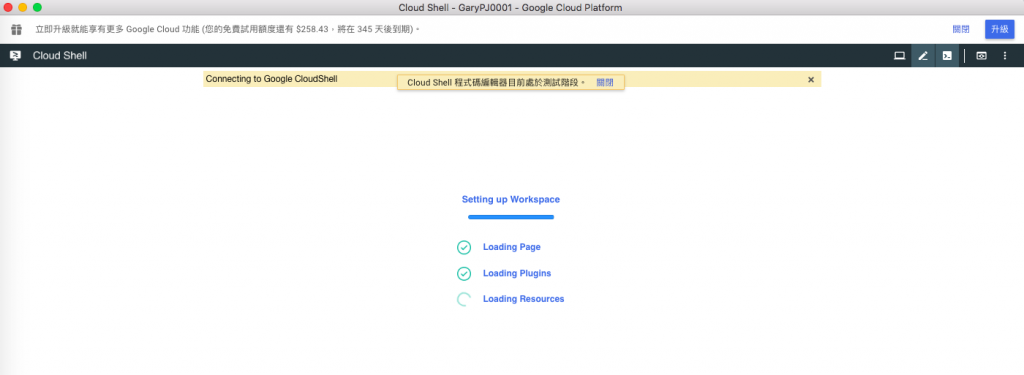
開啟後左列處是可以直接從地端把資料拖曳到此根目錄下的位置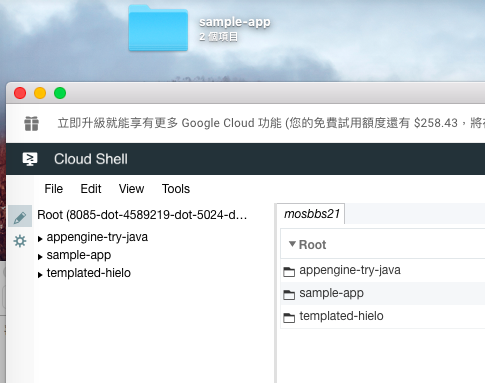
直接在Shell環境打以下指令
gcloud config set project garypj0001(這是我的專案ID,每個人不同)
cd sample-app
gcloud app deploy
部署對應網站服務完成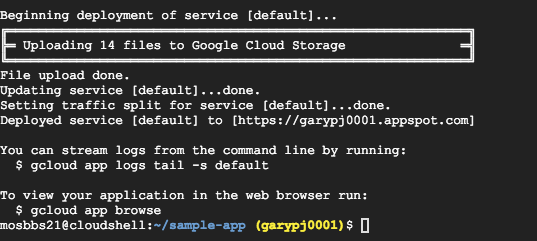
回到版本來看已經有剛剛建立的範例網站並且看到是用python跑的
看一下剛剛部署後的範例網站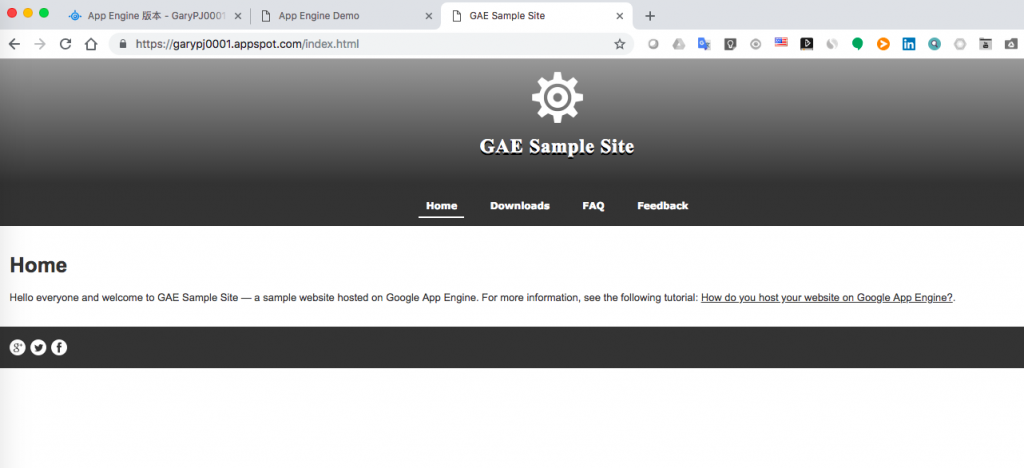
檢視這網站的資訊儀表狀態
好啦!又到了尾聲了!小弟又快沒電了!需要潛水去....看到這裡的捧油!穴穴各位的支持,再會啦


 iThome鐵人賽