前一篇筆記中介紹了使用命令部署應用程式到 Kubernetes 叢集中, 這篇筆記中, 將介紹使用配置檔案部署的方式.
Kubernetes 的配置檔有兩種格式, YAML 和 JSON 格式, 一般都慣用 YAML 語言來撰寫部署. 開始之前, 可能需要先簡單了解一下怎麼解讀 YAML 檔案內容, 有興趣可以參考一些網路上的文件 Introduction to YAML: Creating a Kubernetes deployment
YAML 基本上是一個一個的物件描述, 很適合用來宣告. 因此在 Kubernetes 的配置上很直覺方便. 以下是延續上一篇筆記的部署, 將應用程式的部署改為配置檔, 未來可以跟 CI/CD 與 DevOps 一起應用, 便可以體會到 Kubernetes 的強大管理能力了.
-o yaml 命令將正確的配置輸出, 以下是前一篇筆記用命令方式配置的應用程式, 我們可以將 deployment 的部分先行輸出, 再進行修改成簡化的版本即可.
apiVersion: extensions/v1beta1
kind: Deployment
metadata:
  annotations:
    deployment.kubernetes.io/revision: "1"
  creationTimestamp: 2018-10-10T06:58:42Z
  generation: 1
  labels:
    run: aspnetapp-interactive-delopyment
  name: aspnetapp-interactive-delopyment
  namespace: default
  resourceVersion: "10577"
  selfLink: /apis/extensions/v1beta1/namespaces/default/deployments/aspnetapp-interactive-delopyment
  uid: ec2da991-cc59-11e8-9cba-00155d541009
spec:
  progressDeadlineSeconds: 600
  replicas: 3
  revisionHistoryLimit: 10
  selector:
    matchLabels:
      run: aspnetapp-interactive-delopyment
  strategy:
    rollingUpdate:
      maxSurge: 1
      maxUnavailable: 1
    type: RollingUpdate
  template:
    metadata:
      creationTimestamp: null
      labels:
        run: aspnetapp-interactive-delopyment
    spec:
      containers:
      - image: aspnetapp:local
        imagePullPolicy: IfNotPresent
        name: aspnetapp-interactive-delopyment
        ports:
        - containerPort: 80
          protocol: TCP
        resources: {}
        terminationMessagePath: /dev/termination-log
        terminationMessagePolicy: File
      dnsPolicy: ClusterFirst
      restartPolicy: Always
      schedulerName: default-scheduler
      securityContext: {}
      terminationGracePeriodSeconds: 30
status:
  availableReplicas: 3
  conditions:
  - lastTransitionTime: 2018-10-10T06:58:46Z
    lastUpdateTime: 2018-10-10T06:58:46Z
    message: Deployment has minimum availability.
    reason: MinimumReplicasAvailable
    status: "True"
    type: Available
  - lastTransitionTime: 2018-10-10T06:58:42Z
    lastUpdateTime: 2018-10-10T06:58:46Z
    message: ReplicaSet "aspnetapp-interactive-delopyment-dbdd784f9" has successfully
      progressed.
    reason: NewReplicaSetAvailable
    status: "True"
    type: Progressing
  observedGeneration: 1
  readyReplicas: 3
  replicas: 3
  updatedReplicas: 3
apiVersion: v1
kind: Service
metadata:
  creationTimestamp: 2018-10-10T07:38:18Z
  labels:
    run: aspnetapp-interactive-delopyment
  name: aspnetapp-interactive-delopyment
  namespace: default
  resourceVersion: "13182"
  selfLink: /api/v1/namespaces/default/services/aspnetapp-interactive-delopyment
  uid: 74b57fea-cc5f-11e8-9cba-00155d541009
spec:
  clusterIP: 10.96.168.58
  externalTrafficPolicy: Cluster
  ports:
  - nodePort: 30023
    port: 80
    protocol: TCP
    targetPort: 80
  selector:
    run: aspnetapp-interactive-delopyment
  sessionAffinity: None
  type: NodePort
status:
  loadBalancer:
    ingress:
    - hostname: localhost

name, replicas 數量, image 名稱, Service 重點為 service name, listen tcp port 80 以及 服務 type 為 NodePort
apiVersion: apps/v1
kind: Deployment
metadata:
  name: aspnetapp-deployment
  labels:
    app: aspnetapp
spec:
  replicas: 5
  template:
    metadata:
      name: aspnetapp
      labels:
        app: aspnetapp
    spec:
      containers:
      - name: aspnetapp
        `image: aspnetapp:local`
        imagePullPolicy: IfNotPresent
      restartPolicy: Always
  selector:
    matchLabels:
      app: aspnetapp


---

apiVersion: v1
kind: Service
metadata:
  name: aspnetapp-service
spec:
  selector:
    app: aspnetapp
  ports:
    - port: 80
  type: NodePort


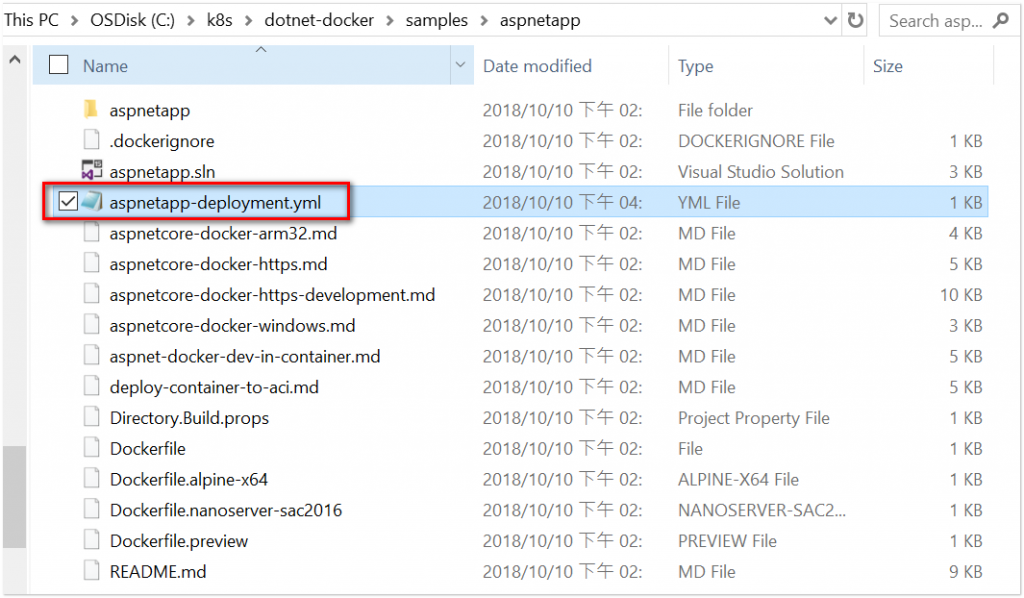
aspnetapp-deployment.yml 檔案, 將 replicas 修改成 2, 使用 kubectl apply -f .\aspnetapp-deployment.yml 檔案套用apiVersion: apps/v1
kind: Deployment
metadata:
name: aspnetapp-deployment
labels:
app: aspnetapp
spec:
replicas: 2
template:
metadata:
name: aspnetapp
labels:
app: aspnetapp
spec:
containers:
- name: aspnetapp
image: aspnetapp:local
imagePullPolicy: IfNotPresent
restartPolicy: Always
selector:
matchLabels:
app: aspnetapp
---
apiVersion: v1
kind: Service
metadata:
name: aspnetapp-service
spec:
selector:
app: aspnetapp
ports:
- port: 80
type: NodePort


在第4步驟的 yml 設定檔中要把以下這句的 ` 拿掉,否則會出現 error parsing
`image: aspnetapp:local`