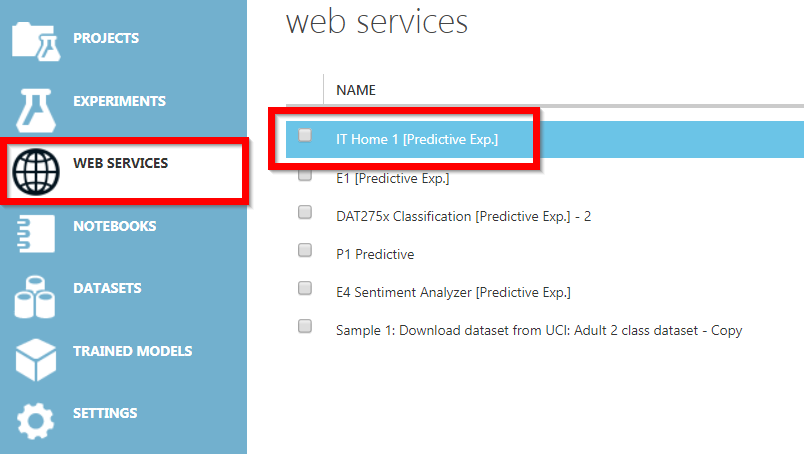
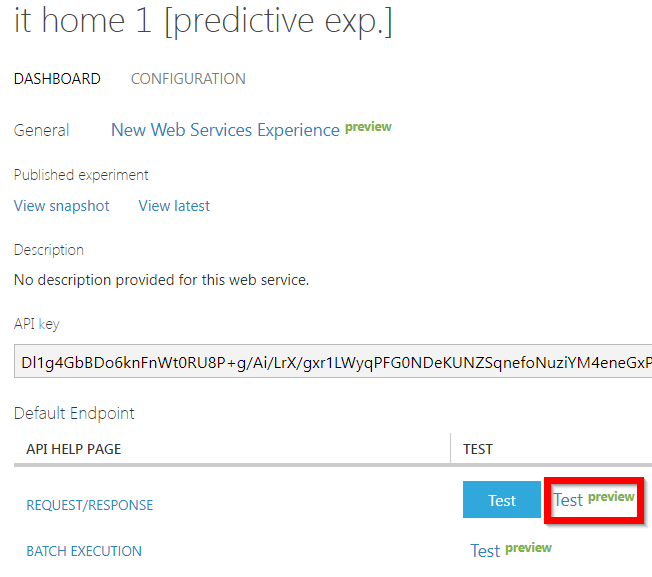
上一篇,我們已經可以使用 Web Services 的簡易介面,讓使用者在網頁上輸入資料,並查看結果。這一次我們自己撰寫網頁程式,來呼叫 Web Services。
ML Studio 很貼心的提供各種程式語言(C#/Python/R)的範例,我們就每個都來實作一下。


使用 Visual Studio 新增一個Console專案,專案名稱取名為 CallRequestResponseService。
專案開啟後,選『Tools -> Nuget Package Manager -> Package Manager Console』,輸入
Install-Package Microsoft.AspNet.WebApi.Client
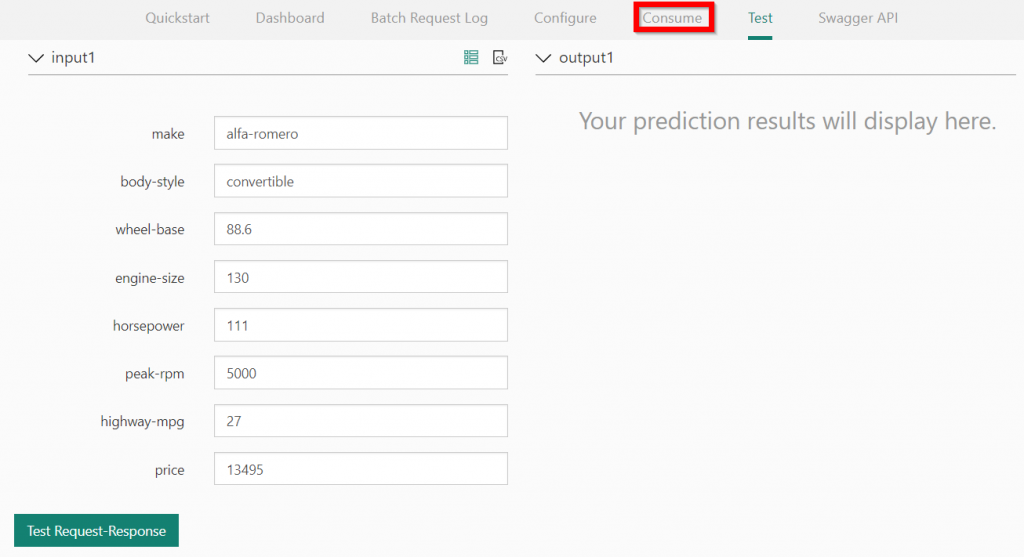
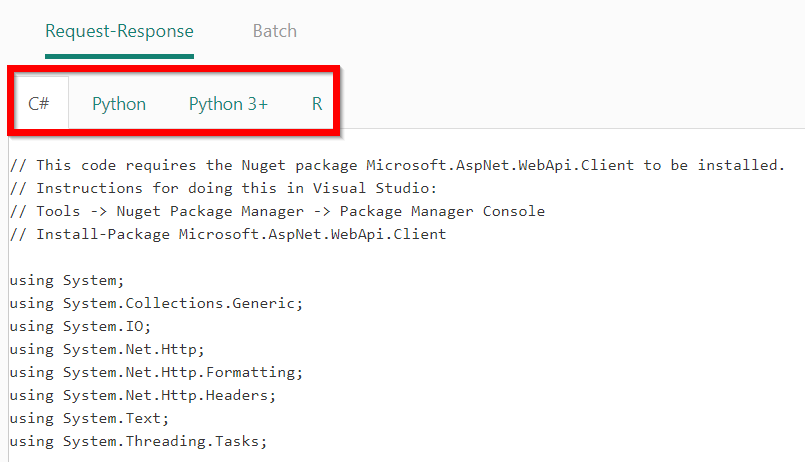
安裝套件完畢後,依樣畫葫蘆,複製『C#』頁籤下的全部程式碼,覆蓋 Program.cs,,再複製頁面上方的 Primary Key,填到程式碼的中 api_key 值。
存檔後執行即可。
依照範例執行很順利,接下來我們就用 python Flask 套件實作一次,寫一個簡單網頁程式,經過幾番折騰,終於搞定,主要的步驟如下:
index.html 內容如下:
<!doctype html>
<html>
<head><title>車價估算</title>
</head>
<body>
<h1>車價估算</h1>
<form method="post">
<p>make:<select id="make" name="make">
    <option>alfa-romero</option>
    <option>benz</option>
    <option>audi</option>
</select>
</p><p>body-style:<select id="body-style" name="body-style">
    <option>convertible</option>
    <option>hatchback</option>
    <option>sedan</option>
</select>
</p><p>wheel-base:<select id="body-style" name="body-style">
    <option>convertible</option>
    <option>hatchback</option>
    <option>sedan</option>
</select>
</p><p>wheel-base:<input type="text" name="wheel-base" value="90">
</p><p>engine-size:<input type="text" name="engine-size" value="150">
</p><p>horsepower:<input type="text" name="horsepower" value="120">
</p><p>peak-rpm:<input type="text" name="peak-rpm" value="5000">
</p><p>highway-mpg:<input type="text" name="highway-mpg" value="90">
<input type="submit" value="估算">
</p></form>
</body>
</html>
flask 檔案內容如下:
import flask
import io
import urllib.request
import json
from flask import request, render_template

# initialize our Flask application
app = flask.Flask(__name__)

@app.route("/", methods=['GET', "POST"])
def predict():
    if flask.request.method == "GET":
        return render_template('index.html')
    else:
        data = {}
        data['make']=request.form['make']
        data['body-style']=request.form['body-style']
        data['wheel-base']=request.form['wheel-base']
        data['engine-size']=request.form['engine-size']
        data['horsepower']=request.form['horsepower']
        data['peak-rpm']=request.form['peak-rpm']
        data['highway-mpg']=request.form['highway-mpg']
        data['price']='0'
        input1=[]
        input1.append(data)
        input2={}
        input2["input1"]=input1
        input3={}
        input3["Inputs"]=input2

        body = str.encode(json.dumps(input3))
        print(body)
        url = '依據你的API填寫'
        api_key = '依據你的API填寫'
        headers = {'Content-Type':'application/json', 'Authorization':('Bearer '+ api_key)}

        req = urllib.request.Request(url, body, headers)
        result=''
        response = urllib.request.urlopen(req)
        result = response.read()
        result_dict = json.loads(result)
        ScoredLabels = result_dict["Results"]["output1"][0]["Scored Labels"]

        # return the data dictionary as a JSON response
        return "Scored Labels:"+ScoredLabels #flask.jsonify(result)

# if this is the main thread of execution first load the model and
# then start the server
if __name__ == "__main__":
    app.run()
談到這裡,我們已經把第一個實驗完整作完了,接下來,我們會先談一下,如何選擇適當的演算法,之後,才開始介紹其他案例,逐漸朝實務邁進,加油了。


 iThome鐵人賽