今天來點輕鬆的...別太燒腦
平常我們建立的服務都有一個共通點就是......都是空白一片!骨架完成阿裡面的填充物呢....對!
所以這時候GCP雲端服務提供商怎麼能夠缺席不去滿足我們小小的心靈呢!來點餐...去,沒錯,就是Marketplace(市集)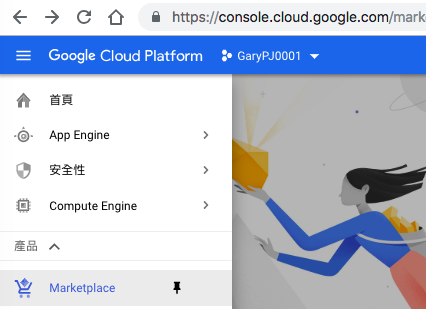
挖屋!!真的是五花八門的服務應有盡有阿!...(其實也沒有啦!記得上次甚麼Citrix的搜尋一個屁都沒有)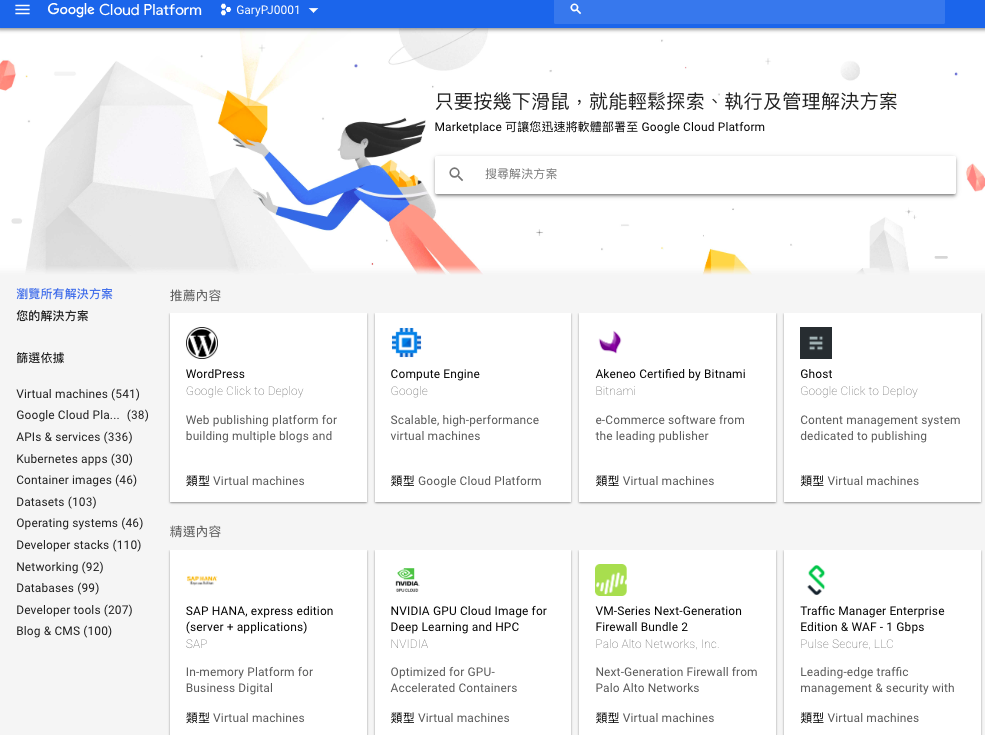
這次來點輕鬆的找找對Customer類型的社群服務(左下角有個眼睛雪亮的字眼....Free),快點下去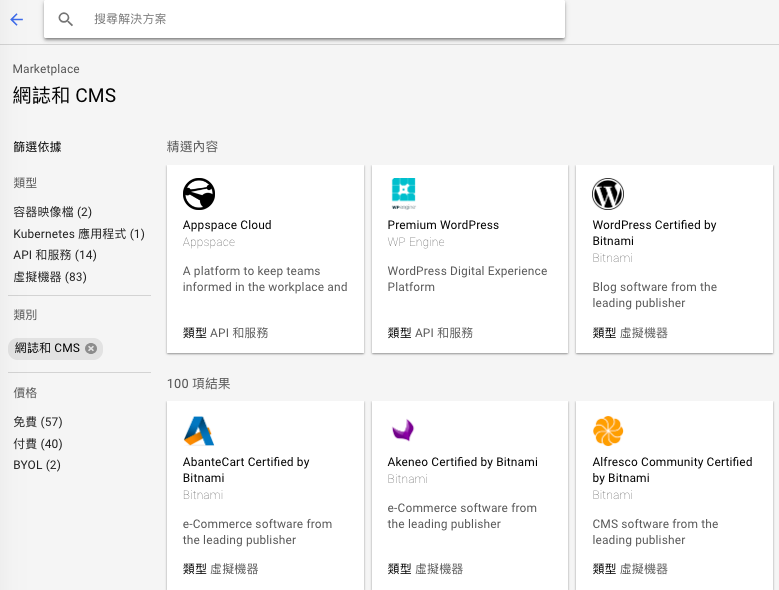
平常都看到別人拿Workpress做示範...我偏不要..東看西看..有了就是它Joomla(啾啦..@@發音怪怪的說)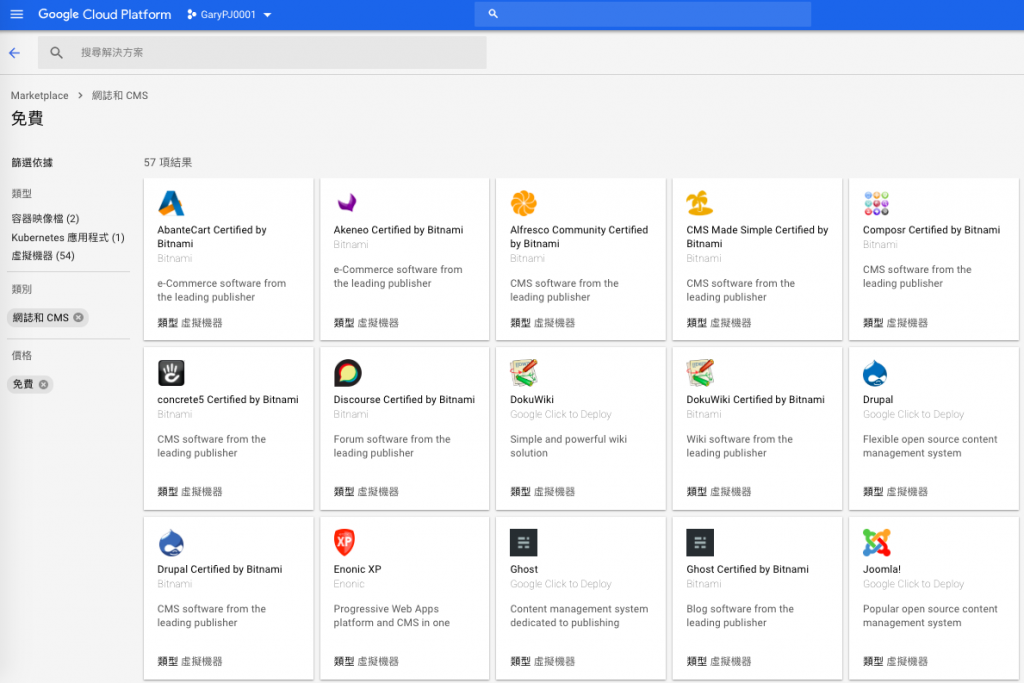
來看看維基大神怎麼說他....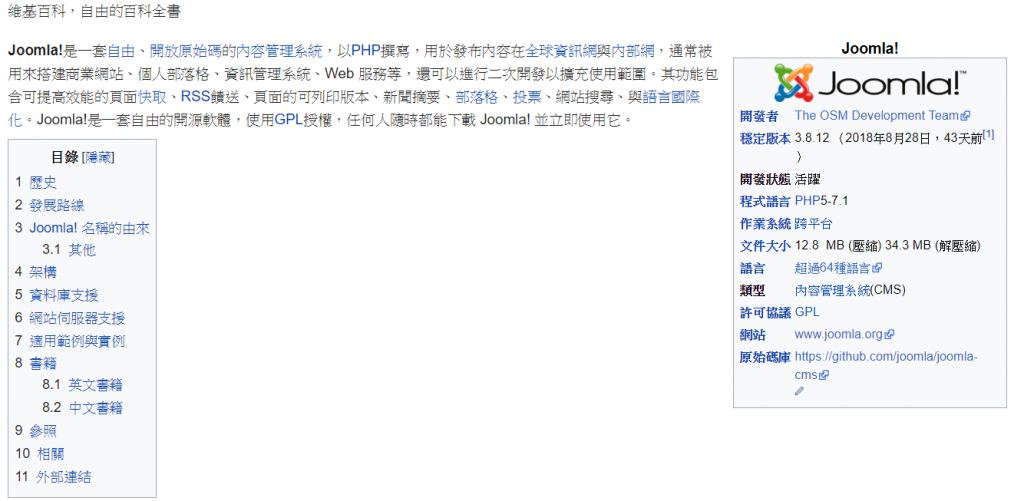
GCP真的很貼心地都會把估算的費用成本列出讓你知道我沒有坑你錢...是光明正大的坑...
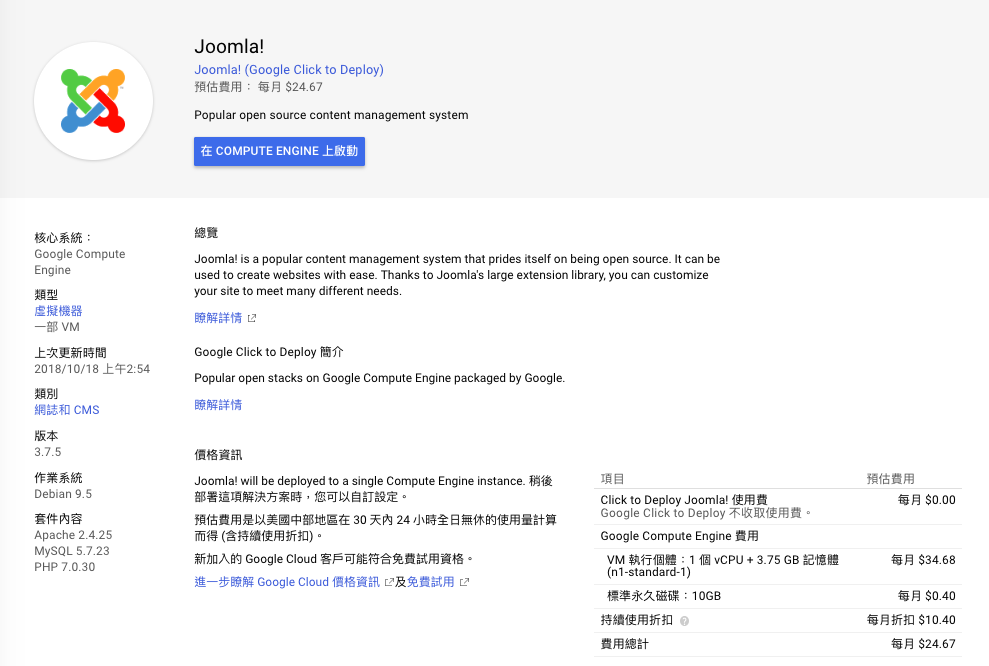
右列有說明選此服務會包含到哪些軟體服務,GCE的安裝細節同之前GCE的介紹說過,不在囉說.(視個人需求做調整)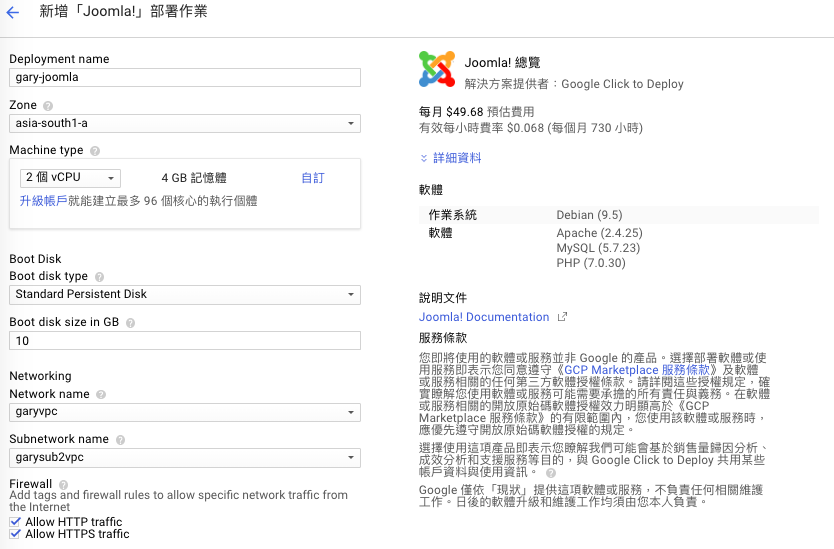
需要有外部IP來提供,如有需要指定內部IP範圍則在此設立,可以空白略過即可,沒問題就建立
建立進行中..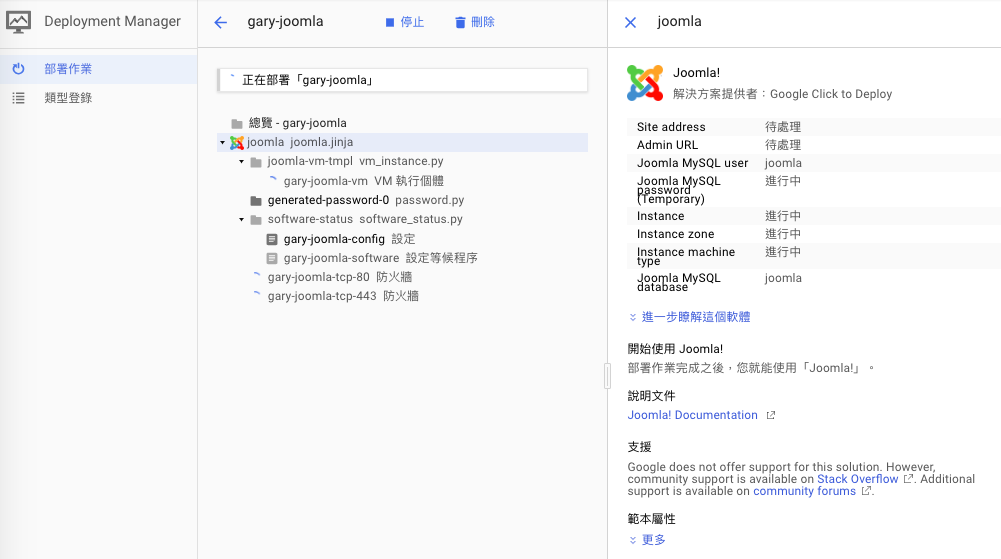
這麼複雜的服務我以為會慢很多...結果還是沒有三分鐘還少就建立好了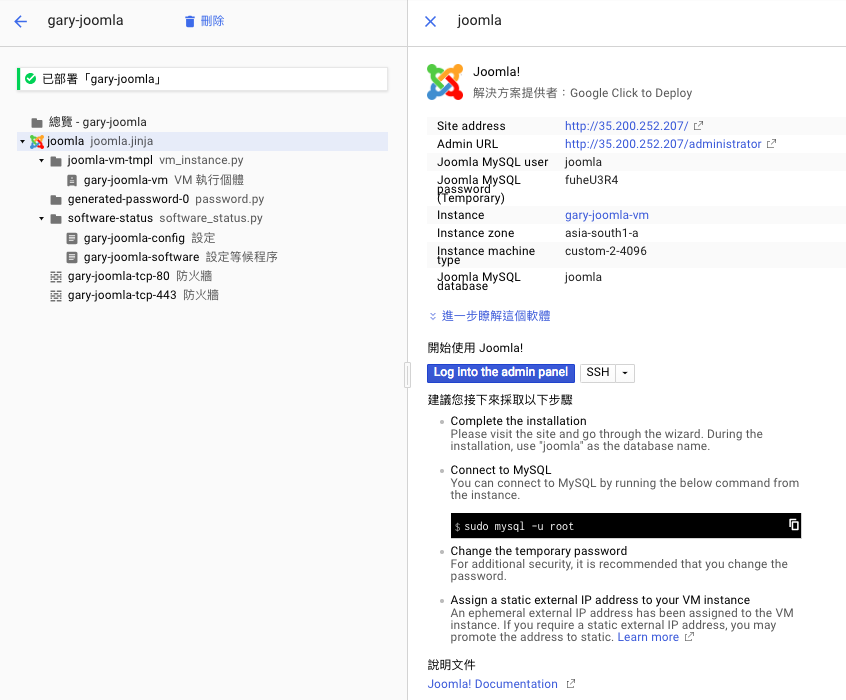
依照右列透過SSH連線資訊提示登入測試OK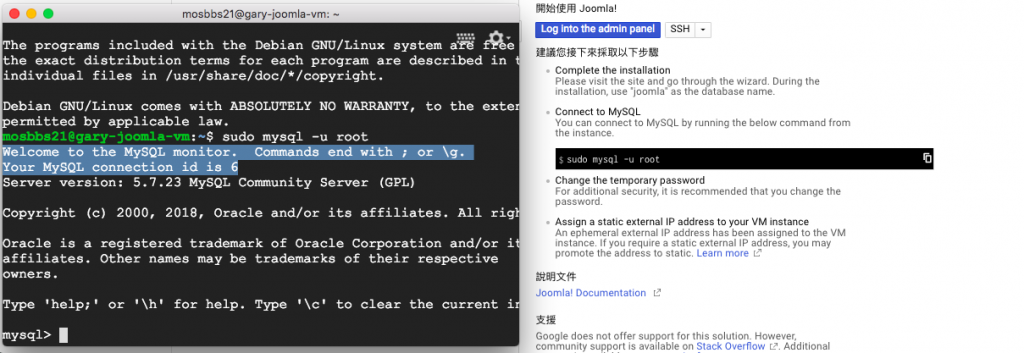
直接登入Admin Portal做管理設定(網站名稱與管理員登入帳密設定)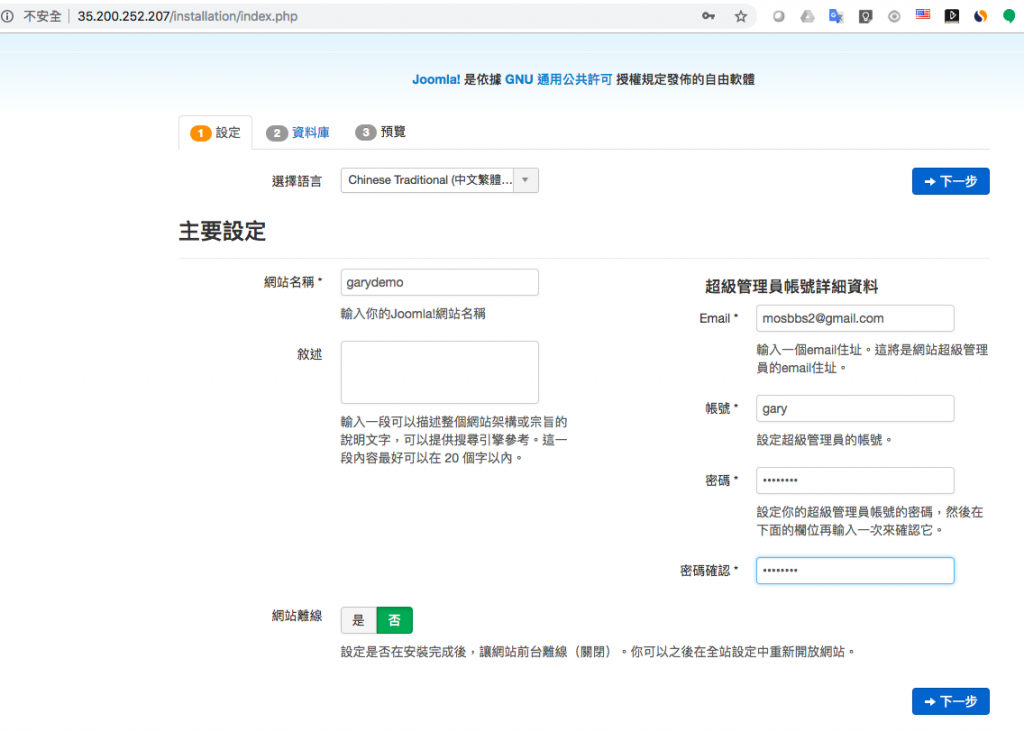
資料庫連線設定(MySQL依照一開始已經設定好的資訊做連線)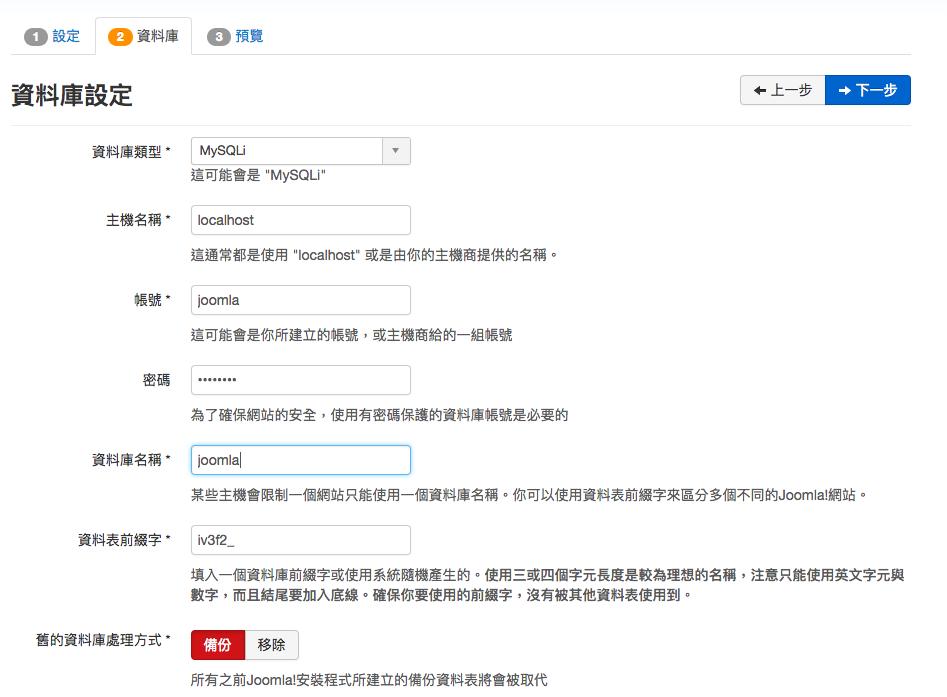
回顧一下MySQL連線資訊...很佛心吧!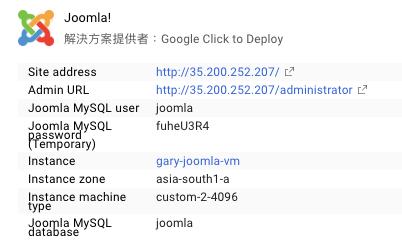
最後設定中我是以Blog作為網站範本
這些都是安裝環境檢查與預設建議設定,沒問題就建立吧!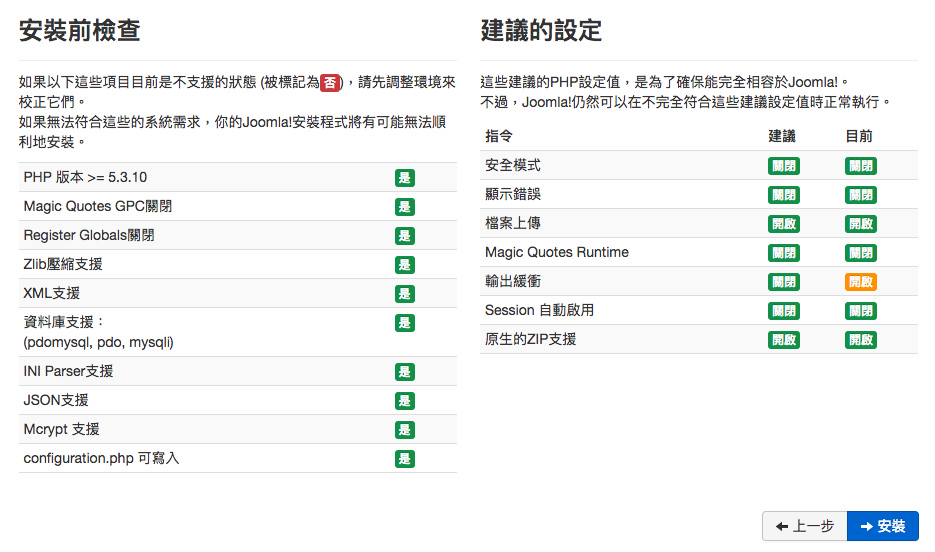
Joomla安裝好了..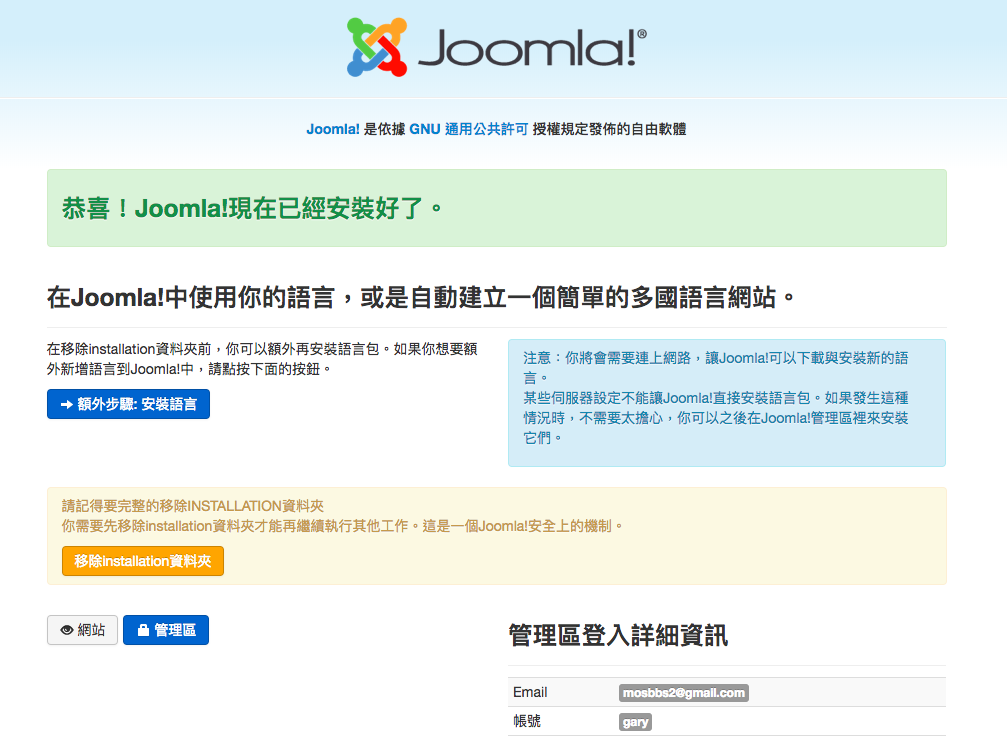
提示要移除XX資料夾,移除完成後才能進入管理區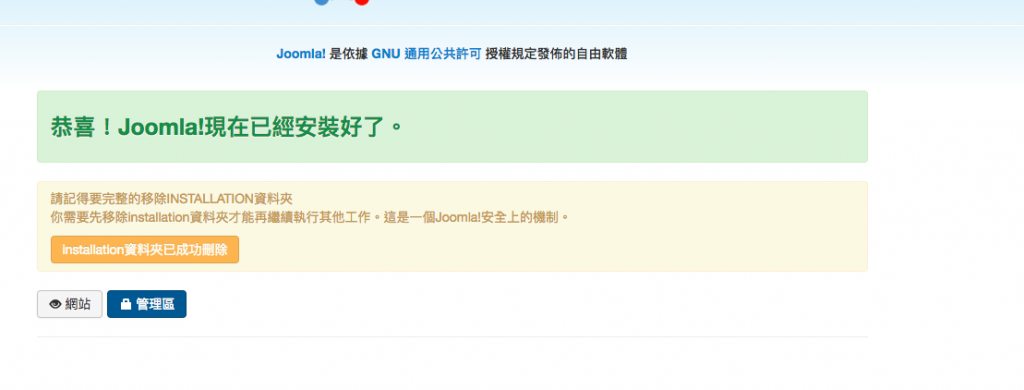
用當初第一步建立的管理帳號做登入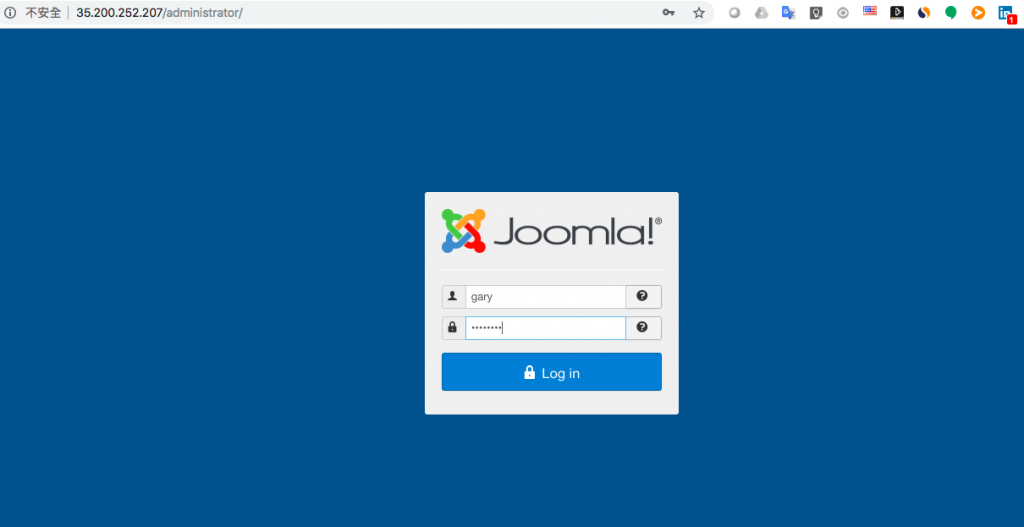
來準備安裝更新一下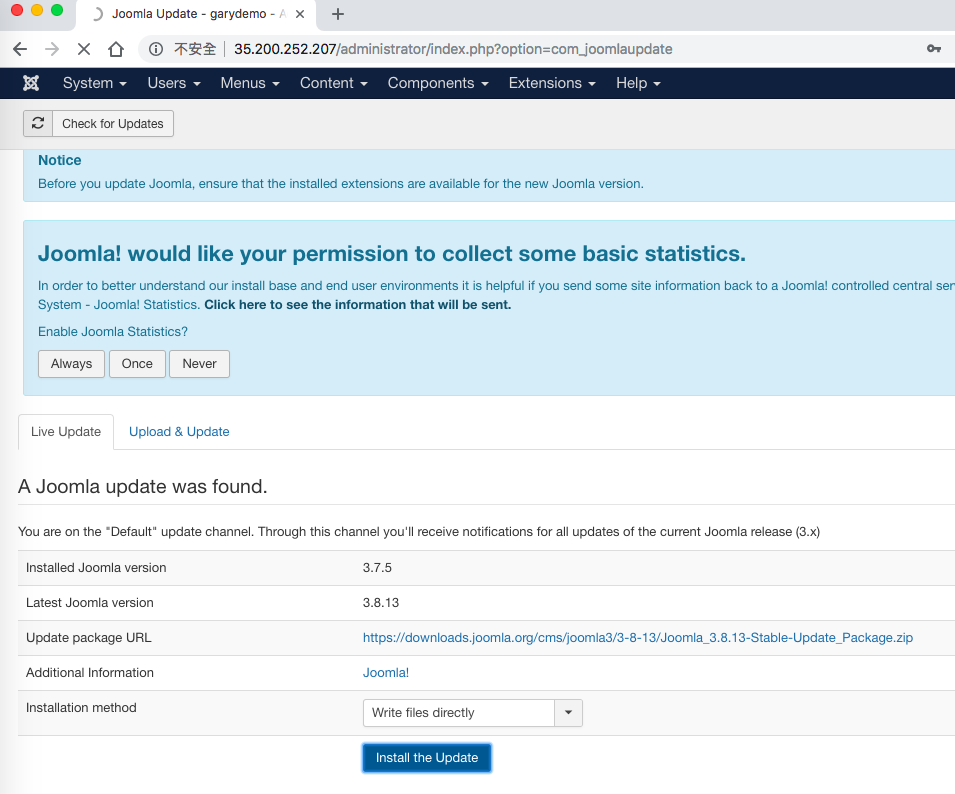
安裝完成就可以進到管理控制台做你要的後續服務設定喽!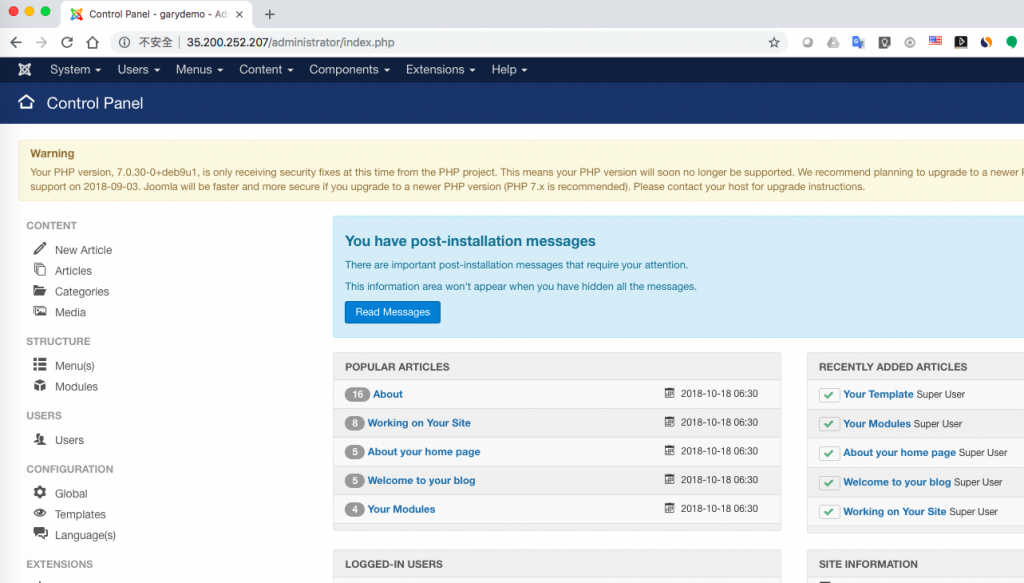
回到GCE畫面來看這就是市集做建立出來的服務,也就是一台GCE跟你之前一步步建立出來的都是一樣的(只是肚子多了東西+這東西要不要另外付保護費而已)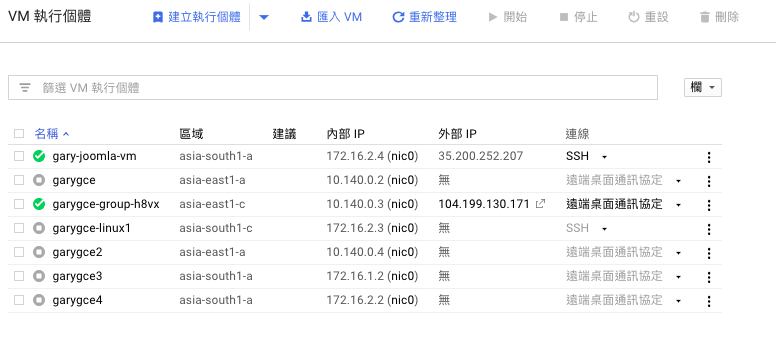
架構上要做怎樣更完善的調整都完全比照辦裡..如果要SSH連線也可以從此進入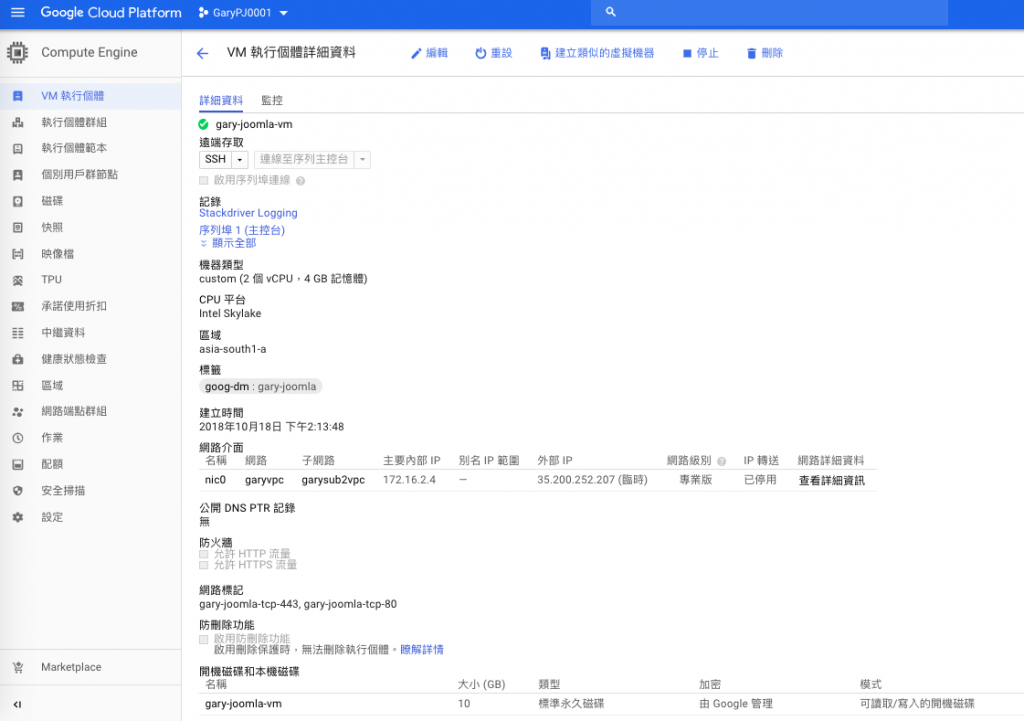
好了!以上就是非常簡單透過市集建立你所需的服務,不一定肚子的東西都要自己從頭到尾搞,如果能借重何樂而不為呢?
今天就先這樣喽!!大家再會81

