今天就來介紹一下針對影片或是影像判斷內容是否有「18 禁」或是「冒犯性」的內容進行判斷:內容仲裁。
內容仲裁有以下特點:


使用 API
內容仲裁服務提供了以下類型 API:
影像仲裁 API
首先要到 Azure Portal 新增 Content Moderator 的 API Key
再來新增專案完畢後,進行 Nuget 套件安裝,共需要安裝以下三個套件::
使用 dotnet CLI
dotnet add package Microsoft.Azure.CognitiveServices.ContentModerator
dotnet add package Microsoft.Rest.ClientRuntime
dotnet add package Newtonsoft.Json
使用 Package Explorer
Install-Package Microsoft.Azure.CognitiveServices.ContentModerator
Install-Package Microsoft.Rest.ClientRuntime
Install-Package Newtonsoft.Json
因為這次示範圖片偏 18 禁,所以我就不把圖片貼上來了
先把相關變數設定好,像是 API Key 跟 ImageUrl,我把 apiKey 放在 appsettings.json 裡
string apiKey = configuration.GetSection("apiKey").Value;
string imageUrl = "http://pic.pimg.tw/k110107632/1387547248-3785354604.jpg";
接下來我們就把 ContentModeratorClient 給 New 起來,並根據 Azure Portal 上之資訊設定 Endpoint
ContentModeratorClient client = new ContentModeratorClient(new ApiKeyServiceClientCredentials(apiKey));
client.Endpoint = "https://southeastasia.api.cognitive.microsoft.com";
EndPoint 不能這定成跟 Azure Portal 上顯示的一樣,要設為:https://[location].api.cognitive.microsoft.com/
設定完成後,我們就可以把圖片送出去做辨識啦
var imageModeration =
    client.ImageModeration.EvaluateUrlInput("", new BodyModel("URL", imageUrl));
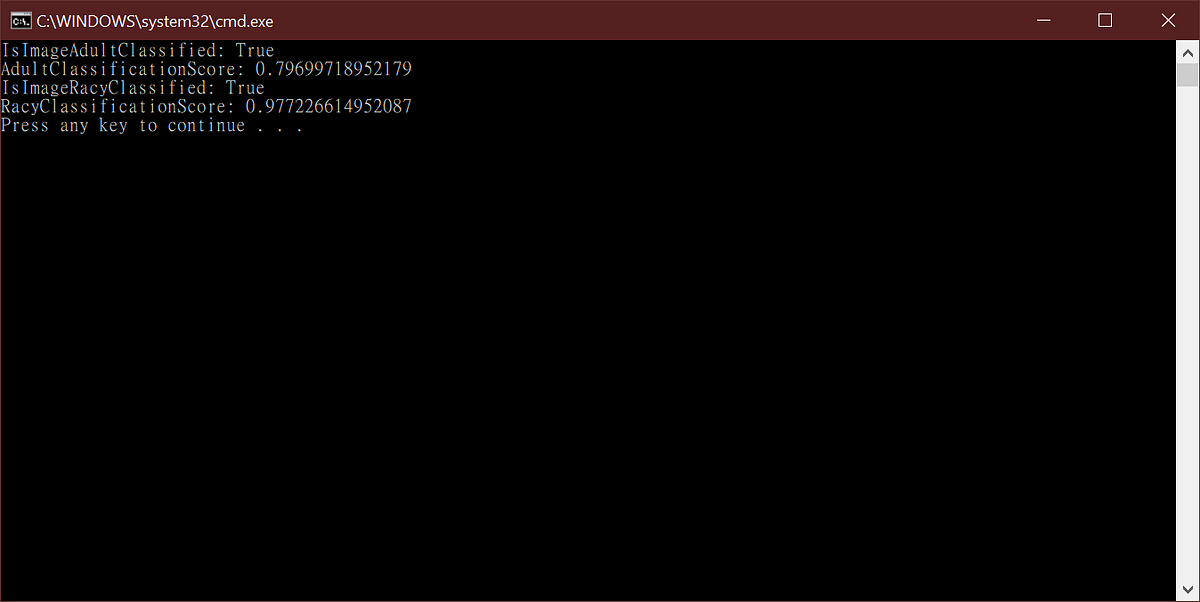
Console.WriteLine($"IsImageAdultClassified: {imageModeration.IsImageAdultClassified}");
Console.WriteLine($"AdultClassificationScore: {imageModeration.AdultClassificationScore}");
Console.WriteLine($"IsImageRacyClassified: {imageModeration.IsImageRacyClassified}");
Console.WriteLine($"RacyClassificationScore: {imageModeration.RacyClassificationScore}");
結果如下

完整範例程式:https://github.com/MoneyYu/2019ItHelpData
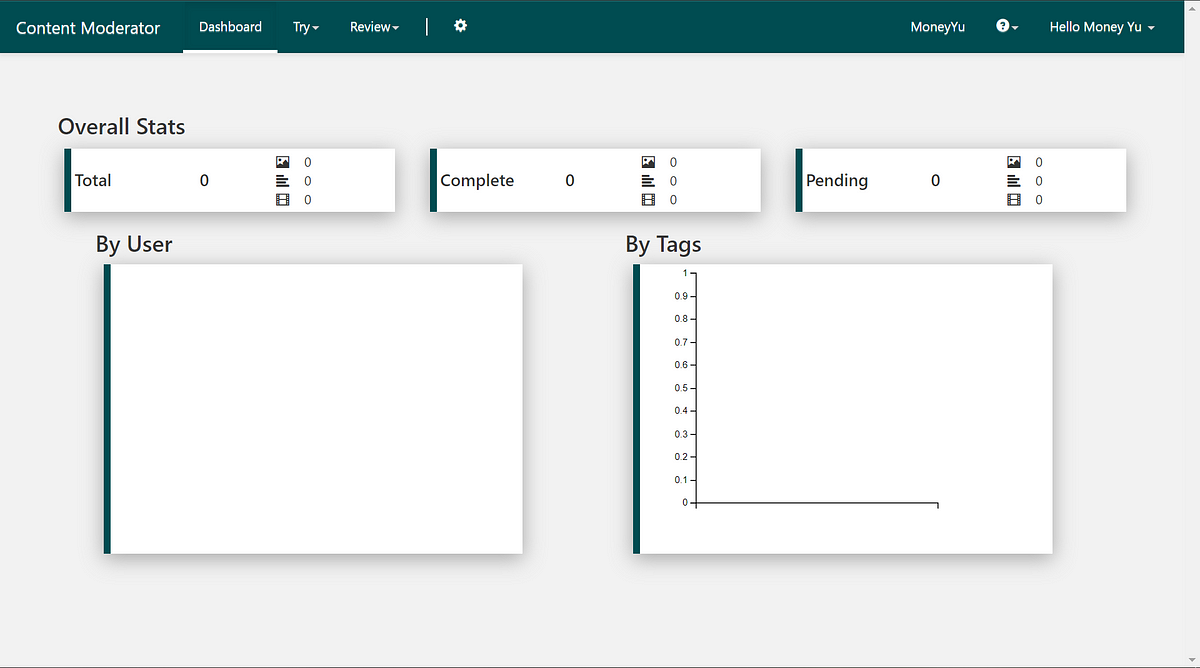
人工審核介面
除了透過 API 的方式,內容仲裁服務也提供了讓人工可以手動審核的介面;先讓程式透過 API 方式使用前述的審核 API 建立文字、影像和影片的審核,最後再透過人工的方式最後的決斷。
內容審核生命週期與相關的重要工作如下:
官方網站:https://contentmoderator.cognitive.microsoft.com/


在開放給一般使用者上傳影片時,就可以很快速的透過此服務篩選掉不適當的影片,如果有更大的疑慮,還可以最後再透過人工審核方式進一步加強效果。
下一篇來介紹我一直很想介紹的「Custom Vision」
