Azure Custom Vision 是一個可以使用者簡單上傳圖片、標記,即可達成訓練模型的網站功能,使用者不需有相關機器學習背景也可以自行訓練模型。
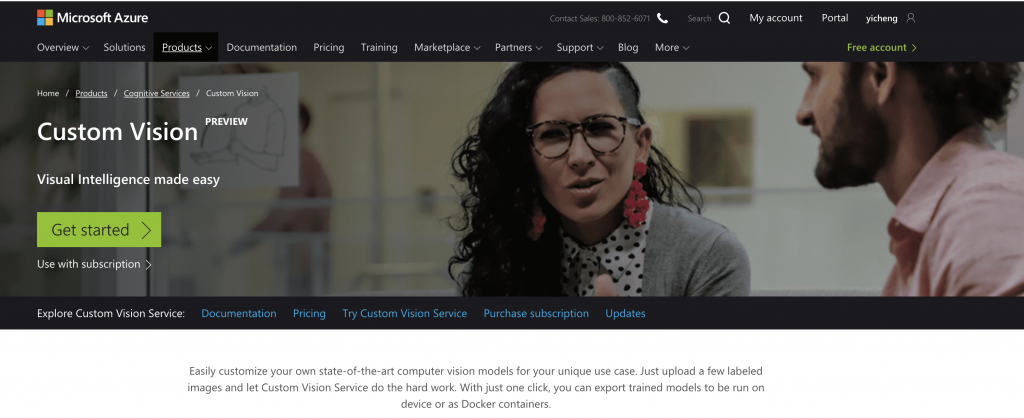
Custom Vision 操作時主要包含四個步驟:
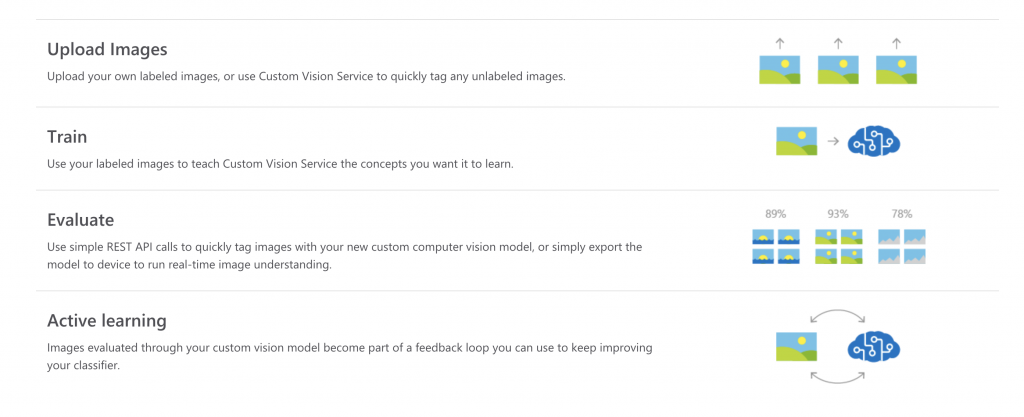
我們首先到此網站:https://www.customvision.ai
接著建立一個專案: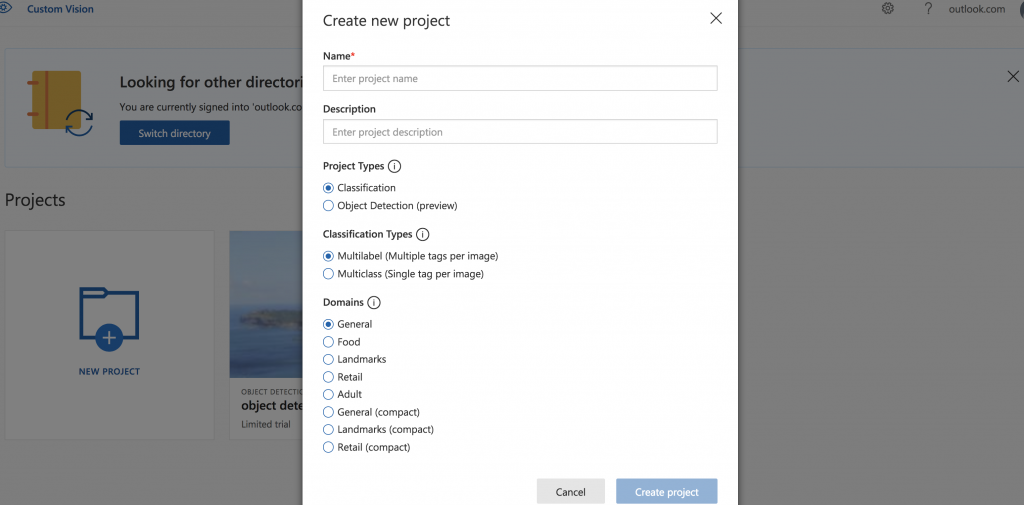
有兩種類型可選擇,這邊先選擇 Object Detection
接著選擇 Add image 新增圖片。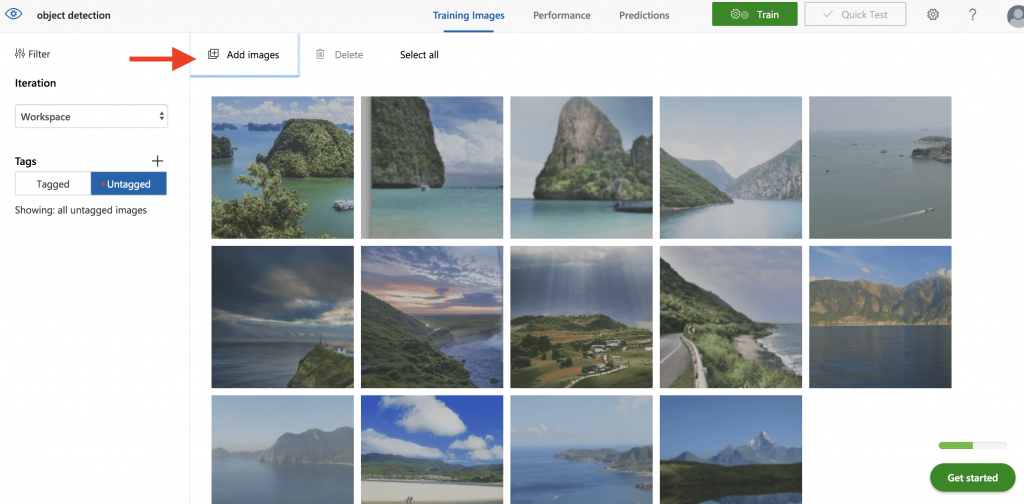
這邊至少新增15張,因為訓練前提為每個標籤至少要在十五張圖片內有標記。
再來點進去剛上傳的圖片中對圖片進行標記。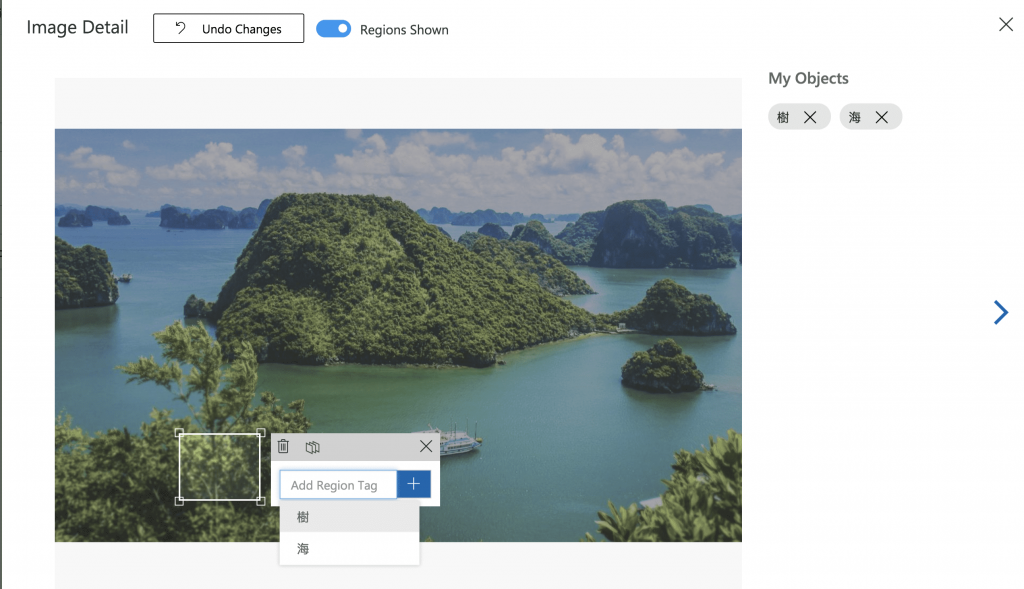
之後把15張圖片都標籤好之後點選 Train 按鈕即可開始訓練。
大約等個數分鐘。
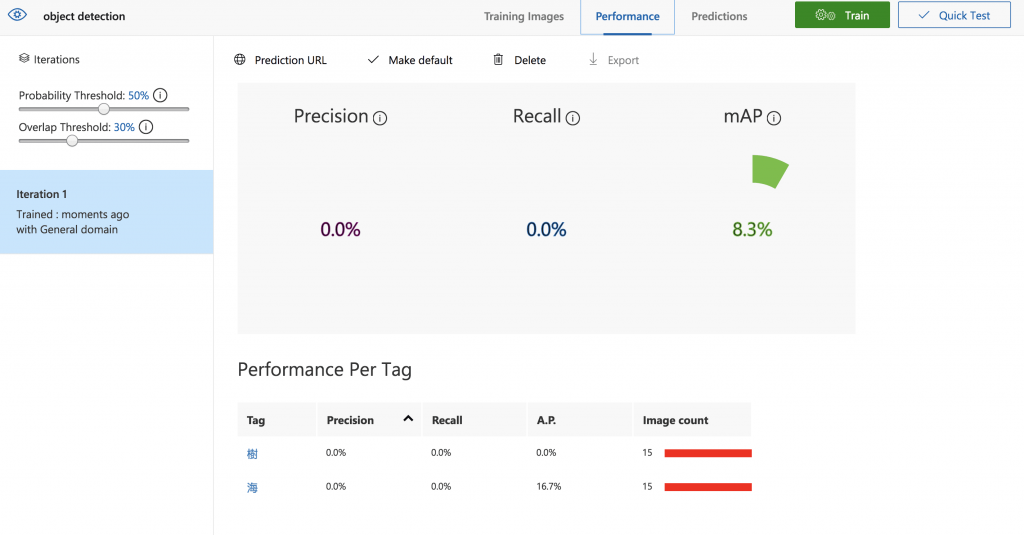
目前訓練結果不太好,但我們之後可以上傳更多圖片來進行修正。
之後點選上方的 Predictions 按鈕然後選 Quick Test your model 即可快速上傳圖片查看辨識結果。
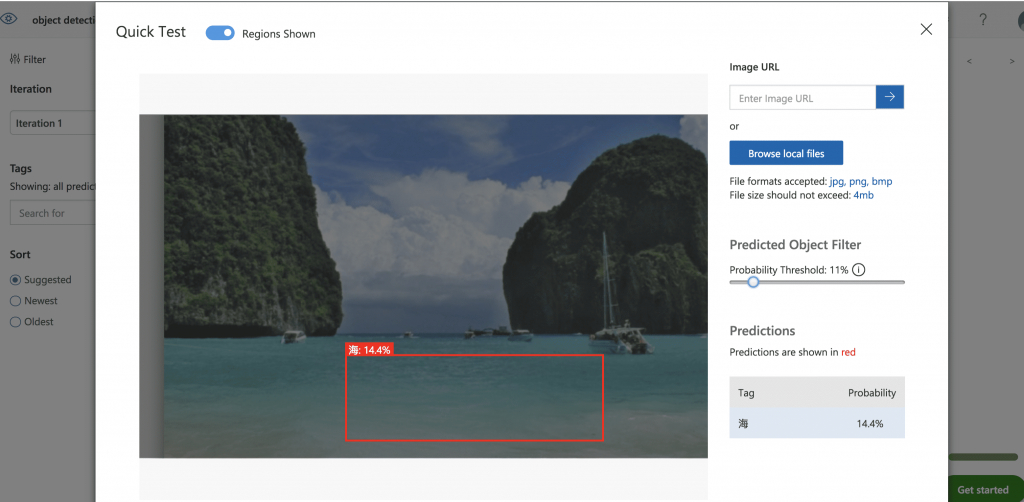
訓練好後可以使用剛才模型的 API endpoint 的來偵測圖片。
點選左上方的 Prediction URL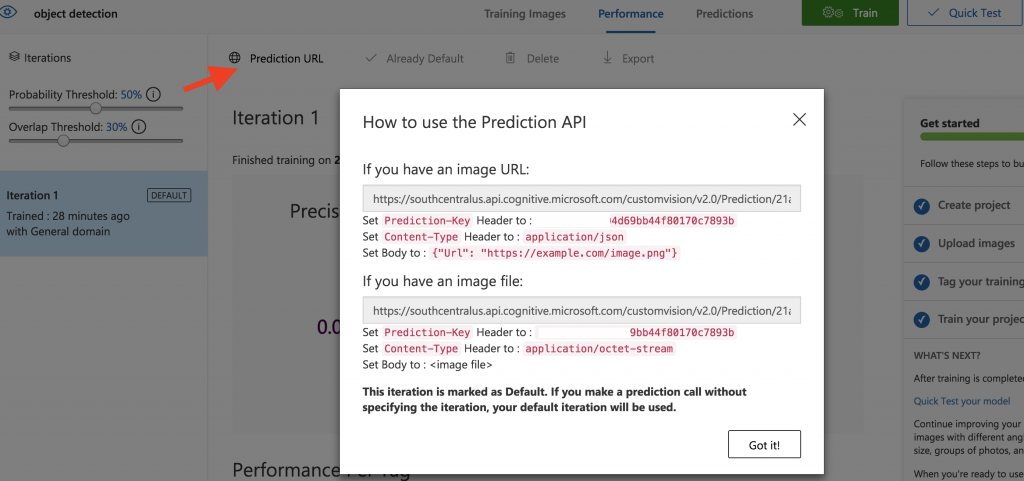
程式範例:
const https = require("https");

const options = {
  host: "southcentralus.api.cognitive.microsoft.com",
  port: 443,
  path: `/customvision/v2.0/Prediction/模型專案的ID/url`,
  method: "POST",
  headers: {
    "Prediction-Key": "填上Prediction-Key",
    "Content-Type": "application/json"
  }
};

const req = https.request(options, res => {
  let chunk = '';
  res.on("data", function(data) {
    chunk += data;
  });
  res.on("end", function(data) {
    console.log(chunk);
  });
});

req.on("error", e => {
  console.error(e);
});

req.write(
  JSON.stringify({
    url: "http://www.365cts.com/files/2017-8/f20170829134345103176.jpg"})
);

req.end();
不用寫程式也可以快速的訓練模型是不是值得試一下呢!
