
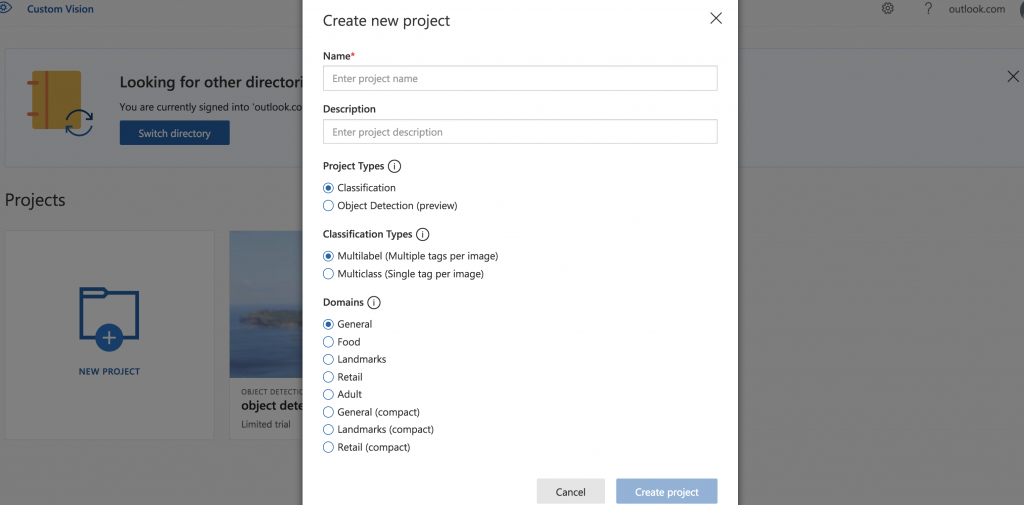
這次我們將專案選擇種類為 Classification。
上一篇使用的是 Object Detection,每張圖可設置多個標籤,偵測時可在一張圖片中可偵測多個物體。
而這篇文章所用的 Classification ,其將圖片做分類,每一張圖只會有一個標籤。
我們創建專案後開始加入圖片: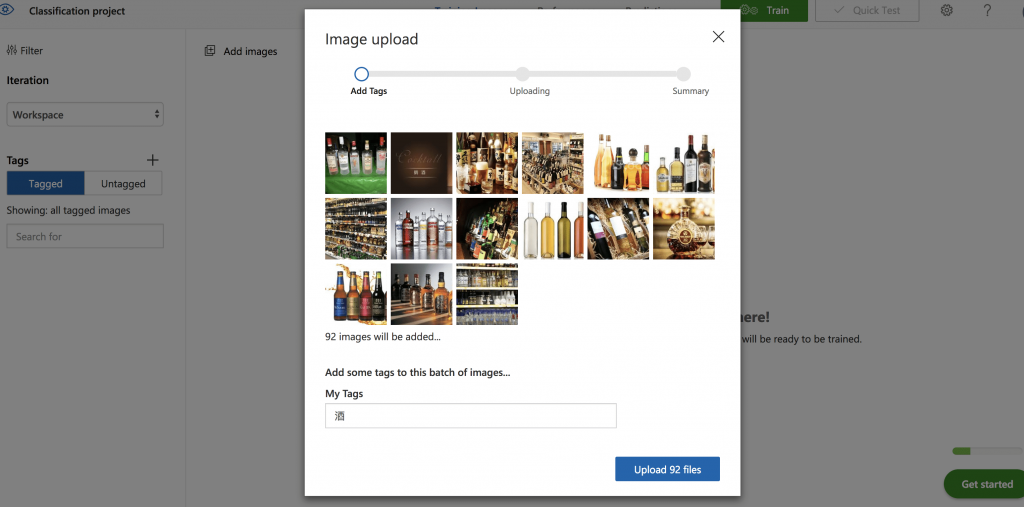
上傳好圖片後記得在下方加入此類圖片的種類標籤。
然後加入另外種類的圖片: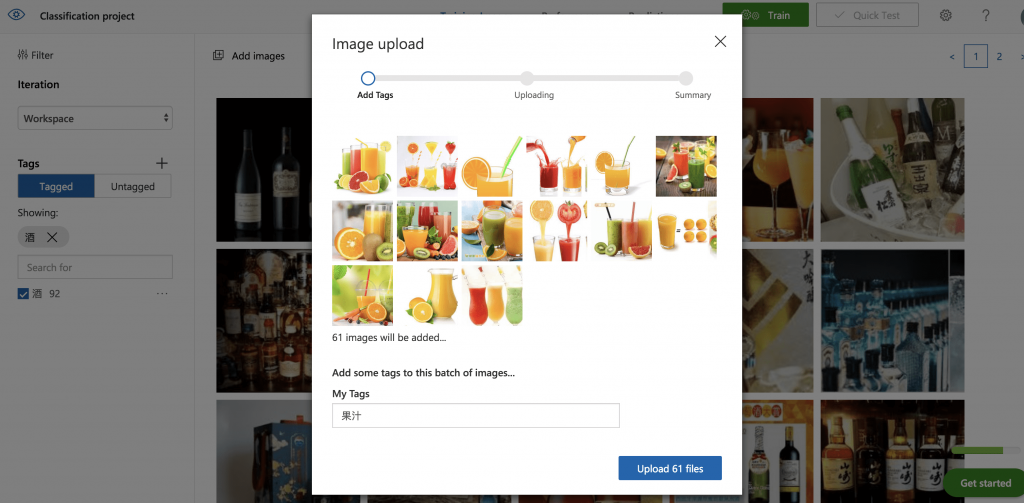
之後即可點選訓練按鈕: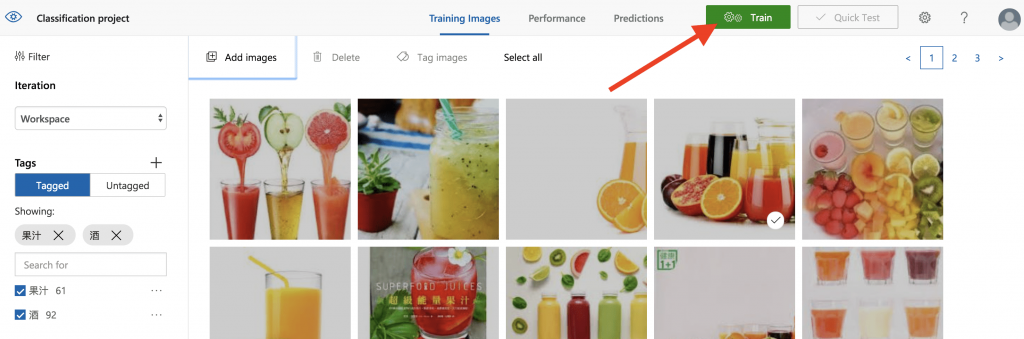
再來點選 Quick test 即可查看測試結果。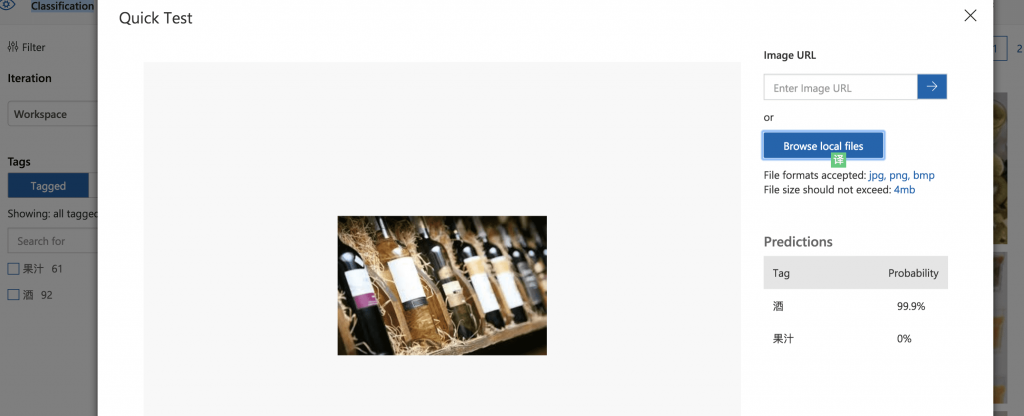
可查看目前的測試準確度: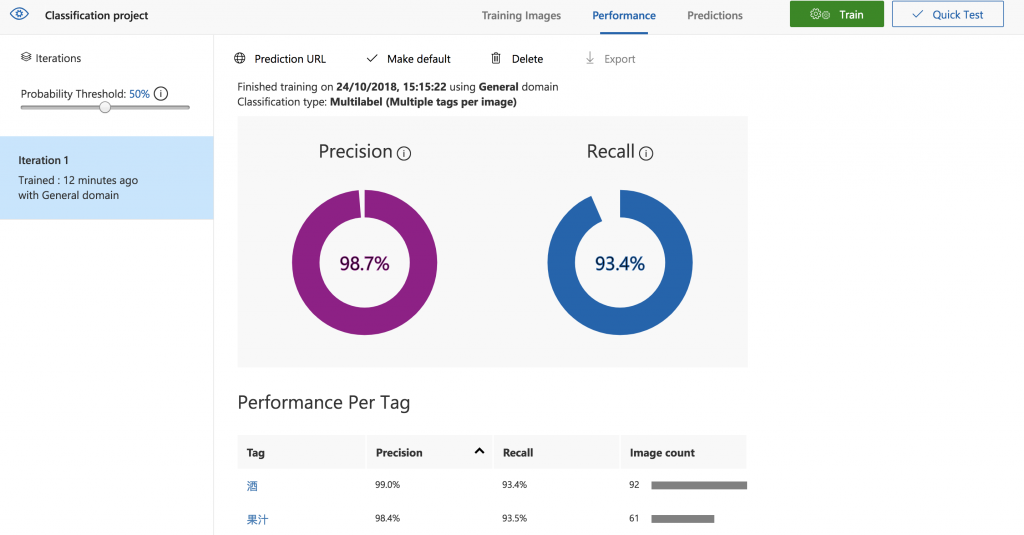
程式範例:
const https = require("https");

const options = {
  host: "southcentralus.api.cognitive.microsoft.com",
  port: 443,
  path: `/customvision/v2.0/Prediction/填上Project ID/url?iterationId=填上iteration ID`,
  method: "POST",
  headers: {
    "Prediction-Key": "填上金鑰",
    "Content-Type": "application/json"
  }
};

const req = https.request(options, res => {
  let chunk = '';
  res.on("data", function(data) {
    chunk += data;
  });
  res.on("end", function(data) {
    console.log(chunk);
  });
});

req.on("error", e => {
  console.error(e);
});

req.write(
  JSON.stringify({
    url: "圖片位置"})
);

req.end();

 iThome鐵人賽