EventEmitter(中文:事件發射器)
發射一個同步或非同步的自訂事件在 directives 和 components ,並註冊處理這些事件,用在訂閱成一個實體
https://angular.io/api/core/EventEmitter
app\test1\test1.component.html (子)
-----
<button (click)="addValue($event.target.value)" value="1">我要加一</button>
app\test1\test1.component.ts (子)
-----
export class Test1Component implements OnInit {
    @Output() addEvent = new EventEmitter();

    constructor() { }

    ngOnInit() {
    }

    addValue(value) {
        value = Number(value);
        this.addEvent.emit(value);
    }
}
新增一個 EventEmitter() 並用 @Output() 裝飾
在 addValue function 內將 addEvent 發射出去並帶 值
app\app.component.html (父)
-----
<app-test1 #haha (addEvent)="add($event)"></app-test1>
{{totalValue}}
綁定 test1.component.ts 的 addEvent 發射事件,當接收到 addEvent 的 emit ,就觸發 add 事件
$event 接收到的就是 子 射出來 值
使用已經傳遞給 output event 處理過 的 $event 參數 ,就可以訪問到 event object
https://angular.io/api/core/EventEmitter#usage-notes
app\app.component.ts (父)
------
export class AppComponent implements OnInit {
    totalValue = 0;

    ngOnInit() {
    }

    add(value) {
        this.totalValue += value;
    }
}
顯示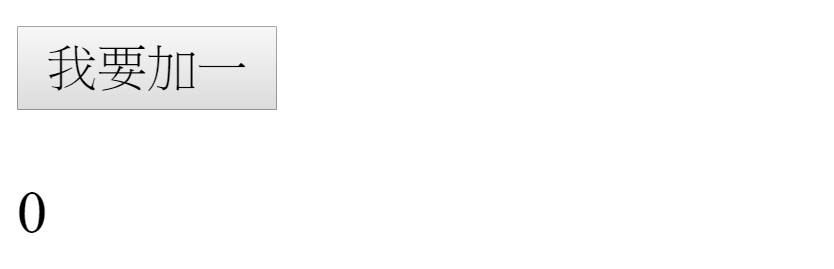
點擊「我要加一」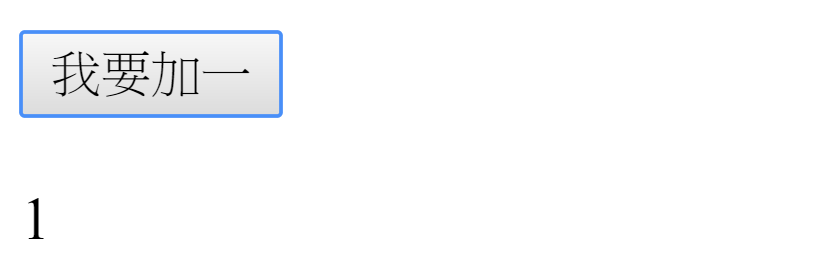
流程就是
子 發射事件→父 接收,並執行對應事件