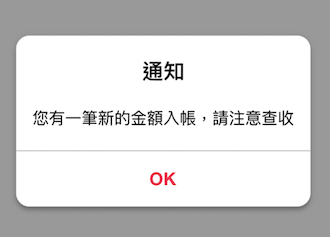
Quasar的dialog也是做得跟手機原生的很像,一樣也是material及iOS兩種風格喔。基本上裡面除了放文字及按鈕外,還可以放輸入框、Radio、Checkbox等等的元件,就讓我們來看看吧!
一樣是分成plugins跟components兩種引入方式及用法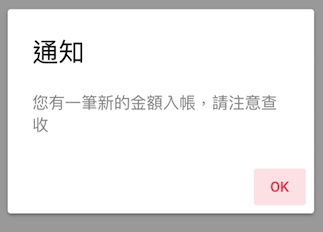
framework: {
  plugins: ['Dialog']
}
this.$q.dialog(configObj)
import { Dialog } from 'quasar'
Dialog.create(configObj)
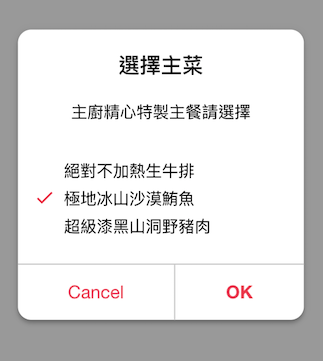
this.$q.dialog({
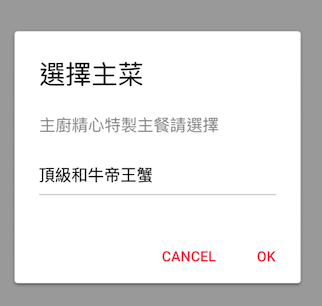
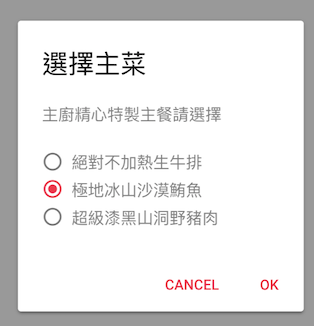
  title: '選擇主菜', //標題
  message: '主廚精心特製主餐請選擇', //內文
  color: 'red-13', //元件的顏色,這邊設為紅色red-13
  ok: true, //是否顯示ok按鈕
  cancel: true, //是否顯示cancel按鈕
  //
  //
  // preventClose: true, //設定為true的話,除非按cancel或是ok不然都不會關閉視窗
  // noBackdropDismiss: false, //按空白的地方不會關閉視窗,如果有用preventClose會自動填true
  // noEscDismiss: false, //按ESC不會關閉視窗,如果有用preventClose會自動填true,
  // stackButtons: false, //為true時會將ok,cancel按鈕垂直排列
  // position: 'top', //(選填)設置視窗顯示的位置
  //
  //若要使用input的話
  // prompt: {
  //   model: '頂級和牛帝王蟹', // Input內預設的字
  //   type: 'text' // Input的type  有text, textarea, email, tel, number, password, url, search
  // },
  //
  //若要使用option的話
  options: {
    type: 'radio',//還有 checkbox, toggle,
    model: 'beef', //預選的選項,
    items: [
      { label:'絕對不加熱生牛排', value:'beef' },
      { label:'極地冰山沙漠鮪魚', value:'tuna' },
      { label:'超級漆黑山洞野豬肉', value:'pork' },
    ]
  }
})
.then(res => { console.log(res) })
.catch(()=>{ console.log('cancel')})
}
如果基本的puglins滿足不了你的需求,那就只好用components囉
framework: {
  components: ['QDialog']
}
基本上屬性都跟上面的一樣
如果不用屬性,要自己改裡面的東西。
可以這樣用
<q-dialog v-model="model">
  <span slot="title"> 標題 </span>
  <span slot="message"> 內文 </span>
  <div slot="body"> ... </div>
  <div slot="buttons"> 放一些按鈕 </div>
</q-dialog>
@ok 點選選項時觸發@cancel 取消時觸發@show 顯示時觸發@hide 隱藏時觸發@escape-key 按ESC時觸發