終於到最後一天啦!!!!!
之前我們開發的網站都只能在本機開發環境執行,但醜媳婦總要見公婆網站總會有正式上線見人的一天,今天就來說明怎麼在伺服器上部屬 ASP.NET Core MVC 應用程式。
需求的作業系統版本:
另外需要安裝最新版本的 .NET Core Hosting Bundle,安裝完後需要重新啟動作業系統,或執行下列命令。
net stop was /y
net start w3svc
安裝的 ASP.NET Core 模組是原生的 IIS 模組,IIS、ASP.NET Core 模組和應用程式之間的關係如下圖:
圖片來源:https://docs.microsoft.com/en-us/aspnet/core/fundamentals/servers/aspnet-core-module
在 Program.cs 中的 CreateWebHostBuilder 時還需要呼叫 UseIISIntegration 方法。如果是使用 WebHost.CreateDefaultBuilder 的話,原本就有呼叫了。
public class Program
{
    public static IWebHostBuilder CreateWebHostBuilder(string[] args)
    {
        var startupAssemblyName = typeof(Startup).GetTypeInfo().Assembly.FullName;

        return WebHost.CreateDefaultBuilder(args)
            .UseStartup(startupAssemblyName)
            .UseIISIntegration();
    }
}
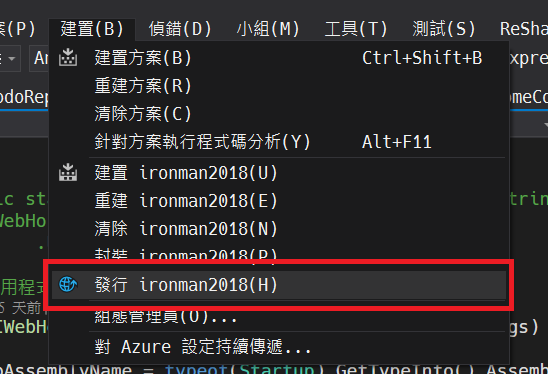
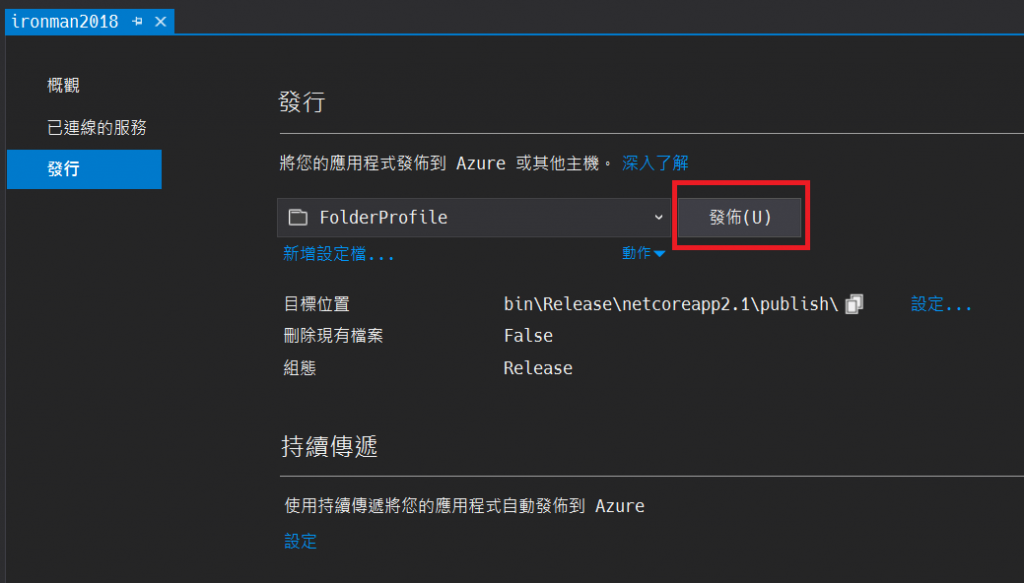
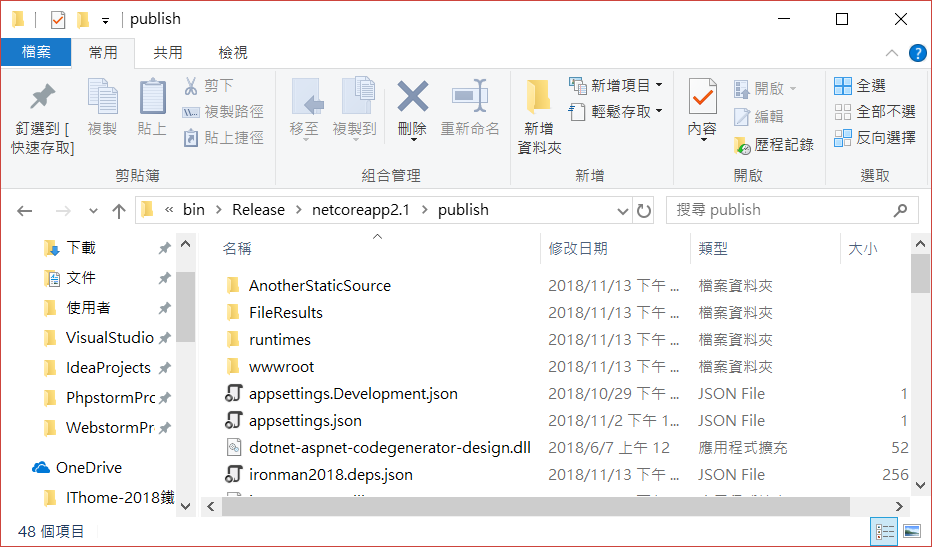
在 VS 2017 中發佈專案:
bin\Release\netcoreapp2.1\publish\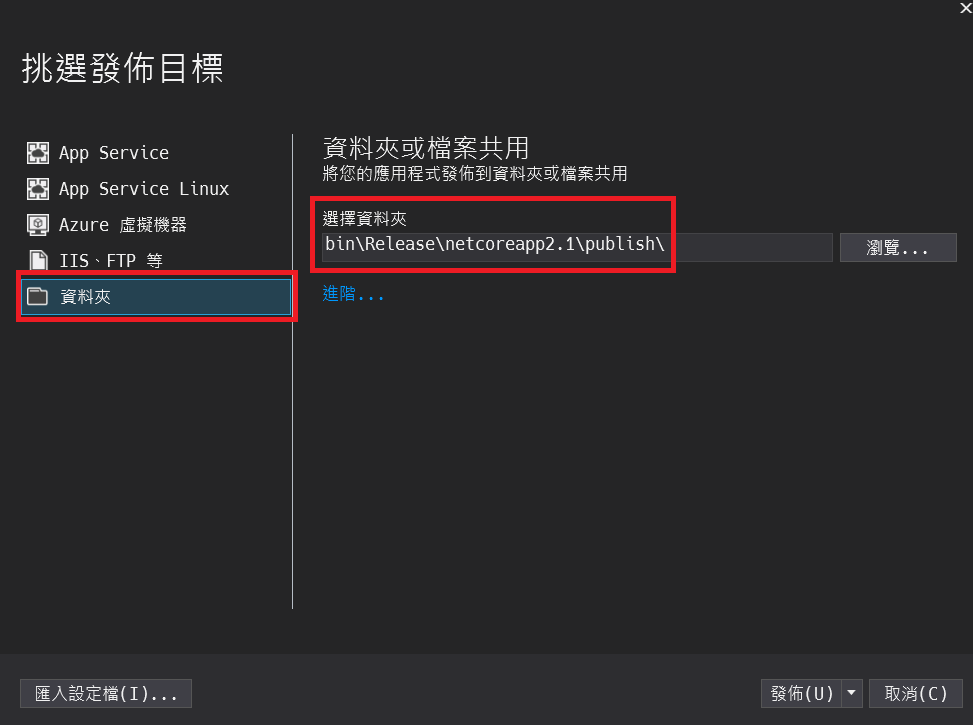
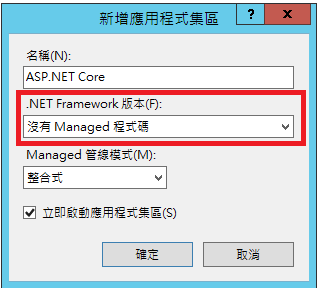
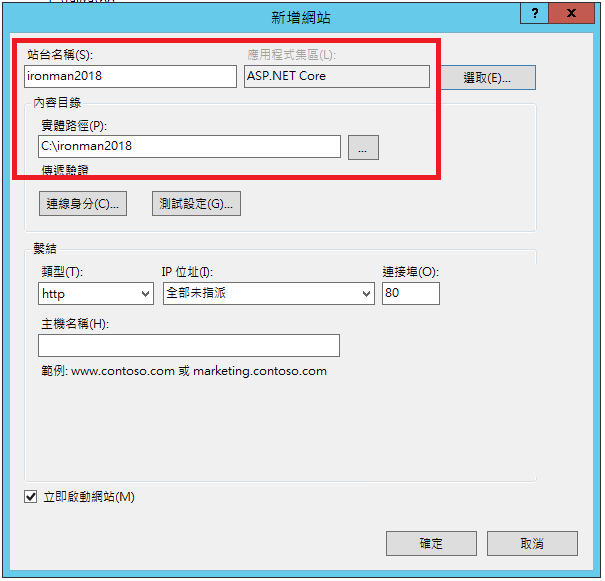
IIS 設定: