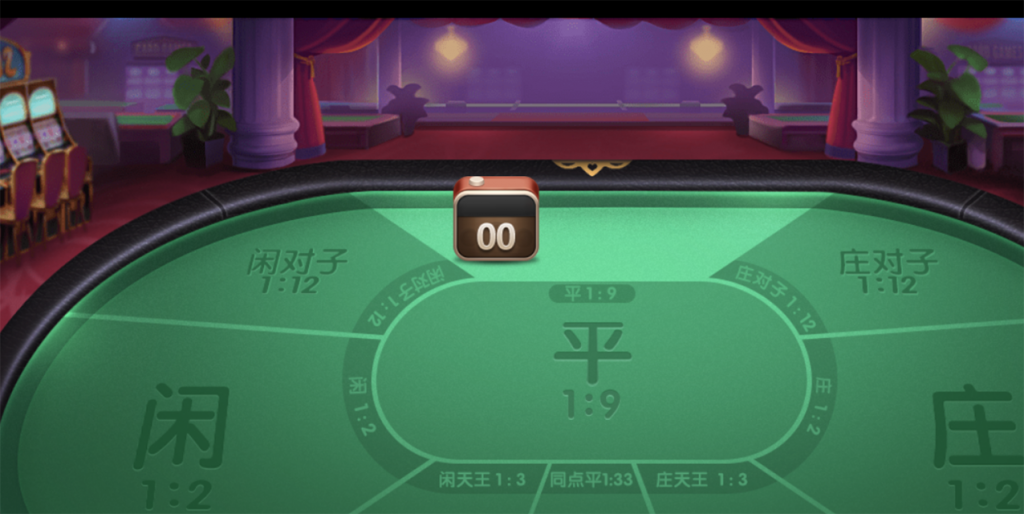
今天來製作一個倒數的鐘,用來計時現在剩餘下注時間,但因數字我們買的圖組裡面也有,不需要用真的數字,我們只要用數字切換顯示的圖片即可。
以下為新增檔案的結構,我們新增Countdown(整個鐘)、CountdownNumber(數字)這兩檔案
    │  └─objects
    │          Bg.ts
    │          Chip.ts
    │          Countdown.ts
    │          CountdownNumber.ts
    │          Desk.ts
    │          DeskHover.ts
這是數字的內容,我們要甚麼數字他就要顯示,首先('0' + number).slice(-2).toString().split('')
的意思是,取得最後兩位數字,全部都加上0是因為如果只有個位數,我們要顯示01,02,03。
CountdownNumber.ts

import Sprite from '@/components/elements/Sprite'
import WrapperContainer from '@/components/elements/WrapperContainer'
import imagePath from '@/config/imagePath'

export default class CountdownNumber extends WrapperContainer {
  constructor(number: number) {
    super()
    // 曲最後両位數字
    let numberList = ('0' + number).slice(-2).toString().split('')
    // 遍歷兩個數字
    numberList.map((num: string, i: number) => {
    // 新增數字Sprite
      let _sprite = new Sprite(imagePath.tablePath, `countdown${num}`)
      // 新增容器
      let _wrc = new WrapperContainer()
      // 裝在容器
      _wrc.addContainer(_sprite.getContainer())
      // 設定位置 讓圖跟圖有間隔
      _wrc.setPosition({ animation: false }, i * 20, 0)
      this._container.addChild(_wrc.getContainer())
    })
  }
}
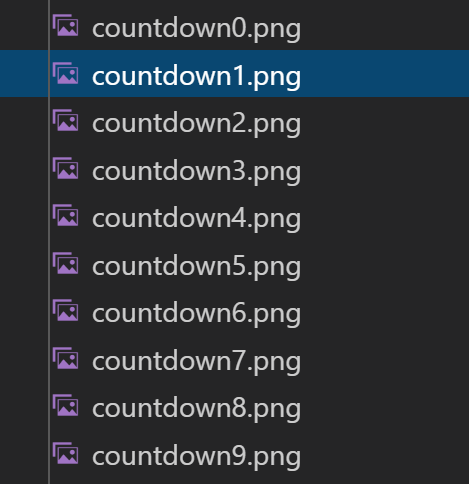
以上就可以產生出數字,這些切圖就如同前面幾篇講的,把圖片切成以下幾個,再用網路上的工具合併產生Sprite json檔案。
再來我們要新增計時器,把我們的數字放上去。
以下是Countdown,這次直接拿Sprite當容器,super直接把圖片蓋上去。
Countdown.ts
import Sprite from '@/components/elements/Sprite'
import WrapperContainer from '@/components/elements/WrapperContainer'
import CountdownNumber from '@/components/objects/CountdownNumber'
import imagePath from '@/config/imagePath'

export default class Countdown extends Sprite {
  private wrapperContainer: WrapperContainer
  private countdownNumber: CountdownNumber

  constructor() {
    super(imagePath.tablePath, 'countdown')
    this.wrapperContainer = new WrapperContainer()
    this.countdownNumber = new WrapperContainer(new CountdownNumber(0))
    this.wrapperContainer.addChild(this.countdownNumber)
    // 把計時數字置中放
    this.countdownNumber.setPosition({ animation: false }, this._container.width / 2 - this.countdownNumber.width / 2, this._container.height / 2)
    this._container.addChild(this.wrapperContainer.getContainer())
  }
// 計時開始
  public countdownStart(time: number) {
    let t = time
    let interval = setInterval(() => {
    // 每跳動一秒就會直接清掉舊的圖片,並新增另一組數字圖片
    // 這邊會不會產生一堆廢Object占用記憶體,我認為是不會的,因為我並沒有再addChild內把Object存入變數等等,照理來講removeChild清掉pixijs的Child應該就會GC了吧!
      this.countdownNumber.removeChildren()
      this.countdownNumber.addChild(new CountdownNumber(--t))
      if (t <= 0) { clearInterval(interval) }
    }, 1000)
  }
}
以上新增好後,我們要把他放在Table上,
...省略
import Countdown from '@/components/objects/Countdown'

export default class Table extends WrapperContainerCenter {
    ...省略
    private _countdown: Countdown

    constructor() {
        super()
        ...省略
        this.addChild(this._countdown)

        this.initPosition()
    }

    private initPosition() {
       ...省略
        this._countdown.setPosition({ animation: false }, 590, 45)
    }

    public setPosition(animationOpt: WrapperType.animationOpt, x: number, y: number): void {
        this._centerContainer.setPosition(animationOpt, x, y)
    }

    public countdownStart(num: number) {
        this._countdown.countdownStart(num)
    }
}

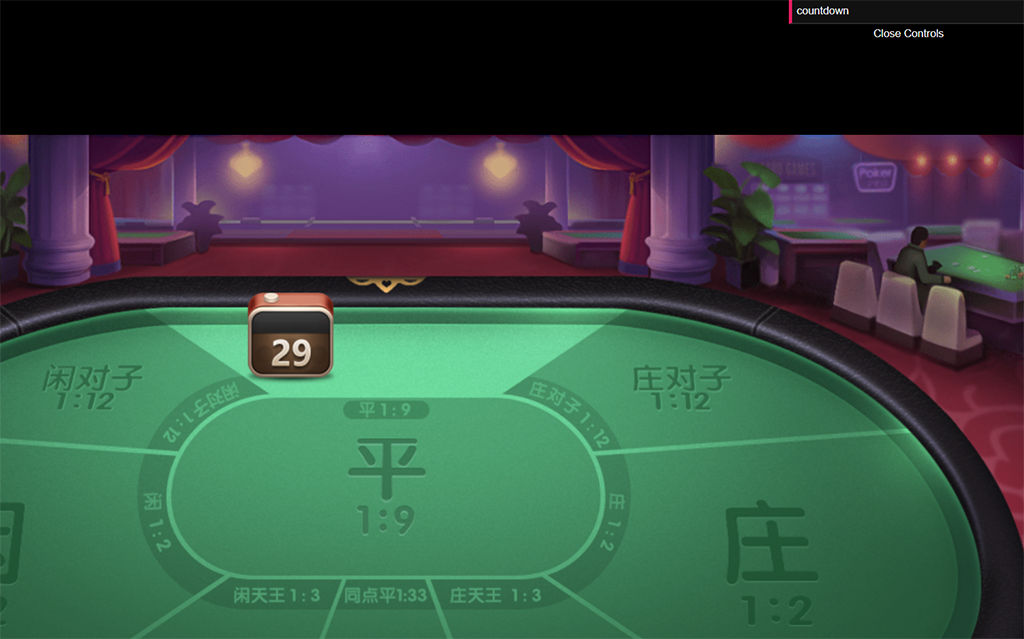
因為我們已經新增到Table,所以直接再body操作table的倒數方法,那增加一個方便我們觸發的介面,於是使用dat.GUI。
import Wrapper from '@/components/elements/Wrapper'
import WrapperContainerCenter from '@/components/elements/WrapperContainerCenter'
import Table from '@/components/groups/Table'
import * as dat from 'dat.gui'

export default class Body extends WrapperContainerCenter {
  private _table: Table
  constructor() {
    super()
    let rect = new PIXI.Graphics()
    rect.drawRect(0, 0, 1650, 900)
    rect.alpha = 0
    this._centerContainer.addContainer(rect)
    this._table = new Table()
    this._table.setPosition({animation: false}, this.width / 2 - 10, this.height / 2 + 60)
    this._table.setScale(false, 1.2, 1.2)

    // 從這邊建立gui
    const gui = new dat.GUI()
    let config = {
      countdown: () => {
        this._table.countdownStart(30)
      }
    }
    gui.add(config, 'countdown')
    this._centerContainer.addChild(this._table)
  }
}
點下去就開始倒數了哦!
今天製作了一個倒數的計時器,整體細節其實還會再修,想到日後串接的時候,會相當痛苦。
