上一篇已經完成主要的TabBar
接下來把NavigationBar設定好
再利用TabBarController把左膀右臂接起來
整個底層架構就基本完整了
這裡直接在viewDidLoad做設定就可了
如果你要讓NavigationBar變成背景透明的話
使用.backgroundColor = .clear是無效的
無法讓NavigationBar 背景透明
UINavigationBar.appearance().backgroundColor = .clear
可以讓NavigationBar 背景透明
UINavigationBar.appearance().setBackgroundImage(UIImage(), for: .default)
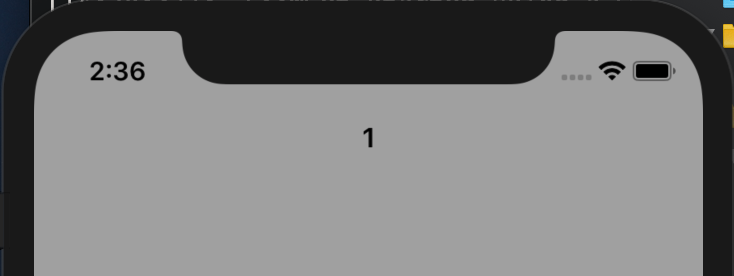
Demo
如果你連下方的分隔線都不要的話
還可以再更乾淨
只要在設置shadowImage就可以去除線條
UINavigationBar.appearance().shadowImage = UIImage()
Demo
UITabBarController部分將你要使用得controller加入進去
加入前先使用Navigation包過一次
在使用self.addChild添加
這樣就能同時擁有TabBar跟NavigationBar
override func viewDidLoad() {
    super.viewDidLoad()
    setUpChildViewControllers()
    setUpTabBar ()
}
造順序添加 controller, image (顯示圖片), seletedImage (按下時顯示圖片), title (標題)
func setUpChildViewControllers() {
    addChildViewController(childController: Test1ViewController(), image: "wallet", seletedImage: "wallet", title: "1")
    addChildViewController(childController: Test2ViewController(), image: "wallet", seletedImage: "wallet", title: "2")
    addChildViewController(childController: Test1ViewController(), image: "wallet", seletedImage: "wallet", title: "1")
    addChildViewController(childController: Test2ViewController(), image: "wallet", seletedImage: "wallet", title: "2")
}
func addChildViewController(childController: UIViewController, image: String, seletedImage: String, title: String) {
    childController.title = title
    childController.tabBarItem.setTitleTextAttributes([NSAttributedString.Key.foregroundColor: UIColor.init(red: 176.0/255.0, green: 196.0/255.0, blue: 222.0/255.0, alpha: 1)], for: .selected)
    childController.tabBarItem.image = UIImage.init(named: image)
    childController.tabBarItem.selectedImage = UIImage.init(named: seletedImage)
    let navigationController = JGNavigationController.init(rootViewController: childController)
    navigationController.navigationBar.barTintColor = .white
    self.addChild(navigationController)
}
將tabbar設置為自己客製化的TabBar
所設定的顏色、特效之類的才會顯示
func setUpTabBar (){
    self.setValue(JGTabBar(), forKey: "tabBar")
}
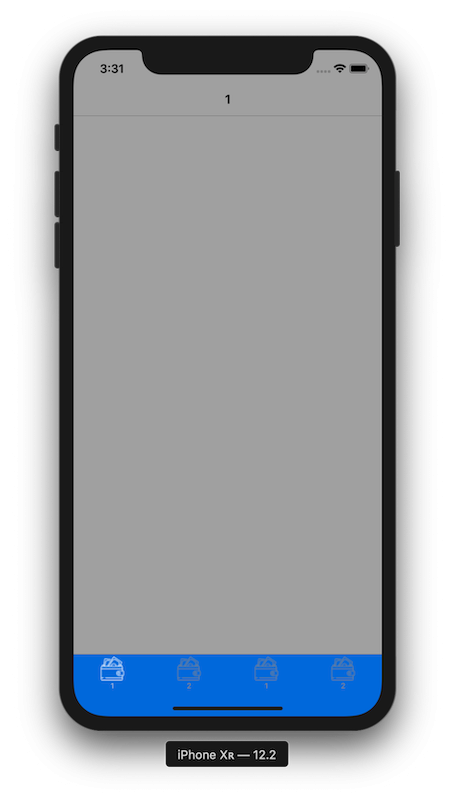
Demo
全部設置完畢就會有上下的Bar
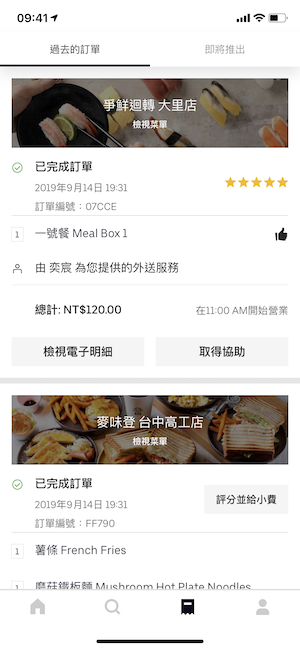
**Uber eat APP **
這裡上方Bar背景是使用白色底
且保留下方底線
下方4個icontitle全部隱藏icon部分因為沒有原圖
改用螢幕截圖單獨取出來
比對一下應該是沒有差太多
原生
仿製
