在Angular專案裡面輸入:
ng generate component <componentName>
如果覺得單字太長太麻煩記不起來的話也可以使用縮寫,取第一個字母
ng g c <componentName>
請記得:component 的命名請使用小駝峰命名(lower camelCase),也就是首字小寫,中間的單詞請勿使用破折號,使用大寫字母緊密結合
(X) 錯誤例子:hello-wrold
(X) 錯誤例子:HelloWorld
(O) 正確例子:helloWorld
在這裡,我建立一個稱為main的component
ng generate component main
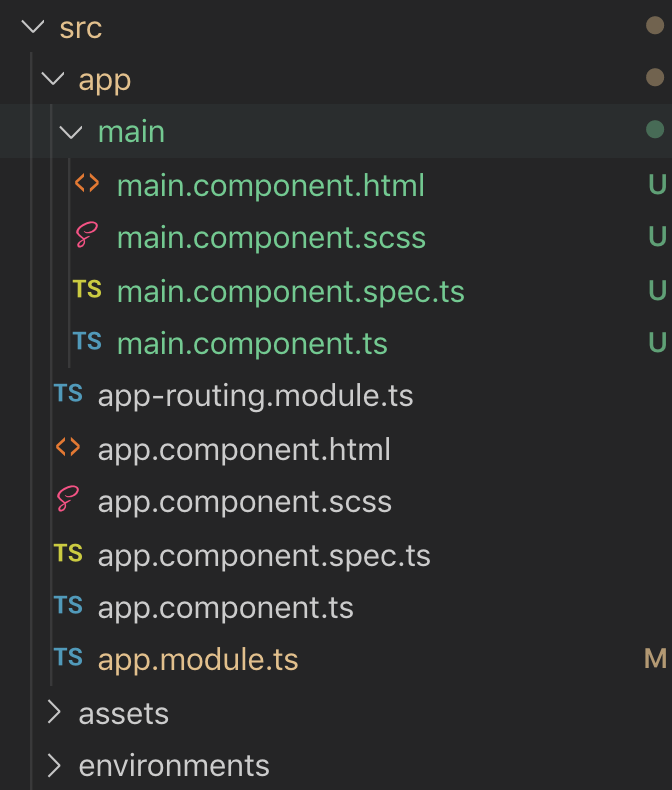
建立完成之後,就會看到app資料夾下面建立一個main的資料夾,資料夾裡面包包含這些基本的檔案
打開main.component.ts看看主要的邏輯控制頁面
import { Component, OnInit } from '@angular/core';


@Component({
  selector: 'app-main',
  templateUrl: './main.component.html',
  styleUrls: ['./main.component.scss']
})
export class MainComponent implements OnInit {

  constructor() { }

  ngOnInit() {
  }

}
這是一個新建立的空白component的樣子,可以看到有一個@Component的裝飾器,聲明這是一個component的元件,並且輸入一些元件的資本資訊
selector:這個元件的名稱templateUrl:這個元件的html頁面所在路徑位子styleUrls:這個元件使用的樣式檔案位置,可以指定多個樣式檔案。指定的樣式檔案就的作用域僅止於這個component,例如Acomponent的樣式只會在A component生效,不會在Bcomponent生效,如果想要讓樣式共用,請將樣式定義在全域的style.scss再來可以看到主要的部分-MainComponent
MainComponent是一個class最後會匯出在其他的地方使用,這個就是所謂的模組化的設計。接下來看看class裡面包含了什麼。可以看到兩個function
將main component放到app component裡面
打開app.component.html輸入:
<app-main></app-main>
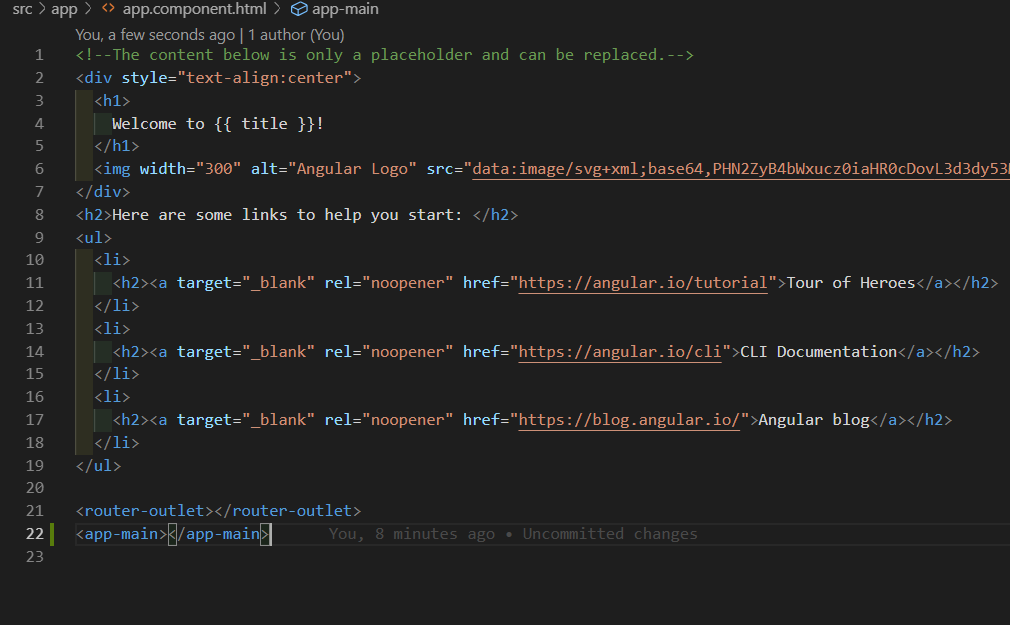
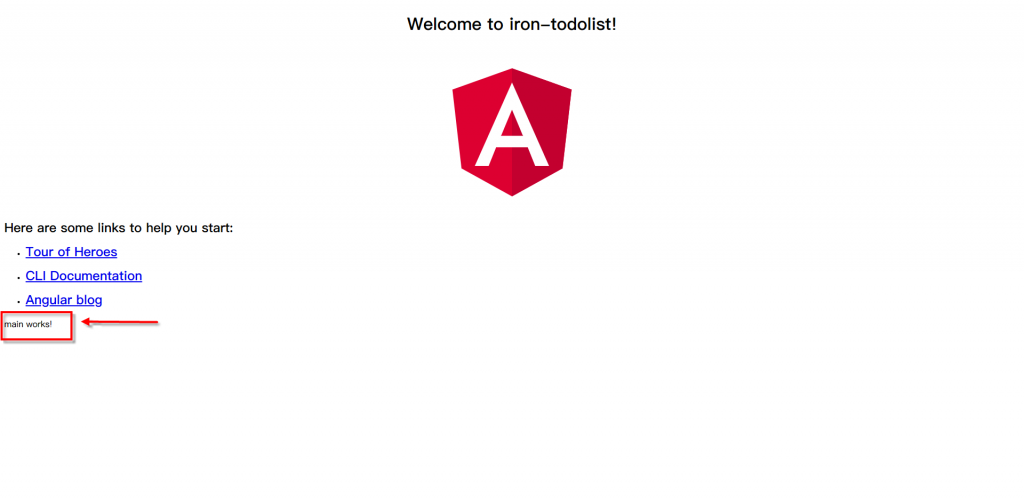
重新整理,就可以看到main works,表示main component成功放進來了
接下來開始修改一下寫點有趣的東西在上面吧!
main.component.ts
export class MainComponent implements OnInit {
  name = 'jason'; // 宣告一個新的屬性
  constructor() { }

  ngOnInit() {
  }

}
main.component.html
<p>
  我的名字是 {{name}}
</p>
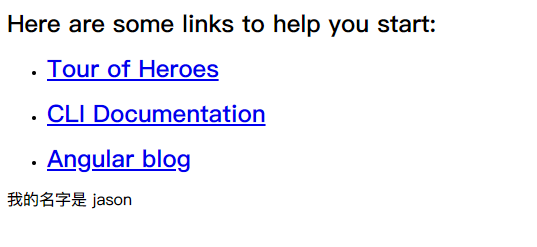
使用花括號 ({{ }})可以綁定資料,這是Angular綁定顯示資料的方法。
除了綁定顯示的資料以外,還有屬性的綁定與雙向的資料綁定,明天會來談談如何綁定資料用處理資料的方法
今天學到: