今天要來介紹在storyboard當中的autolayout功能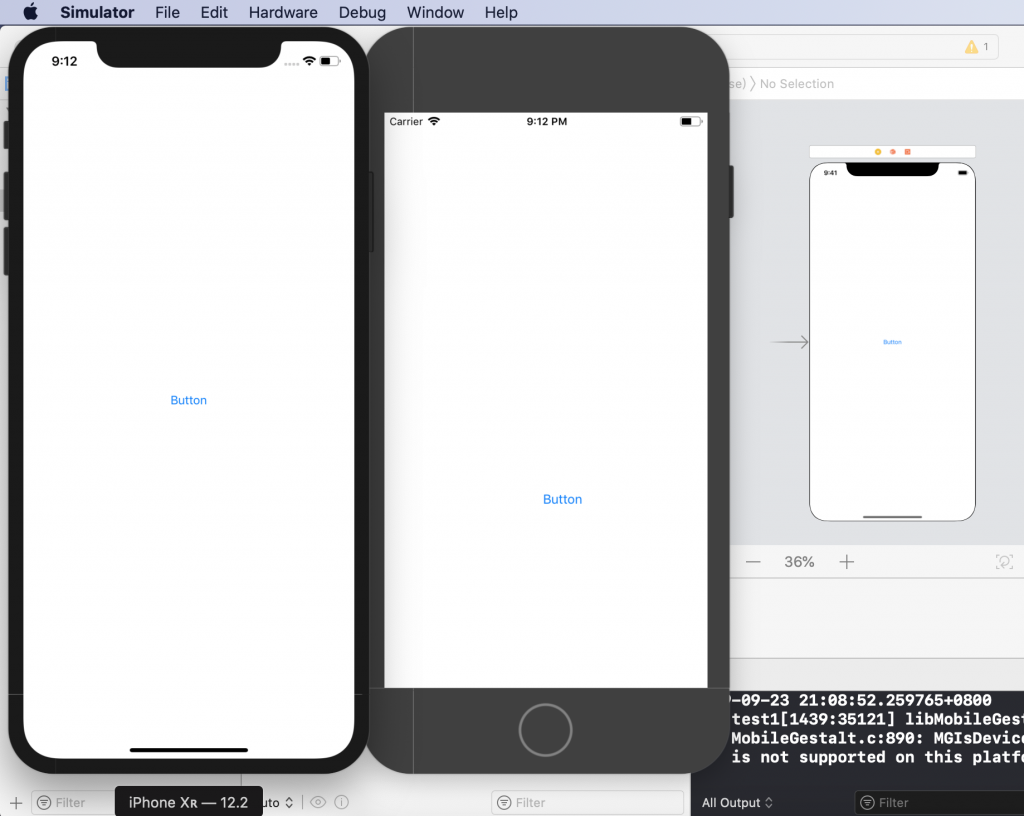
上圖中我們可以看到一個button元件被放置在畫面的中間,但在不同devices上運行的時候,會發生位置跑版的情況
原因是因為不同裝置的尺寸並不相同,為此我們可以使用autolayout來解決這個問題
Auto Layout是一個以約束條件為基礎的佈局系統(constraint-based layout system),它讓開發者能夠開發一個能自我調整型的UI,可以依照螢幕的尺寸以及裝置的方向來調整。
首先我們須先選取需要約束的元件,按住ctrl並拖曳至畫面空白處
接著將Center Horizontally in Safe Area以及Center Vertically in Safe Srea勾選起來
這麼做是為了確保元件的xy軸分別對準手機的xy軸正中間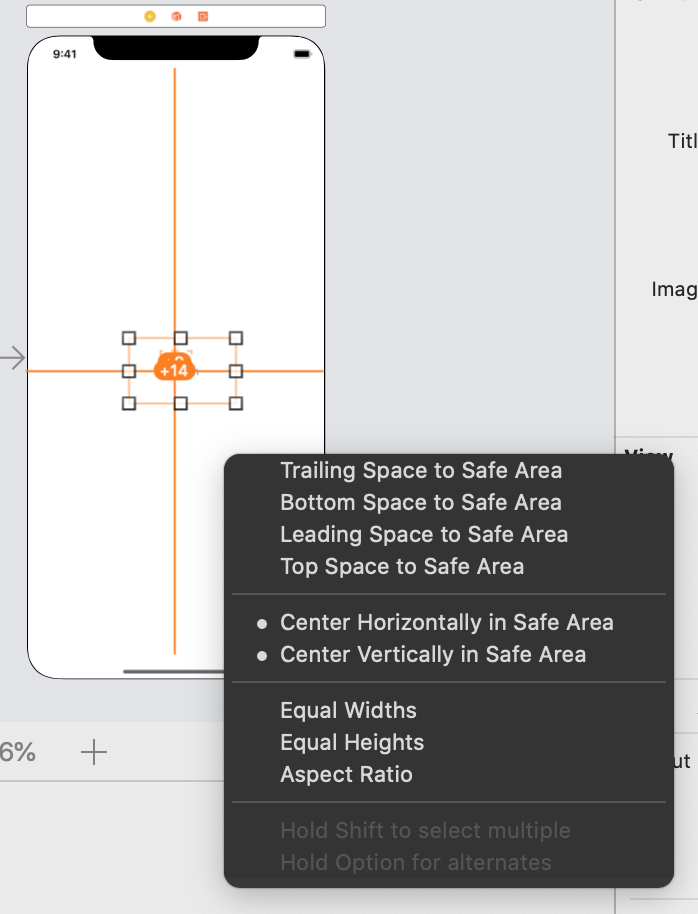
接著我們可以點進右方的show the size inspector進行位置的修改
修改Multiplier那個欄位便能修改約束條件
x軸的部分正中間為1,左右兩邊分別為0跟2
y軸的部分正中間為1,上下兩邊分別為0跟2
都是按比例調整放置位置
今天介紹先到這,明天會接續autolayout的其它用法


 iThome鐵人賽