昨天介開發工具 Windows, Linux, MacOSX 都可以使用的 Arduino 工具。介面簡單操作直覺但是其實還是很多不便利的,程式編輯器部分沒有很聰明易用,今天介紹另一款整合在編輯器的開發工具。
PlatformIO 是一個開源的 IoT 開發工具平台。包含跨平台開發,除錯,單元測試還有韌體上傳一應俱全。

PlatformIO logo
PlatformIO 目前為止多達!!
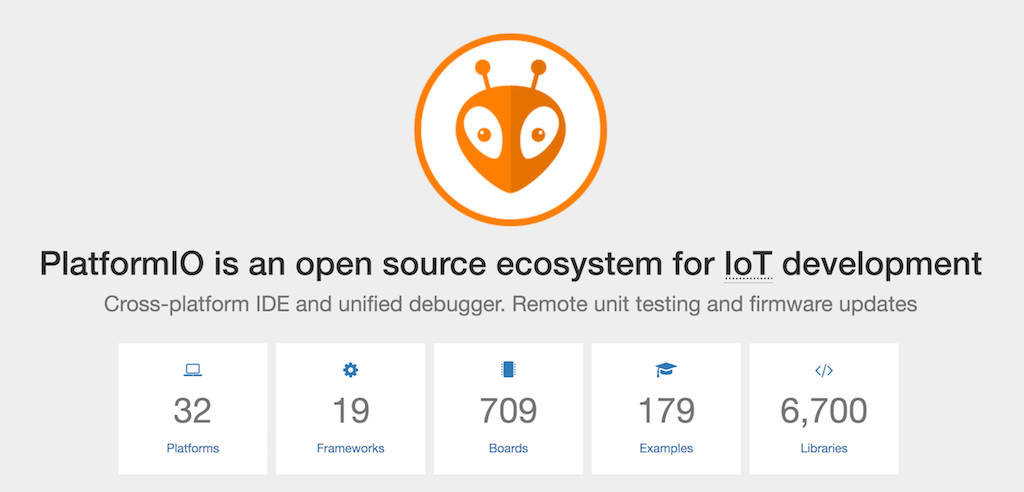
PlatformIO
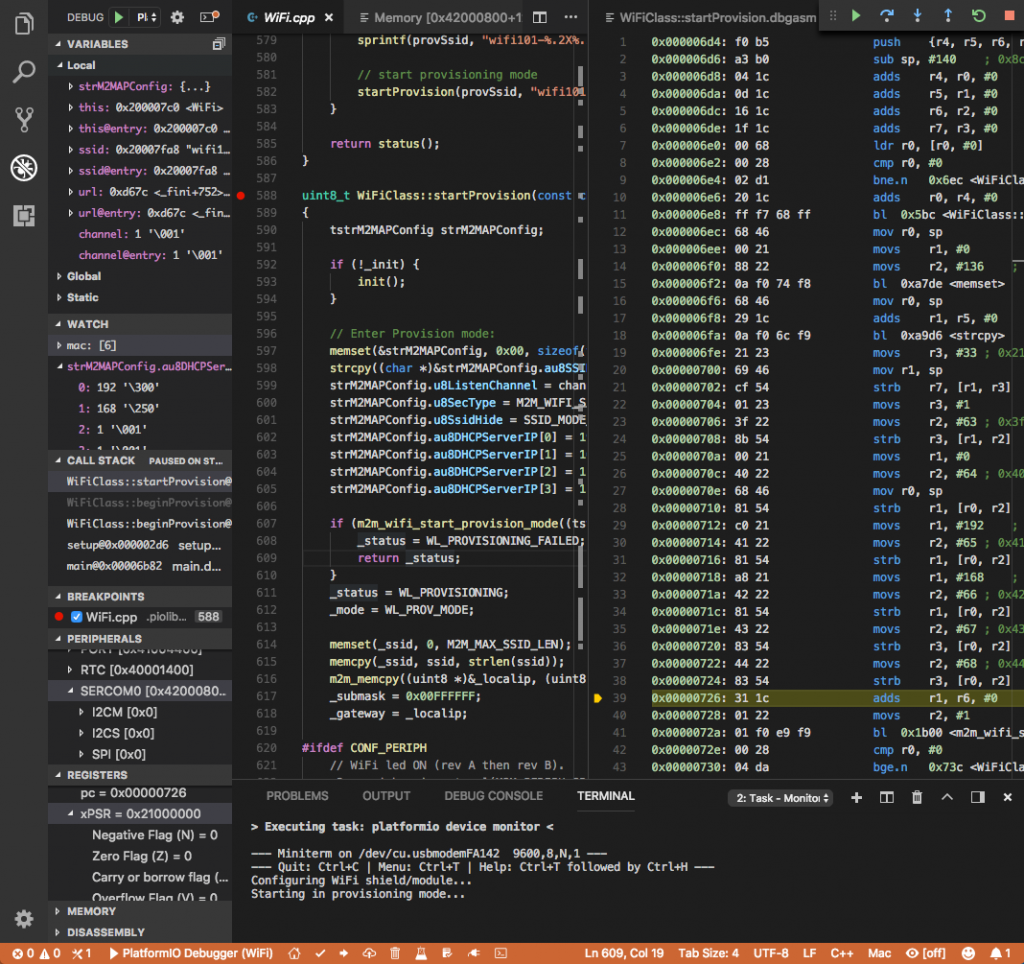
PlatformIO 可以執行在各種編輯器上:
PlatformIO VSCode 上的圖示
VSCode 點擊擴充功能 並輸入 PlatformIO 馬上可以找到,點選安裝不到一分鐘馬上裝好。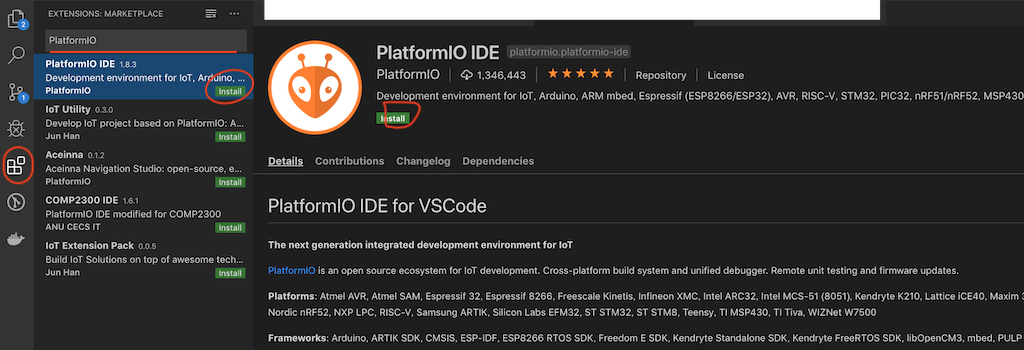
PlatformIO VSCode 安裝
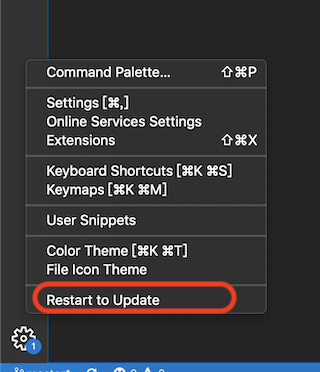
VSCode 提示必須重起,點選重起。
重起後會發現 VSCode 會自動開啟新的 PlatformIO 專屬頁面與圖示在左邊工具列。
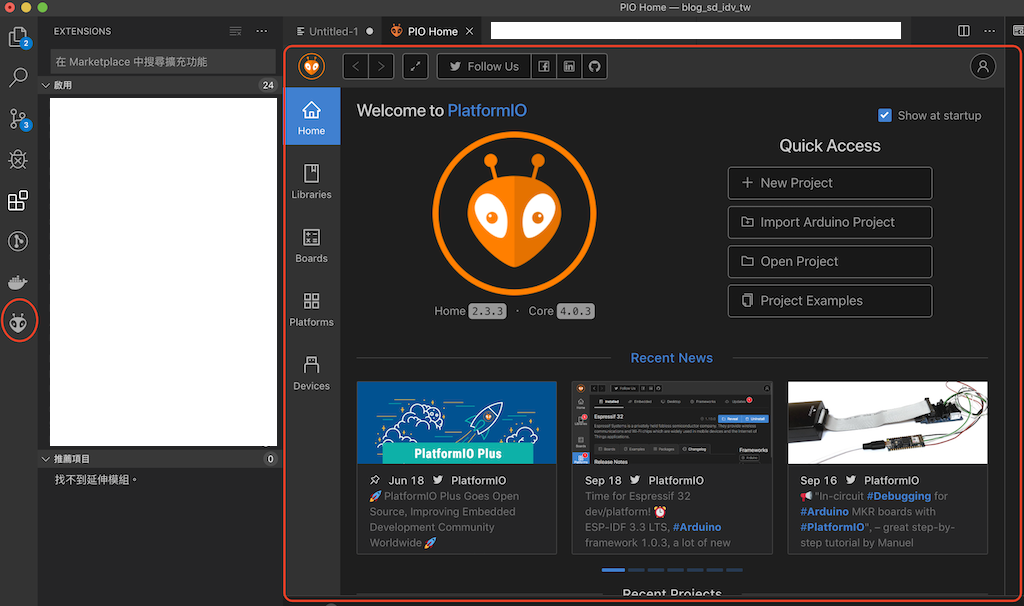
安裝後啟動畫面
這邊介紹開發板的使用方式,首先確認開發版是否支援。
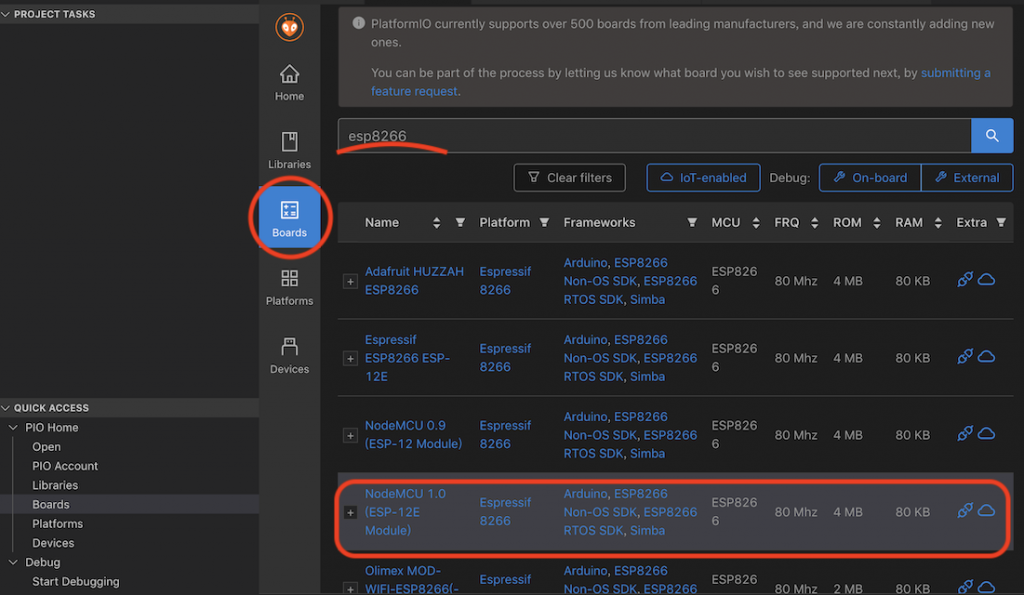
查詢支援的開發板
以平台來查詢安裝更為方便,
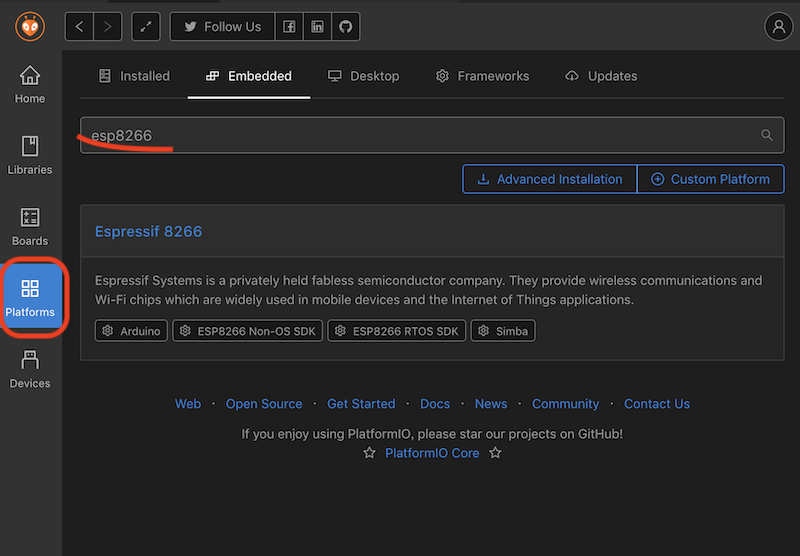
查詢平台
這邊可以看到點選進來可以看到Espressif 8266 平台介紹,還有版本資訊 旁邊有安裝按鈕。
下面有頁籤 可以查墳支援的開發板,程式庫與範例 還有版本異動記錄。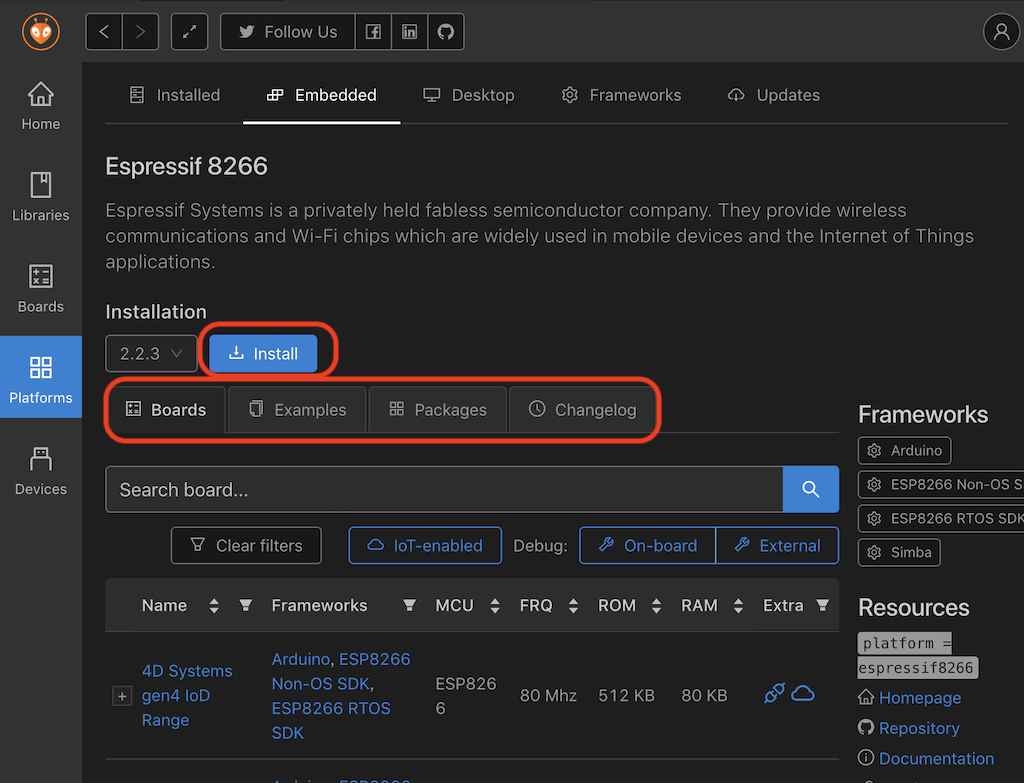
Espressif 8266 平台
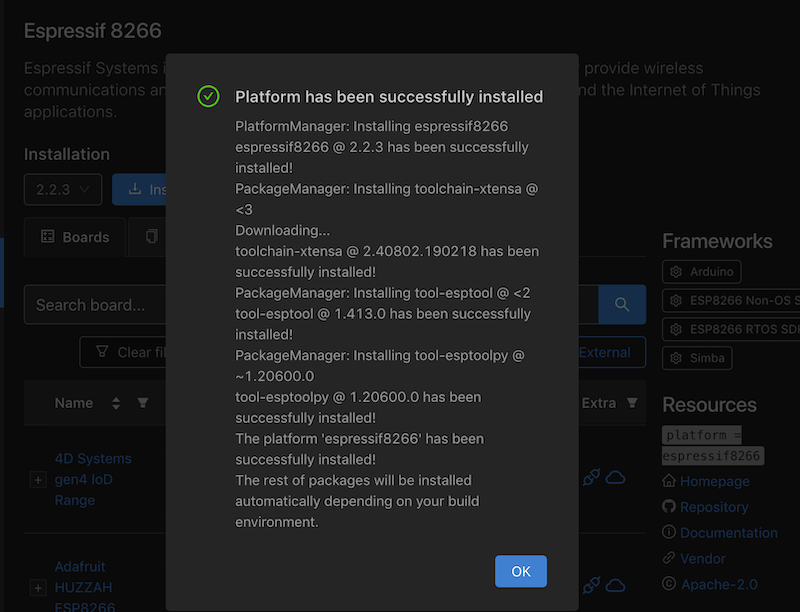
Espressif 8266 平台 安裝完成
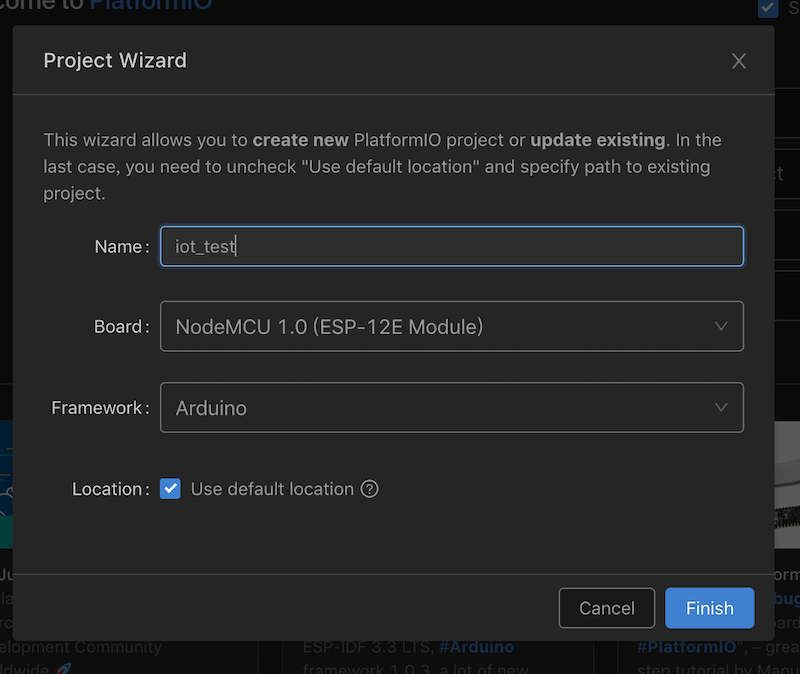
開啟新專案
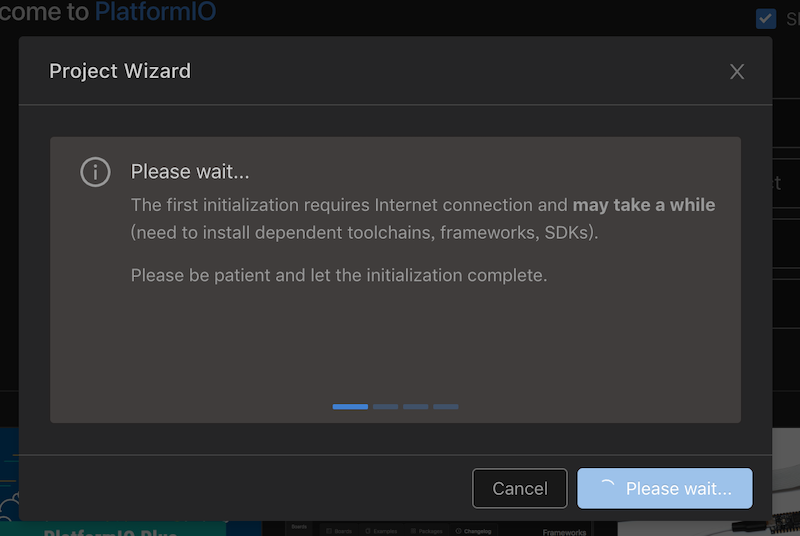
專案建立中
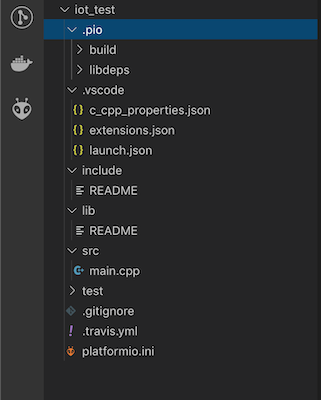
專案建立完成後的專案目錄結構
這邊可以看到點選左邊 menu 的 PlatformIO 圖示顯示了整排工作區域,上面為快速選項下面為整個 PlatformIO 功能區快。
旁邊主畫面 點選下方裝置 Menu 可以縣市目前電腦連接裝置資訊。
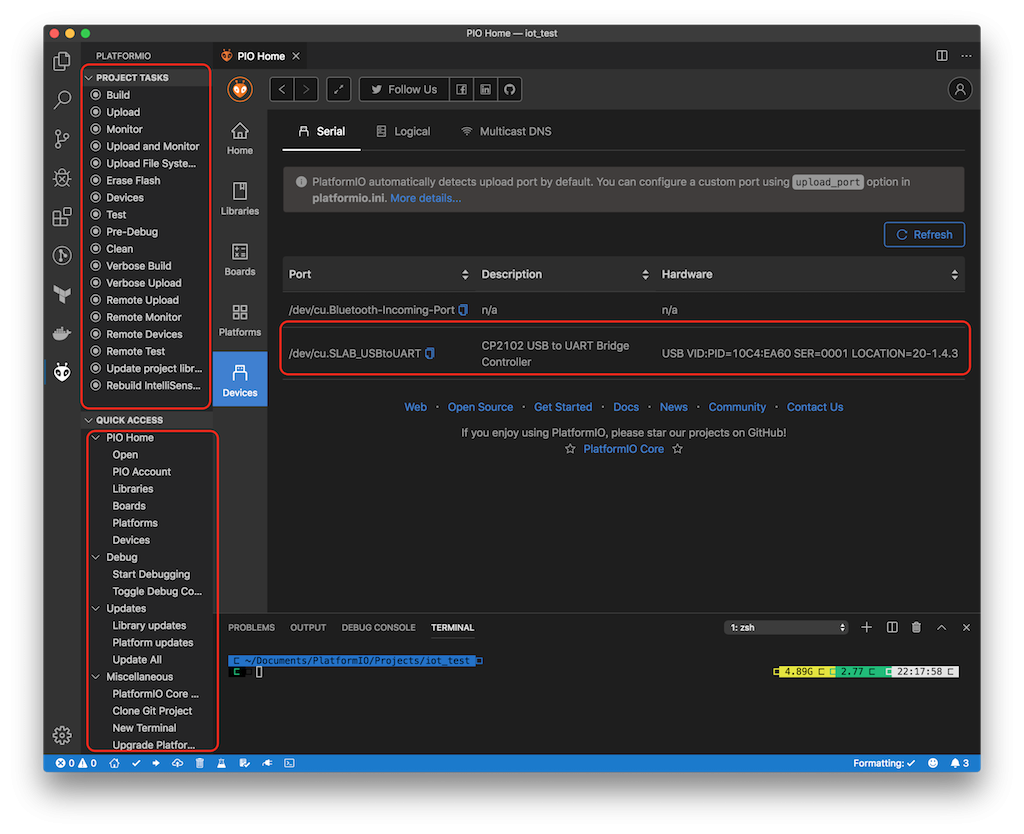
畫面資訊
我們這次一樣用上次 Arduino 最簡單的 Led 閃爍範例來示範。
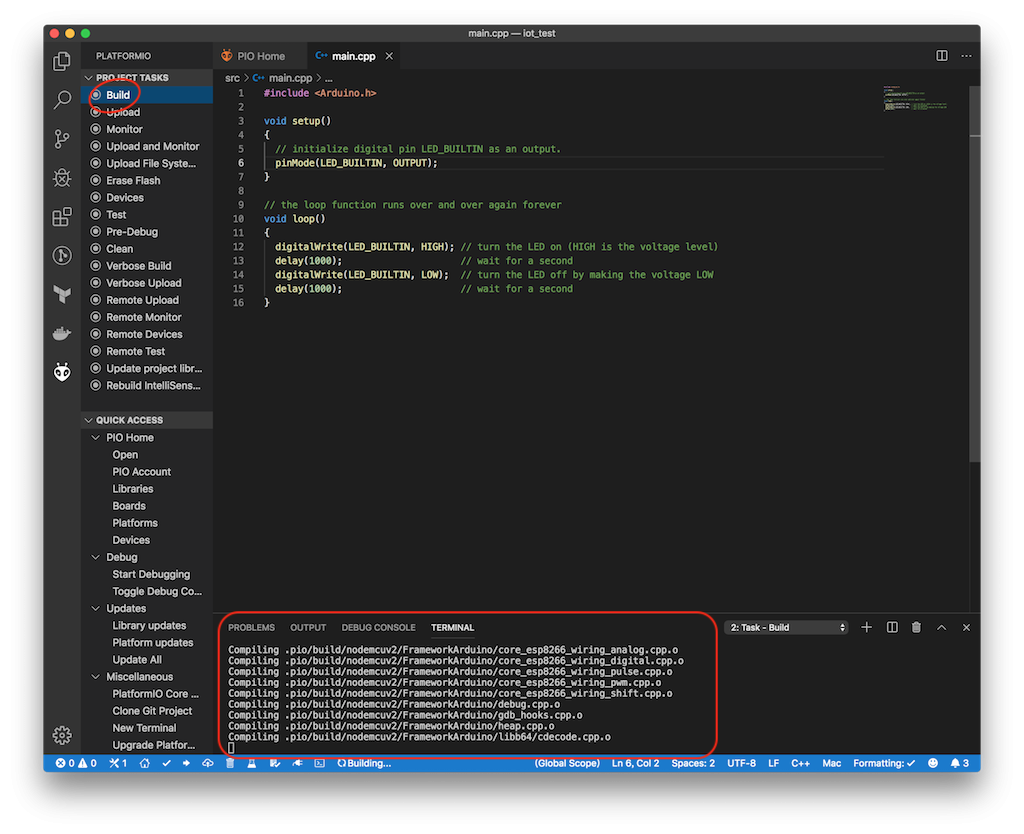
這邊很簡單的點選 build 建置,會看到下方區塊顯示建置資訊。
PLATFORM: Espressif 8266 2.2.3 > NodeMCU 1.0 (ESP-12E Module)
HARDWARE: ESP8266 80MHz, 80KB RAM, 4MB Flash
PACKAGES: toolchain-xtensa 2.40802.190218 (4.8.2), tool-esptool 1.413.0 (4.13), tool-esptoolpy 1.20600.0 (2.6.0), framework-arduinoespressif8266 2.20502.0 (2.5.2)
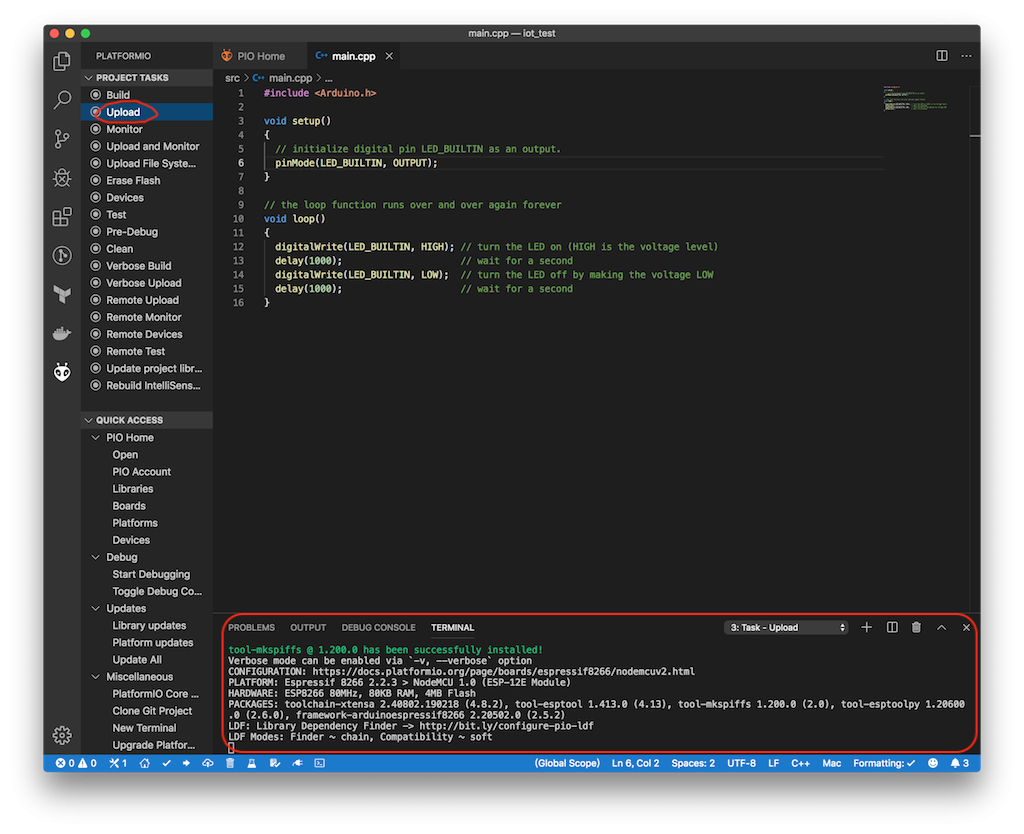
這邊很簡單的點選 UPload 上傳,會看到下方區塊顯示上傳資訊。
可以注意看還有 flash 使用量資訊。
CONFIGURATION: https://docs.platformio.org/page/boards/espressif8266/nodemcuv2.html
PLATFORM: Espressif 8266 2.2.3 > NodeMCU 1.0 (ESP-12E Module)
HARDWARE: ESP8266 80MHz, 80KB RAM, 4MB Flash
PACKAGES: toolchain-xtensa 2.40802.190218 (4.8.2), tool-esptool 1.413.0 (4.13), tool-mkspiffs 1.200.0 (2.0), tool-esptoolpy 1.20600.0 (2.6.0), framework-arduinoespressif8266 2.20502.0 (2.5.2)
LDF: Library Dependency Finder -> http://bit.ly/configure-pio-ldf
LDF Modes: Finder ~ chain, Compatibility ~ soft
Found 36 compatible libraries
Scanning dependencies...
No dependencies
Retrieving maximum program size .pio/build/nodemcuv2/firmware.elf
Checking size .pio/build/nodemcuv2/firmware.elf
Memory Usage -> http://bit.ly/pio-memory-usage
DATA: [=== ] 32.4% (used 26572 bytes from 81920 bytes)
PROGRAM: [== ] 24.7% (used 257688 bytes from 1044464 bytes)
Configuring upload protocol...
AVAILABLE: espota, esptool
CURRENT: upload_protocol = esptool
Looking for upload port...
Auto-detected: /dev/cu.SLAB_USBtoUART
Uploading .pio/build/nodemcuv2/firmware.bin
esptool.py v2.6
Serial port /dev/cu.SLAB_USBtoUART
Connecting........_
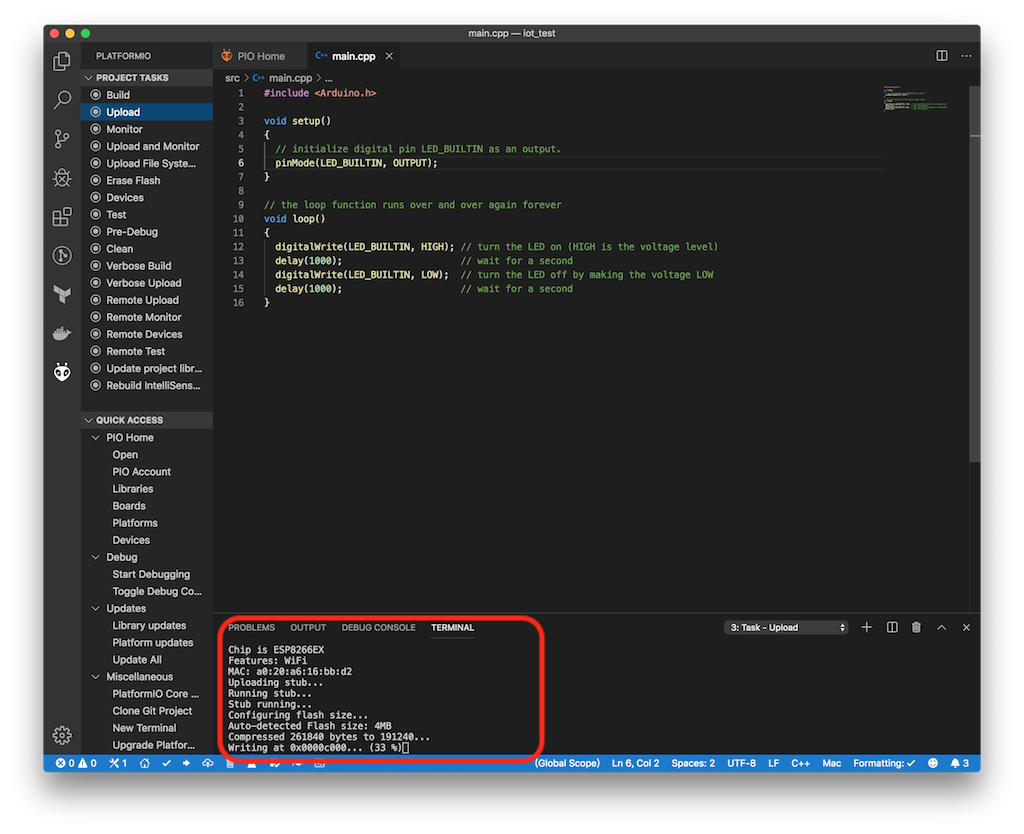
Chip is ESP8266EX
Features: WiFi
MAC: a0:20:a6:16:bb:d2
Uploading stub...
Running stub...
Stub running...
Configuring flash size...
Auto-detected Flash size: 4MB
Compressed 261840 bytes to 191240...
Wrote 261840 bytes (191240 compressed) at 0x00000000 in 16.9 seconds (effective 123.9 kbit/s)...
Hash of data verified.
Leaving...
Hard resetting via RTS pin...
================================================== [SUCCESS] Took 25.91 seconds ==================================================
今天主要介紹實際開發使用 PlatformIO 這強大的工具,可以發現他的使用真的是很完整。
今天就到這了感謝收看


 iThome鐵人賽