今天我們要來介紹下在k8s系統底下的一些設置,因為k8s是基於Docker的管理系統,有些Docker相關的管理工具,也能夠應用到k8s上。這邊主要要介紹兩個套件:Harbor和Helm。Harbor是基於Docker底下的私有鏡像庫的管理工具,而Helm是k8s底下的Package管理工具,底下詳細介紹安裝與使用。
對Docker不太熟悉的朋友,小複習可以參考這裡,下面直接以Linux的Ubuntu為基底操作
這邊我們先設置一下Docker的私有鏡像庫
連線到Local端的Linux機器
$ssh nick@192.168.0.159
停掉Docker的service
$sudo systemctl stop docker
修改/etc/docker/daemon.json
$vim /etc/docker/daemon.json
新增以下內容
"insecure-registries": [
        "192.168.0.159"
    ]
啟動Docker的service
$sudo systemctl daemon-reload
$sudo systemctl start docker
到這邊私有鏡像庫就設置好囉!
這邊我們開始設置Harbor
下載harbor
$wget https://www.dropbox.com/s/bltbuwj38s5rvcv/harbor-offline-installer-v1.8.0-rc2.tgz
$tar xvf harbor-offline-installer-v1.8.0-rc2.tgz
$cd harbor
設定harbor
$vim harbor.yml
hostname: 192.168.0.159

# http related config
http:
  # port for http, default is 80. If https enabled, this port will redirect to https port
  port: 80

# https related config
# https:
#   # https port for harbor, default is 443
#   port: 443
#   # The path of cert and key files for nginx
#   certificate: /your/certificate/path
#   private_key: /your/private/key/path

# Uncomment external_url if you want to enable external proxy
# And when it enabled the hostname will no longer used
# external_url: https://reg.mydomain.com:8433

# The initial password of Harbor admin
# It only works in first time to install harbor
# Remember Change the admin password from UI after launching Harbor.
harbor_admin_password: Harbor12345

# Harbor DB configuration
database:
  # The password for the root user of Harbor DB. Change this before any production use.
  password: root123

# The default data volume
data_volume: /data
安裝harbor並啟動
./prepare --with-clair && ./install.sh --with-clair
網頁登入(admin, Harbor12345),新增test這個Project
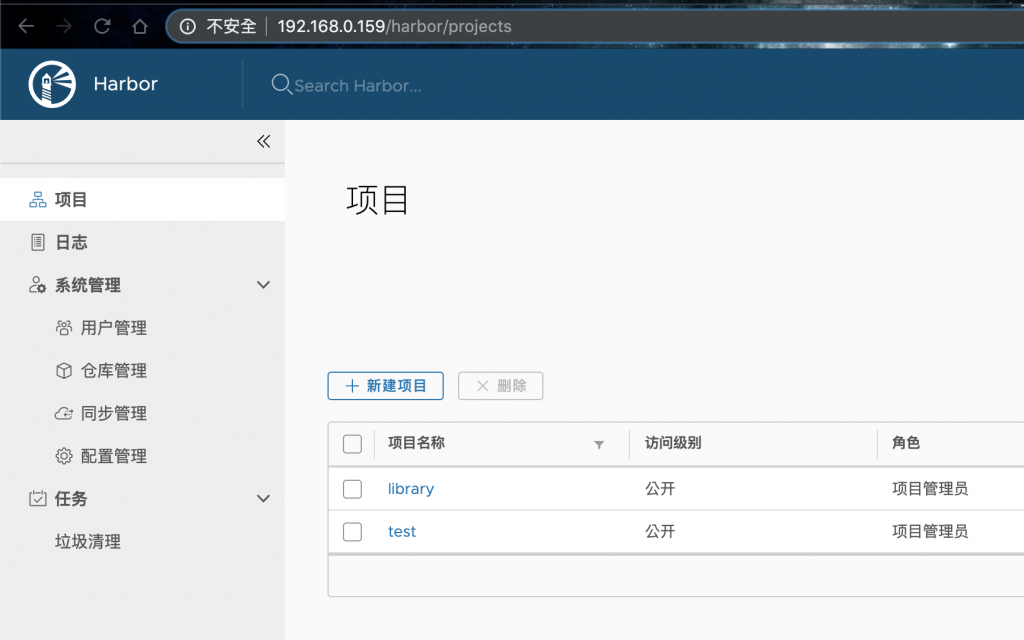
依照新增的Project(如:test),登入上傳image
$sudo docker login 192.168.0.159
admin
Harbor12345
$sudo docker tag myImage/newImage:v1 192.168.0.159/test/newImage:v1
$sudo docker push 192.168.0.159/test/newImage:v1
可以看到新上傳的image
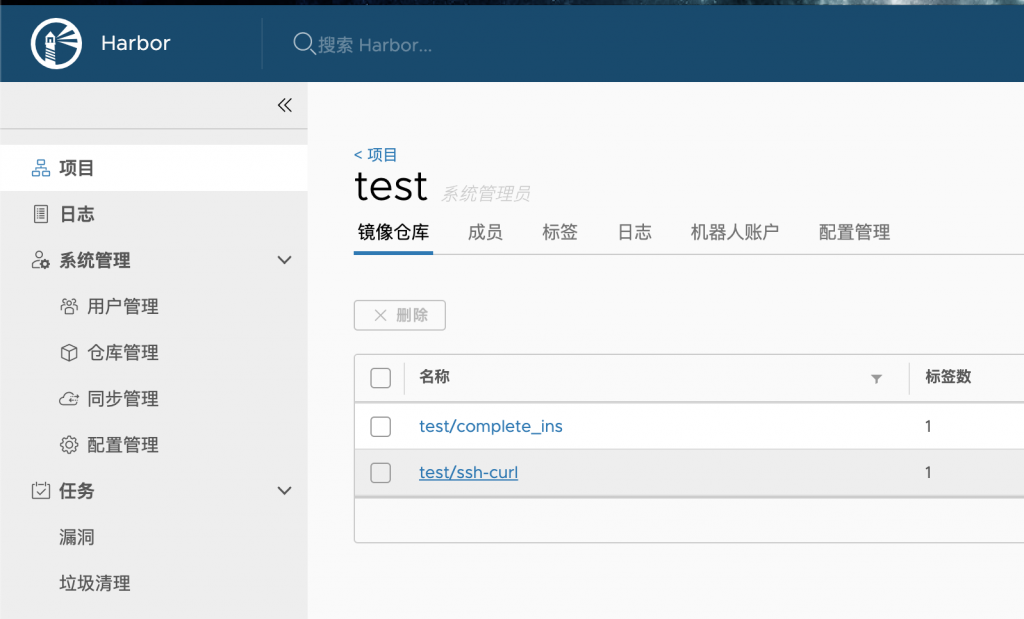
在Project裡面可以直接刪除image,再進到裡面那層test,可以對個別image做更細緻的操作
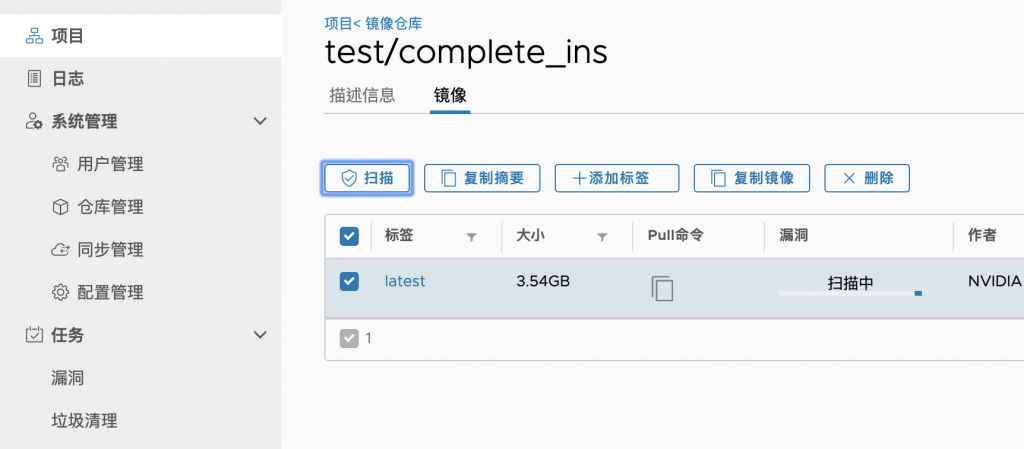
大致上這樣,可以看到這是一個直覺式的Private Registry的管理系統,我們可以在上面新增多個Private Registry,以滿足不同的需求,譬如說可以按照專案性質區分,這樣就能達到一個很好的管理,另外當Private Registry要遷移或是備份的時候,因為Harbor會按照設置把所有的Private Registry放在對應位置底下,只要針對那個目錄去操作就可以,當需要刪除Private Registry的時候,也能夠直接操作,算是不錯用的工具。
這個套件是用來管理k8s的套件用的,它主要是利用YAML的共通值,將其他轉成符合他定義的變數,再將這些YAML轉成Chart,方便做管理,這樣的有兩個好處:
底下示範如何安裝,以及如何利用Helm去安裝Istio
Istio是一個套件,它的功能是用來控制、監控服務之間的流量並強化其安全性
筆者的環境是mac
$brew install kubernetes-helm
如果有看到error,則重裝一次
$brew reinstall kubernetes-helm
接著初始化
$helm init --override spec.selector.matchLabels.'name'='tiller',spec.selector.matchLabels.'app'='helm' --output yaml | sed 's@apiVersion: extensions/v1beta1@apiVersion: apps/v1@' | kubectl apply -f -
deployment.apps/tiller-deploy created
service/tiller-deploy created
檢查集群狀態
$kubectl get all -n kube-system
NAME                                   READY   STATUS    RESTARTS   AGE
pod/coredns-5644d7b6d9-589sb           1/1     Running   0          24h
pod/coredns-5644d7b6d9-9m4lv           1/1     Running   0          24h
pod/etcd-minikube                      1/1     Running   0          24h
pod/kube-addon-manager-minikube        1/1     Running   0          24h
pod/kube-apiserver-minikube            1/1     Running   0          24h
pod/kube-controller-manager-minikube   1/1     Running   1          24h
pod/kube-proxy-pj4df                   1/1     Running   0          24h
pod/kube-scheduler-minikube            1/1     Running   0          24h
pod/storage-provisioner                1/1     Running   0          24h
pod/tiller-deploy-568db6b69f-52z45     1/1     Running   0          52m

NAME                    TYPE        CLUSTER-IP      EXTERNAL-IP   PORT(S)                  AGE
service/kube-dns        ClusterIP   10.96.0.10      <none>        53/UDP,53/TCP,9153/TCP   40h
service/tiller-deploy   ClusterIP   10.100.19.191   <none>        44134/TCP                52m

NAME                        DESIRED   CURRENT   READY   UP-TO-DATE   AVAILABLE   NODE SELECTOR                 AGE
daemonset.apps/kube-proxy   1         1         1       1            1           beta.kubernetes.io/os=linux   40h

NAME                            READY   UP-TO-DATE   AVAILABLE   AGE
deployment.apps/coredns         2/2     2            2           40h
deployment.apps/tiller-deploy   1/1     1            1           52m

NAME                                       DESIRED   CURRENT   READY   AGE
replicaset.apps/coredns-5644d7b6d9         2         2         2       24h
replicaset.apps/coredns-5c98db65d4         0         0         0       40h
replicaset.apps/tiller-deploy-568db6b69f   1         1         1       52m
可以發現到多了tiller的Service和Deployment,要確保這兩個都正確運作
確認Helm的版本
$helm version
Client: &version.Version{SemVer:"v2.14.3", GitCommit:"0e7f3b6637f7af8fcfddb3d2941fcc7cbebb0085", GitTreeState:"clean"}
Server: &version.Version{SemVer:"v2.14.3", GitCommit:"0e7f3b6637f7af8fcfddb3d2941fcc7cbebb0085", GitTreeState:"clean"}
到這邊初始化就結束了
Istio是希臘文,意思是啟航,與k8s的原意舵手遙相呼應。
再來我們安裝Istio的Chart到Helm上,先在這裡下載
接著解壓縮,並進入對應目錄
$tar xf istio-1.3.1-osx.tar.gz
$cd istio-1.3.1
$ls
LICENSE       README.md     bin           install       istio.VERSION samples       tools
新增Service Account和RBAC
$kubectl apply -f install/kubernetes/helm/helm-service-account.yaml
serviceaccount/tiller created
clusterrolebinding.rbac.authorization.k8s.io/tiller created
套用設定
$helm init --override spec.selector.matchLabels.'name'='tiller',spec.selector.matchLabels.'app'='helm' --output yaml | sed 's@apiVersion: extensions/v1beta1@apiVersion: apps/v1@' | kubectl apply -f -
deployment.apps/tiller-deploy configured
service/tiller-deploy configured
安裝Istio
$helm install install/kubernetes/helm/istio-init --name istio-init --namespace istio-system
檢查安裝
$kubectl get all -n istio-system
NAME                                READY   STATUS      RESTARTS   AGE
pod/istio-init-crd-10-1.3.1-6fhqt   0/1     Completed   0          5m26s
pod/istio-init-crd-11-1.3.1-bc8nw   0/1     Completed   0          5m26s
pod/istio-init-crd-12-1.3.1-q7w6b   0/1     Completed   0          5m26s

NAME                                COMPLETIONS   DURATION   AGE
job.batch/istio-init-crd-10-1.3.1   1/1           27s        5m26s
job.batch/istio-init-crd-11-1.3.1   1/1           22s        5m26s
job.batch/istio-init-crd-12-1.3.1   1/1           31s        5m26s
接著檢查底下對應的功能
$kubectl get customresourcedefinition|grep istio.io
adapters.config.istio.io               2019-10-02T07:41:24Z
attributemanifests.config.istio.io     2019-10-02T07:41:23Z
authorizationpolicies.rbac.istio.io    2019-10-02T07:41:27Z
clusterrbacconfigs.rbac.istio.io       2019-10-02T07:41:22Z
destinationrules.networking.istio.io   2019-10-02T07:41:22Z
envoyfilters.networking.istio.io       2019-10-02T07:41:22Z
gateways.networking.istio.io           2019-10-02T07:41:22Z
handlers.config.istio.io               2019-10-02T07:41:24Z
httpapispecbindings.config.istio.io    2019-10-02T07:41:22Z
httpapispecs.config.istio.io           2019-10-02T07:41:22Z
instances.config.istio.io              2019-10-02T07:41:24Z
meshpolicies.authentication.istio.io   2019-10-02T07:41:22Z
policies.authentication.istio.io       2019-10-02T07:41:22Z
quotaspecbindings.config.istio.io      2019-10-02T07:41:22Z
quotaspecs.config.istio.io             2019-10-02T07:41:22Z
rbacconfigs.rbac.istio.io              2019-10-02T07:41:23Z
rules.config.istio.io                  2019-10-02T07:41:22Z
serviceentries.networking.istio.io     2019-10-02T07:41:22Z
servicerolebindings.rbac.istio.io      2019-10-02T07:41:24Z
serviceroles.rbac.istio.io             2019-10-02T07:41:24Z
sidecars.networking.istio.io           2019-10-02T07:41:18Z
templates.config.istio.io              2019-10-02T07:41:24Z
virtualservices.networking.istio.io    2019-10-02T07:41:22Z
解除安裝
$helm delete --purge istio
$helm delete --purge istio-init
$helm delete --purge istio-cni
$kubectl delete namespace istio-system
OK,測試完成。
今天我們看到了兩個H的小故事,是重要的管理套件,分別為Harbor和Helm,Harbor主要在於Docker的私有鏡像庫管理,Helm是k8s的套件管理,另外我們看了一個套件是Istio,Istio是開源的,具有微服務(Micro-service)的管理、保護、監控等用途。
本文同步刊載於https://github.com/x1y2z3456/ironman
感謝您撥冗閱讀此文章,不喜勿噴,有任何問題建議歡迎下方留言:)
說個笑話,希望我能寫滿30天啊(笑