昨天用 scrapy genspider ithome ithome.com 指令建立出來的爬蟲檔案 ithome.py 內容是這樣:
import scrapy

class IthomeSpider(scrapy.Spider):
    name = 'ithome'
    allowed_domains = ['ithome.com']
    start_urls = ['http://ithome.com/']

    def parse(self, response):
        pass
每一支爬蟲都應該繼承 scrapy.Spider 類別,幾個重要的屬性和方法已經由 Scrapy CLI 自動產生了,分別說明如下:
網域清單,如果清單中不包含目標網址的網域或子網域,此次請求會被略過。start_requests() 方法。parse(response) 方法。
start_requests()和parse(response)方法都必須回傳可迭代的(iterable)請求或爬取到的項目實例。
start_urls 指定技術文章的網址,並在 parse(response) 處理回應時將收到的 HTML 原始碼存到檔案中,修改後的 ithome.py 程式內容:
import scrapy

class IthomeSpider(scrapy.Spider):
    name = 'ithome'
    allowed_domains = ['ithome.com']
    start_urls = ['https://ithelp.ithome.com.tw/articles?tab=tech']

    def parse(self, response):
        with open('ithome.html', 'wb') as f:
            f.write(response.body)
以 Scrapy 的 crawl 指令來執行爬蟲。
scrapy crawl <spider-name>
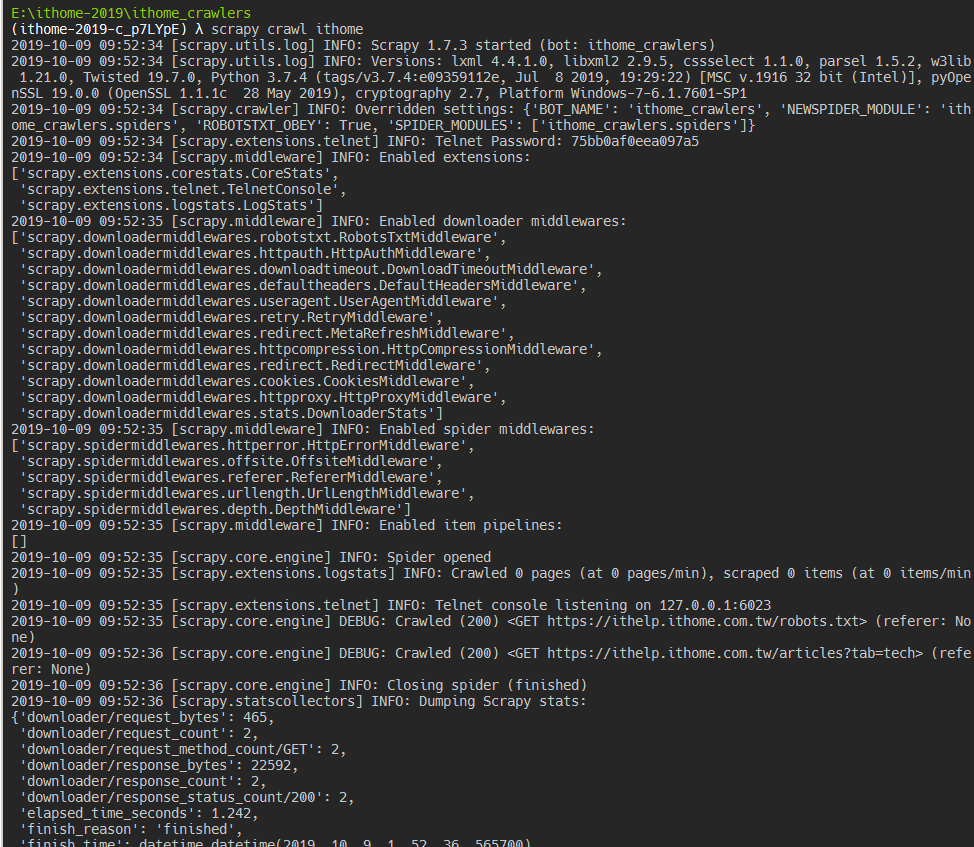
執行後可以看到在 consoleg 上會有一堆過程中產生的日誌,最後就可以在專案目錄中找到剛剛儲存的 ithome.html 檔案囉!