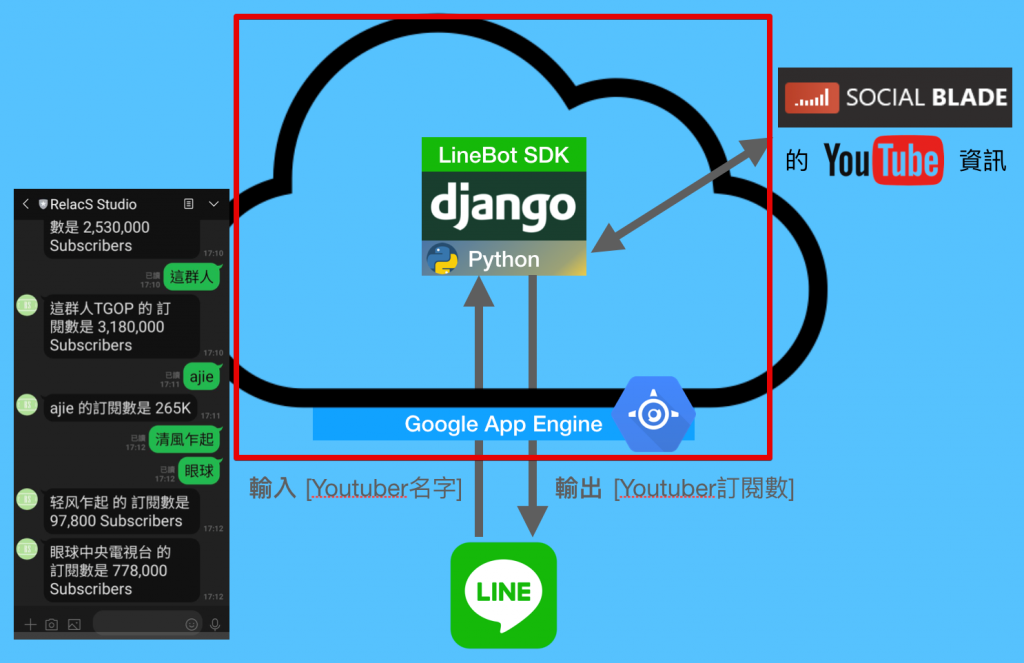
哈囉,我們又見面了,前兩天講了 爬蟲、串 LineBot SDK,其實功能面已經結束,可是把這服務放到雲端後,我們才能真的鬆一口氣,這樣即使不去管它,它也可以一直活著,不用擔心電腦重開機還要重綁 webhook url,接下來,就讓我們繼續看看怎麼放到 Google App Engine(GAE) 吧。

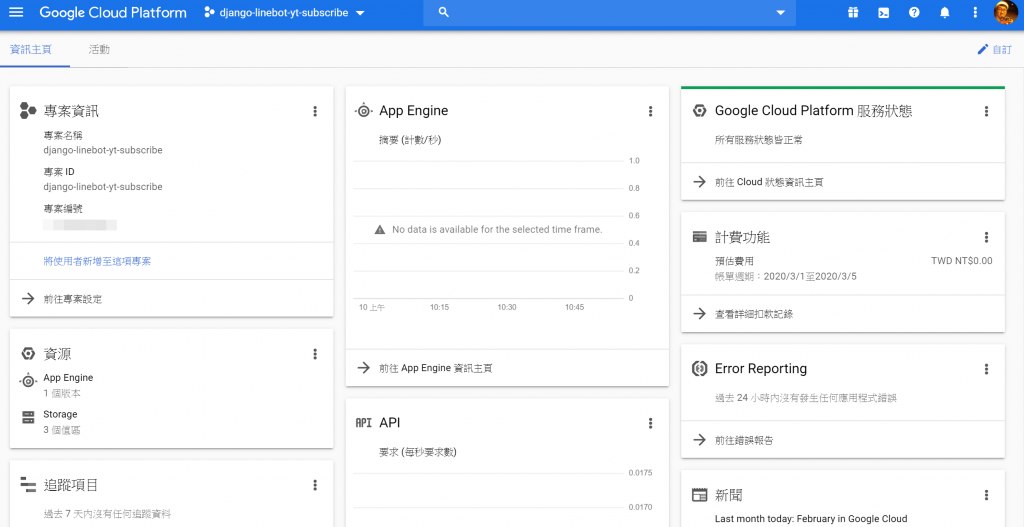
GCP) 創立新專案我這邊是創立叫做 django-linebot-yt-subscribe 的 GCP 專案,而我們最終想做的是,把前幾天所完成的 django,整包放到 Google App Engine (GAE)上去執行,GAE 是 GCP 的其中一個服務,專門用來執行你的 web app,以下是 GAE 的標語:
Build highly scalable applications on a fully managed serverless platform.
翻: 在完全代管的無伺服器平台上,建立具備高度可擴充的應用程式。

GAE)把 django 放到 GAE 可以參考 Day17,這邊就大致走過一次流程。
Cloud SDK、使用 gcloud 指令操作 GAE
app.yml
main.py
requirements.txt
GAE
Cloud SDK、使用 gcloud 指令操作 GAECloud SDK在 Windows 的 Powershell 輸入以下指令,來安裝 Cloud SDK
$ (New-Object Net.WebClient).DownloadFile("https://dl.google.com/dl/cloudsdk/channels/rapid/GoogleCloudSDKInstaller.exe", "$env:Temp\GoogleCloudSDKInstaller.exe")& $env:Temp\GoogleCloudSDKInstaller.exe
gcloud 指令登入 GCP 帳號安裝完 Cloud SDK 後,重新開 cmd,登入 gcloud
$ gcloud auth application-default login
gcloud 操作過的話需要注意目前 gcloud 的 project 是哪一個,可以用 $ gcloud config list 來檢查目前的 project 是哪一個
$ gcloud config list
[core]
account = youremail@gmail.com
disable_usage_reporting = True
project = django-linebot-yt-subscribe    <-- 目前的專案

Your active configuration is: [default]
$ gcloud config set project your-project-name
$ gcloud app create --region=asia-east2
到目前為止,你已經建立好 Google App Engine 的環境了,接下來就剩把 django app 上傳~
專案架構長這樣
linebot
├ linebot (project)
├ webhook (app)
├ crawler (app)
├ manage.py
├ app.yaml ← 新增
├ main.py ← 新增
└ requirements.txt ← 新增
app.yaml跟之前把 django 放到 GAE 時是一樣的,簡單來說就是指定執行環境(python 3.7 版)、static(js, css, img, html) 檔案的路徑
# [START django_app]
#service: linebot-yt-subscribe-app
runtime: python37

handlers:
# This configures Google App Engine to serve the files in the app's static
# directory.
- url: /static
  static_dir: static/

# This handler routes all requests not caught above to your main app. It is
# required when static routes are defined, but can be omitted (along with
# the entire handlers section) when there are no static files defined.
- url: /.*
  script: auto
# [END django_app]
main.py跟 GAE 說: 把封包透過 python 的 wsgi 傳到對應的 url 吧
from linebot_ToolsOfYoutuber.wsgi import application

# App Engine by default looks for a main.py file at the root of the app
# directory with a WSGI-compatible object called app.
# This file imports the WSGI-compatible object of your Django app,
# application from mysite/wsgi.py and renames it app so it is discoverable by
# App Engine without additional configuration.
# Alternatively, you can add a custom entrypoint field in your app.yaml:
# entrypoint: gunicorn -b :$PORT mysite.wsgi
app = application
requirements.txt開啟 cmd、進到虛擬環境中,並輸入 $ pip freeze >> requirements.txt,這個 freeze 的意思就是把目前你在虛擬環境中所安裝的套件,包含套件版本輸出到 requirements.txt 檔案裡
asgiref==3.2.3
beautifulsoup4==4.8.2
certifi==2019.11.28
chardet==3.0.4
cloudscraper==1.2.24
dj-database-url==0.5.0
dj-static==0.0.6
Django==3.0.3
future==0.18.2
gunicorn==20.0.4
idna==2.9
line-bot-sdk==1.16.0
pytz==2019.3
requests==2.23.0
requests-toolbelt==0.9.1
selenium==3.141.0
soupsieve==2.0
sqlparse==0.3.1
static3==0.7.0
urllib3==1.25.8
這是我的 requirements.txt 可以給大家參考,可是這個虛擬環境有點被我搞髒了,裡面裝了很多嘗試用的套件,像是 selenium 是用來模擬瀏覽器行為的套件,可以執行 javascript,可是在我最後的爬蟲版本也沒有用到。
django 放到 GAE 上$ gcloud app deploy
Services to deploy:

descriptor:      [C:\Users\shrim\Downloads\linebot_ToolsOfYoutuber\app.yaml]
source:          [C:\Users\shrim\Downloads\linebot_ToolsOfYoutuber]
target project:  [django-linebot-yt-subscribe]
target service:  [default]
target version:  [20200306txxxxxx]
target url:      [https://django-linebot-yt-subscribe.appspot.com]


Do you want to continue (Y/n)?  y

Beginning deployment of service [default]...
#============================================================#
#= Uploading x files to Google Cloud Storage                =#
#============================================================#
File upload done.
Updating service [default]...done.
Setting traffic split for service [default]...done.
Deployed service [default] to [https://django-linebot-yt-subscribe.appspot.com]

You can stream logs from the command line by running:
  $ gcloud app logs tail -s default

To view your application in the web browser run:
  $ gcloud app browse
Webhook url
到這邊就做完了,如果有問題就必須回去確認每個步驟,包含前兩天的爬蟲 和 LineBot 的每個步驟,然後學著去找出問題的所在,每個環節的觀念是否正確,有實作上的問題歡迎留言告訴我。
放到雲端上的好處,就是不用擔心電腦會不會掛掉,完全無牽無掛,服務就好好的開在那邊,這是一件多麼美好的事啊~

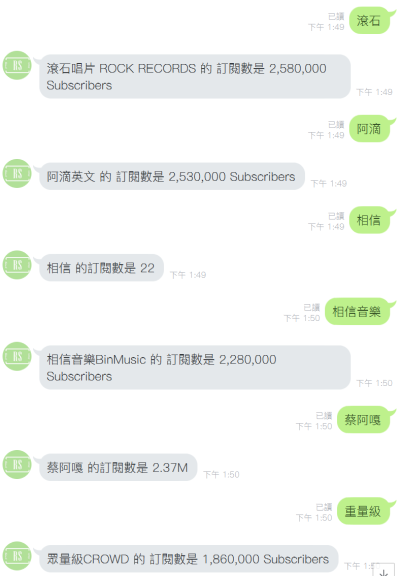
我先自首,這個爬蟲還很弱,它不是根據 訂閱數最高 的去找,而是 最相關 的去找,所以你可以看到
相信和相信音樂,差很多 XD
透過這個番外篇,我把這系列的天數拖到 26 天了哈哈,看來還要一陣子才能終結這個三十天系列了,加油 !
我是 RS,這是我的 不做怎麼知道系列 文章,我們 明天見。
