CICD真的是團隊開發重要的一環,如果明天要Release,結果沒有測試就把功能發布出去,那我們就得半夜起來把Bug修好,那不如我們一開始就把CI做好,就可以讓我們在部署測試這塊花更少的時間,就有更多的時間可以花在開發或者其他的地方上,之後各方面越來越卓越,也娶了白富美,從此人生邁向人生勝利組,你會感謝Pipeline的
以上言論不代表本人立場
準備
目標
延續前幾個章節,我們再複習一次把Web App部署到App Service
Git Flask sample
git clone https://github.com/microsoft/python-sample-vscode-flask-tutorial
enter folder
cd python-sample-vscode-flask-tutorial
部署至App Service
az webapp up -n {app-name}
瀏覽以下網站應該可以得到一個Hello, world
https://{app-name}.azurewebsites.net/
首先我們要到Devops的Project Setting頁面
然後點擊Service connections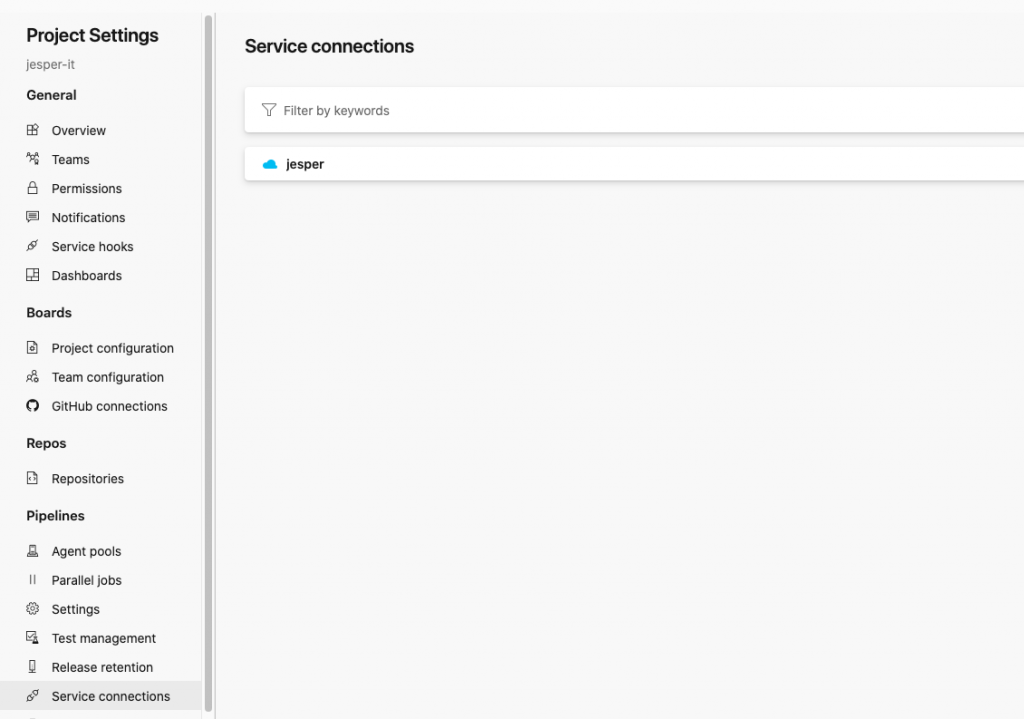
再來Create service connection,選擇Azure Resource Manager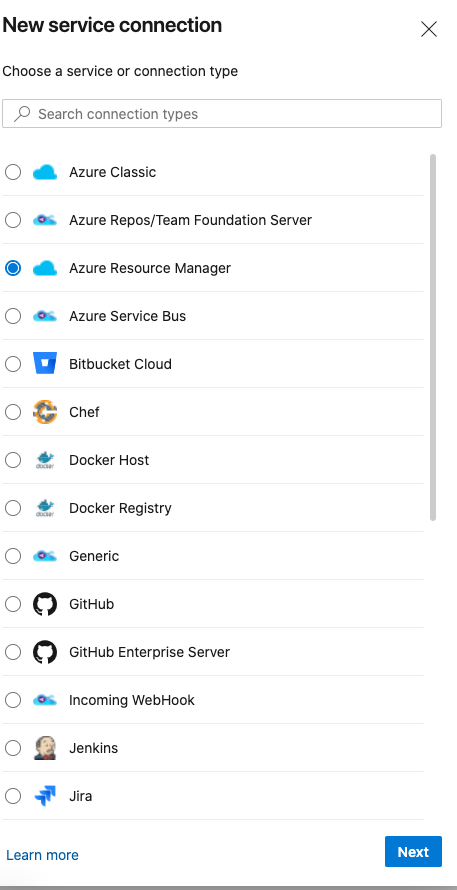
選Service principal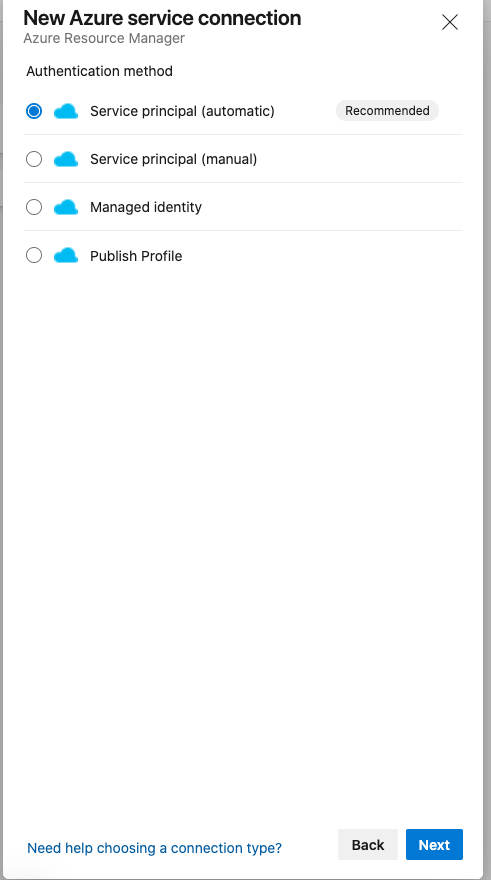
填一些訊息,按下Save,恭喜你前進了一大步了!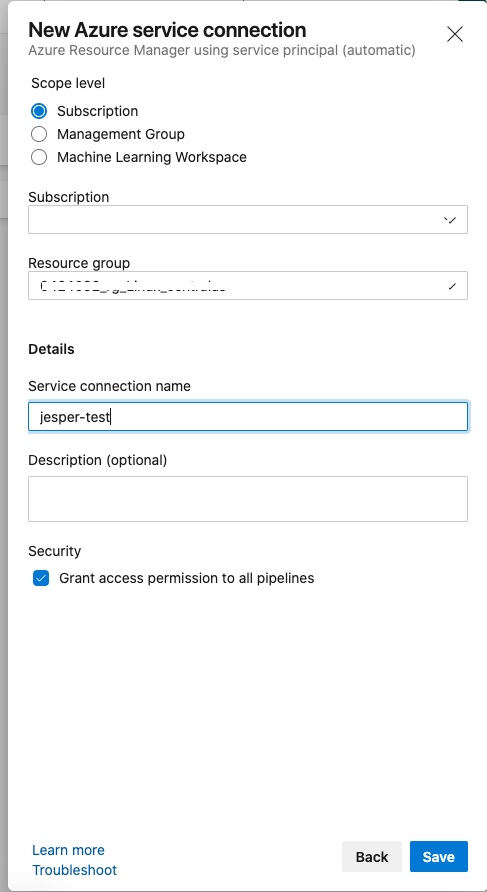
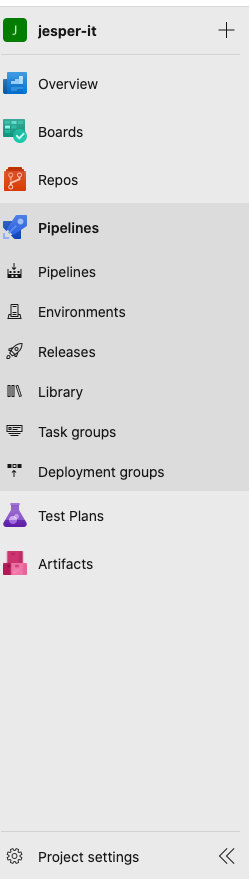
凡事都從New開始,首先,我們一樣來到Azure Devops的畫面,再來我們點左邊的Pipeline,Pipeline裡面分別是
那我們先點Pipeline的部分,右邊會看到一張可愛的圖,下面有Create Pipeline,點下去就對了!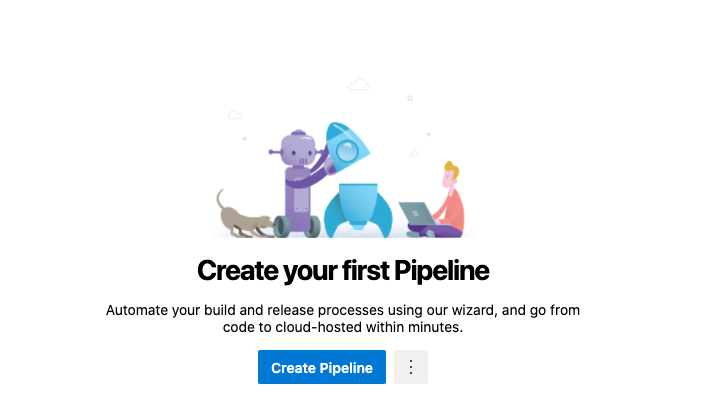
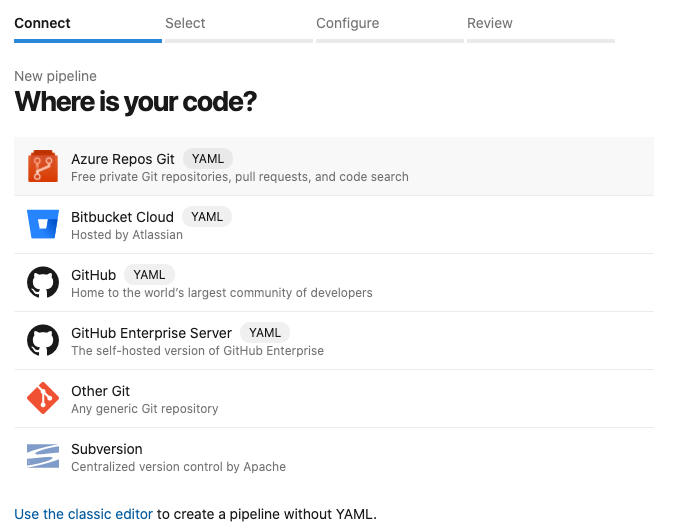
再來可以看到Where is your code? 那前面的章節我們有把程式碼放在Repo上了,所以我們選第一個"Azure Repo Git",特別一提的部分是,選擇上面的Git的話是YAML的介面,如果你想要GUI介面的話,下面有一個"Use the classic editor",但這次的章節主要會介紹YAML。
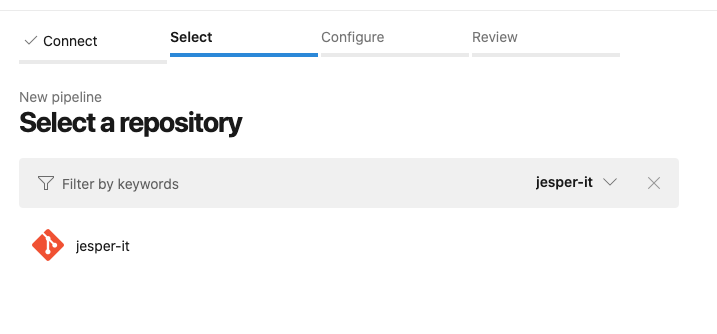
再來是選擇Repo
再來是Configure your pipeline,上面有一些預設的Template可以選擇,我們這次程式碼範例是Python,所以我們選擇第一個Python Package!
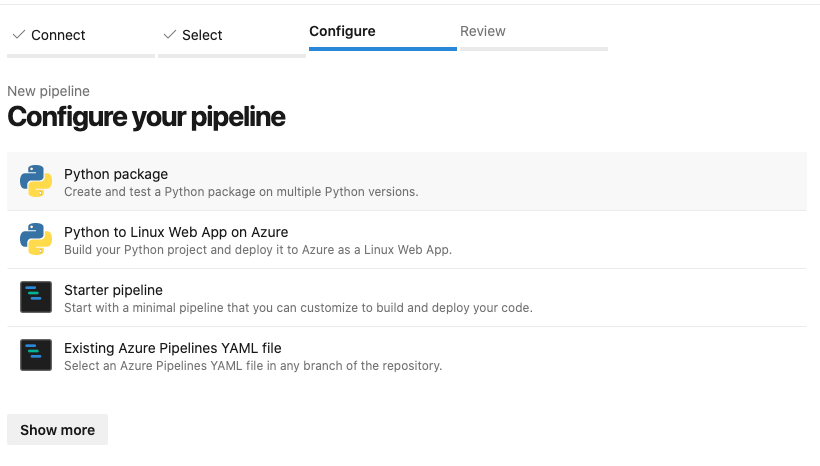
接下來會出現YAML檔案,就可以開始今天的任務拉!
# Python package
# Create and test a Python package on multiple Python versions.
# Add steps that analyze code, save the dist with the build record, publish to a PyPI-compatible index, and more:
# https://docs.microsoft.com/azure/devops/pipelines/languages/python

trigger:
- master

pool:
  vmImage: 'ubuntu-latest'
strategy:
  matrix:
    Python27:
      python.version: '2.7'
    #Python37:
      #python.version: '3.7'

steps:
- task: UsePythonVersion@0
  inputs:
    versionSpec: '$(python.version)'
  displayName: 'Use Python $(python.version)'

- script: |
    python -m pip install --upgrade pip
    pip install -r requirements.txt
  displayName: 'Install dependencies'

- script: |
    pip install pytest pytest-azurepipelines
    pytest
  displayName: 'pytest'
針對上面的內容先做講解
有上面的預設的YAML檔案後,但我們想要部署到App Service,顯然上面的YAML檔是不夠的,所以我們必須另外新增一些程式碼。
# Python package
# Create and test a Python package on multiple Python versions.
# Add steps that analyze code, save the dist with the build record, publish to a PyPI-compatible index, and more:
# https://docs.microsoft.com/azure/devops/pipelines/languages/python

trigger:
- master

pool:
  vmImage: ubuntu-latest

stages:
  - stage: Build
    displayName: 'Build'
    jobs:
      - job: Build
        steps:
        - task: UsePythonVersion@0
          inputs:
            versionSpec: '3.7'
            addToPath: true

        - script: |
            python -m venv antenv
            source antenv/bin/activate
            python -m pip install --upgrade pip
            pip install --upgrade pip setuptools==45.2.0
            pip install setup
            pip install -r requirements.txt

        - task: ArchiveFiles@2
          inputs:
            rootFolderOrFile: '$(Build.SourcesDirectory)'
            includeRootFolder: false
            archiveType: 'zip'
            archiveFile: '$(Build.ArtifactStagingDirectory)/web/web.zip'
            replaceExistingArchive: true

        - publish: $(Build.ArtifactStagingDirectory)/web/web.zip
          displayName: 'Upload package'
          artifact: drop

  - stage: Deploy
    displayName: 'web'
    jobs:
      - deployment: VMDeploy
        displayName: 'VMDeploy'
        environment:
          name: traffic-master
        strategy:
          runOnce:
            deploy:
              steps:
              - task: UsePythonVersion@0
                inputs:
                  versionSpec: '3.7'
                  addToPath: true

              - task: AzureRmWebAppDeployment@4
                inputs:
                  ConnectionType: 'AzureRM'
                  azureSubscription: 'jesper'
                  appType: 'webAppLinux'
                  WebAppName: '{app-name}'
                  packageForLinux: '$(Pipeline.Workspace)/**/*.zip'
                  startUpCommand: 'gunicorn --bind=0.0.0.0 --workers=4 startup:app'
把這些加進你的Azure-pipeline.yaml裡面,之後Run Pipeline就可以發現App Service已經部署完畢了,接下來我們可以把Repo裡面的程式做修改,只要Commit上去,App Service上面也會跟著部署成功!!
原本的畫面
Commit Code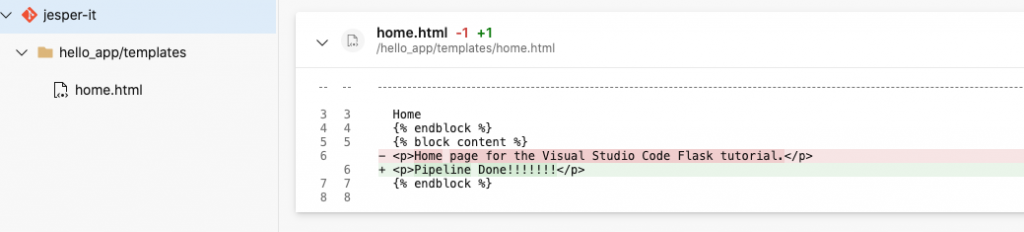
Pipeline 完成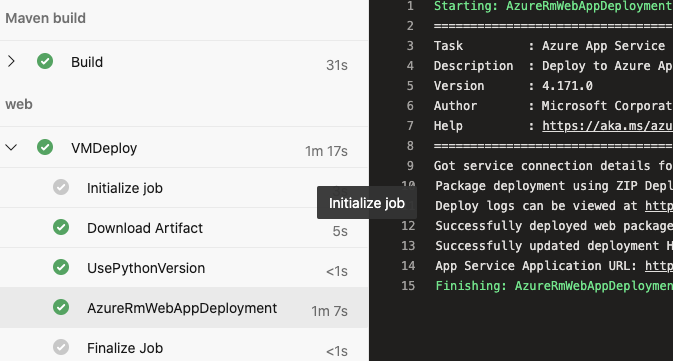
網頁上的畫面也更改了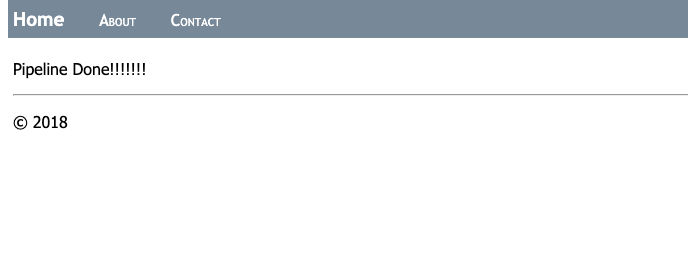
今天Pipeline CD的部分介紹到這邊!