有了Nomad server, 接下來今天會介紹安裝Nomad client.
與設定Nomad server差異不大,在我們要建立Nomad client的node上,執行下列的動作:
# nomad-client.hcl
datacenter = "  Nomad-ithome"
name = "nomad-client-1"
disable_update_check = true

log_level = "INFO"
log_rotate_duration = "24h"
log_file = "/home/ec2-user/nomad/logs"
data_dir  = "/home/ec2-user/nomad/data"
bind_addr = "10.168.1.72"

client {
  enabled = true
  servers = ["10.168.1.135:4647"]
  server_join {
    retry_join = ["10.168.1.135"]
    retry_max = 3
    retry_interval = "15s"
  }

  reserved {
    cpu            = 100
    memory         = 64
    disk           = 1024
    reserved_ports = "22,80,8500-8600"
  }
}


plugin "raw_exec" {
  config {
    enabled = true
  }
}
client: 因為是設定Nomad client,所以client裡 enable = true.
servers: 填入Nomad server 的IP:port, 若有HA則用,分開。
server_join: 設定當有問題時的retry參數。
reserved: 設定要保留多少的資源,避免全部榨乾影響到OS.
plugin: 之前有提到Nomad除了可以拿來跑container外,也可以執行其他的application等, raw_exec這個plugin是可以用來執行指令或是shellscript,預設不會有需要自行加入。
如下圖Nomad Web UI可以查看目前有使用那些driver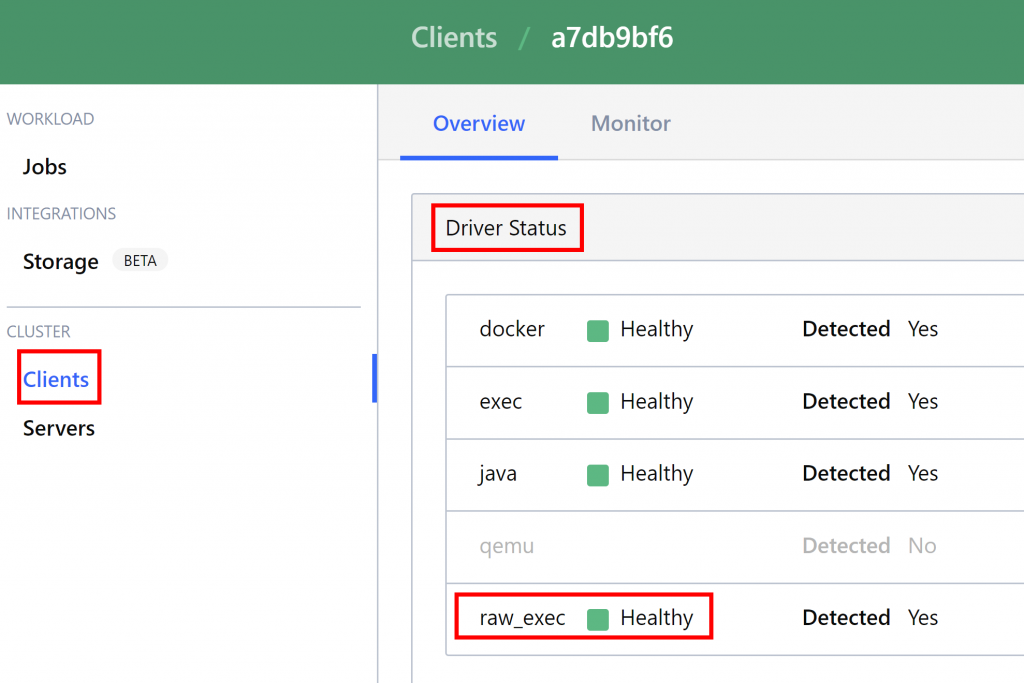
設定檔編寫好後,接下來啟動Nomad client.
$ nomad agent -config /home/ec2-user/nomad/conf
這裡需要注意帳號權限的問題,官網有一段這樣的說明:
Nomad servers should be run with the lowest possible permissions. Nomad clients must be run as root due to the OS isolation mechanisms that require root privileges. In all cases, it is recommended you create a nomad user with the minimal set of required privileges.
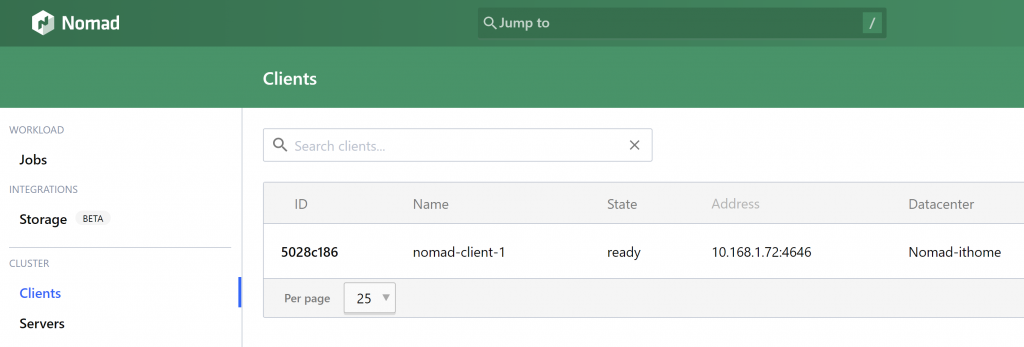
Nomad client啟動後,就可以在Web UI 上看到client加進來了。