我們有Consul也有Nomad,那麼要善用Consul的service discovery的功能,今天我們把Nomad server與client都註冊到Consul上去吧!
參考Day 6. Consul client 參數設定與啟動
只要在nomad-server.hcl裡加入consul的連線資訊即可,設定完後重起生效。
這裡官網不建議直接連線到Consul server,所以我們連線到local的Consul client,由Consul client來對Consul server做註冊的動作。
# nomad-server.hcl

datacenter = "Nomad-ithome"
...
...
consul {
  address = "127.0.0.1:8500"
  token   = "499defa4-edc9-3f80-d001-95e5df7e21a6"
  server_service_name = "nomad-server"
  server_auto_join = true
}
只要在nomad-client.hcl裡加入consul的連線資訊即可,設定完後重起生效。
# nomad-client.hcl

datacenter = "Nomad-ithome"
...
...
consul {
  address = "127.0.0.1:8500"
  token   = "499defa4-edc9-3f80-d001-95e5df7e21a6"
  client_service_name = "nomad-server"
  client_auto_join = true
}
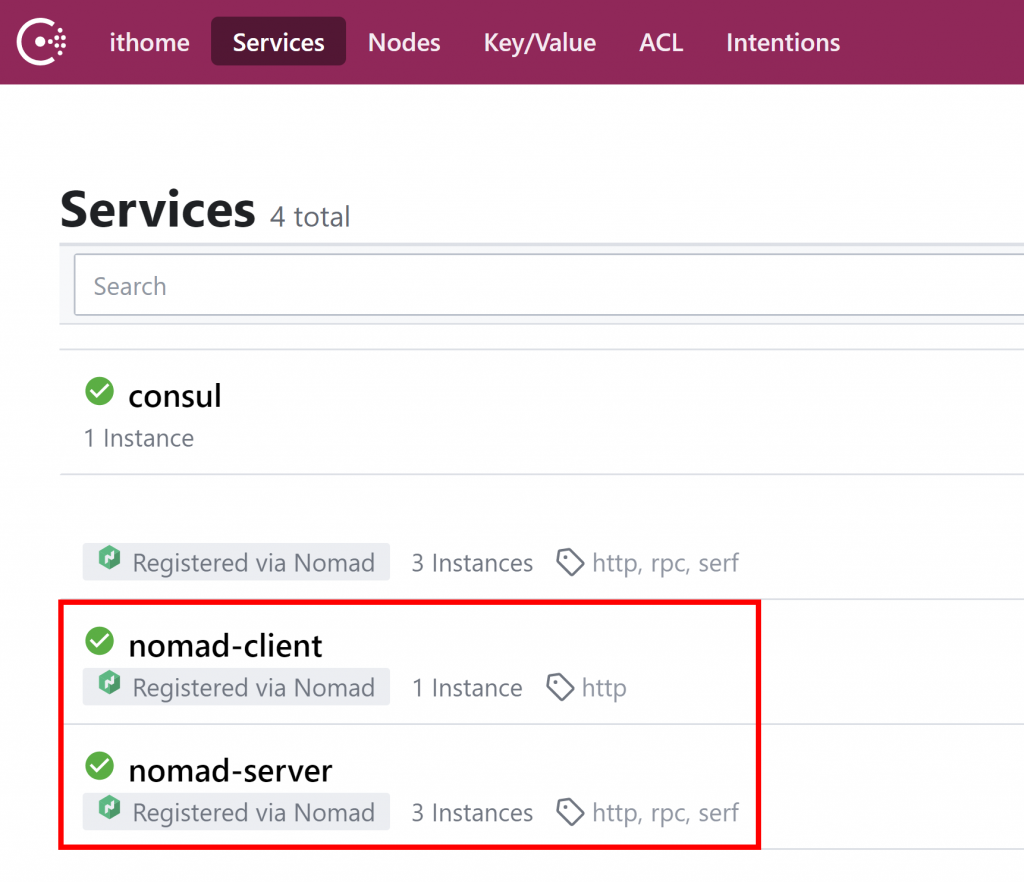
開啟Consul Web UI可以看到我們的Nomad server與Nomad client已經註冊在Consul上了。