Anroid Studio IDE 打開後,看到左方Project點選進去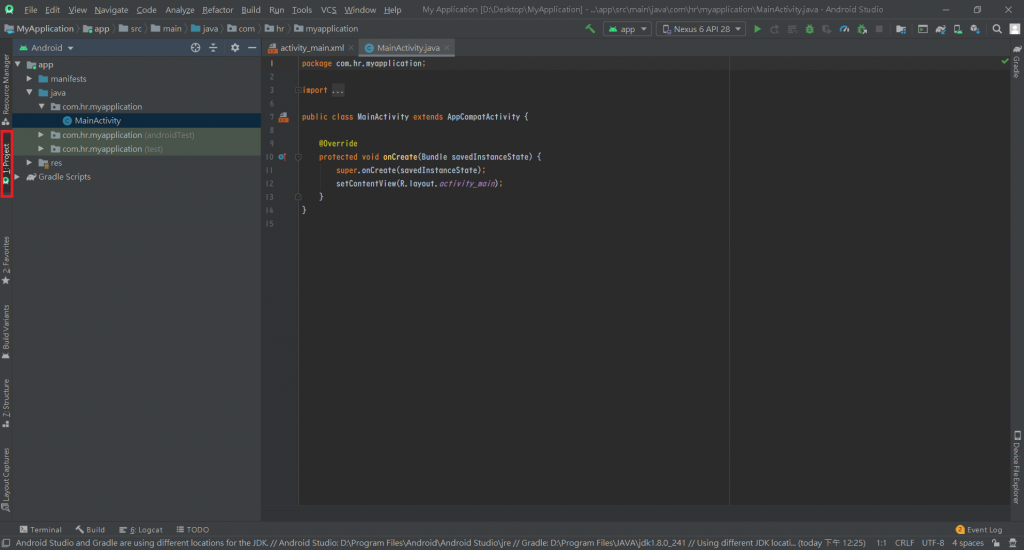
從裡面可以清楚看到Android專案架構,主要分:
1.Manifests
2.java
3.res
4.Gradle Scripts-build.gradle(Module:app)
1.Manifests
紀錄應用程式權限、package名稱、activity、service、圖示各式細節定義
<?xml version="1.0" encoding="utf-8"?>
<manifest xmlns:android="http://schemas.android.com/apk/res/android"
    package="com.hr.myapplication">
    <!--package為Android作業系統辨識安裝檔案APK的重要依據-->
    <application
        android:allowBackup="true"
        android:icon="@mipmap/ic_launcher"
        android:label="@string/app_name"
        android:roundIcon="@mipmap/ic_launcher_round"
        android:supportsRtl="true"
        android:theme="@style/AppTheme">
        <!--控制主畫面的程式 .MainActivity-->
        <activity android:name=".MainActivity">
            <intent-filter>
                <action android:name="android.intent.action.MAIN" />
                <category android:name="android.intent.category.LAUNCHER" />
                <!--android.intent.category.LAUNCHER 安裝至手機會自動開啟的畫面-->
            </intent-filter>
        </activity>
    </application>
</manifest>
2.java
package com.hr.myapplication;
//引入套件
import androidx.appcompat.app.AppCompatActivity;
import android.os.Bundle;
//MainActivity 繼承 AppCompatActivity 類別
public class MainActivity extends AppCompatActivity {
//@Override在這裡為覆寫類別方法的指令,當我們要想修改部分內容又不想破壞結構時,可以藉此來達成
    @Override
    protected void onCreate(Bundle savedInstanceState) {
        //super可以使用父類別相關成員函數
        //以@Override覆寫onCreate方法後,用super使用父類別之成員函數,達成繼承方法又能實作的功效
        super.onCreate(savedInstanceState);
        //設定顯示畫面由R找到layout檔
        setContentView(R.layout.activity_main);
    }
}
3.res
提供UI設計各式檔案
res檔案內又分為:
drawable:圖片檔案
layout:各式UI介面
mipmap:和drawable同為儲存圖片,不同之處是mipmap圖片存放有各種解析度的相同圖片
values:其中有colors、string、styles三個檔案,分別儲存顏色、字串和風格,在專案程式碼量大時,達成程式重 複利用效果。
4.Gradle Scripts-build.gradle(Module:app)
引入支援開發套件與版本設定
apply plugin: 'com.android.application'

android {
//    SDK版本
    compileSdkVersion 29
    buildToolsVersion "29.0.3"
    defaultConfig {
//        套件名稱
        applicationId "com.hr.myapplication"
//        程式最低需使用的SDK版本
        minSdkVersion 16
        targetSdkVersion 29
        versionCode 1
        versionName "1.0"
        testInstrumentationRunner "androidx.test.runner.AndroidJUnitRunner"
    }
    buildTypes {
        release {
            minifyEnabled false
            proguardFiles getDefaultProguardFile('proguard-android-optimize.txt'), 'proguard-rules.pro'
        }
    }
}

//        引入的開發套件
dependencies {
    implementation fileTree(dir: 'libs', include: ['*.jar'])
    implementation 'androidx.appcompat:appcompat:1.2.0'
    implementation 'androidx.constraintlayout:constraintlayout:1.1.3'
    testImplementation 'junit:junit:4.12'
    androidTestImplementation 'androidx.test.ext:junit:1.1.1'
    androidTestImplementation 'androidx.test.espresso:espresso-core:3.2.0'
}


 iThome鐵人賽