我們在做後端開發的時候,常常會有需要開API的時候,或者是有些單頁式應用不想要在自己的平台上管,這時候就可以選擇Azur Functions來做開發!並且支持了多種語言、Oauth,所以在做Web開發的時候,Azure Functions也不妨是個好選擇!
準備
其實Azure Functions支援的語言有
這篇主要拿Python來做示範
首先呢,第一步到Azure Portal,搜尋"函數應用程式",並且新增應用程式,接著填一些參數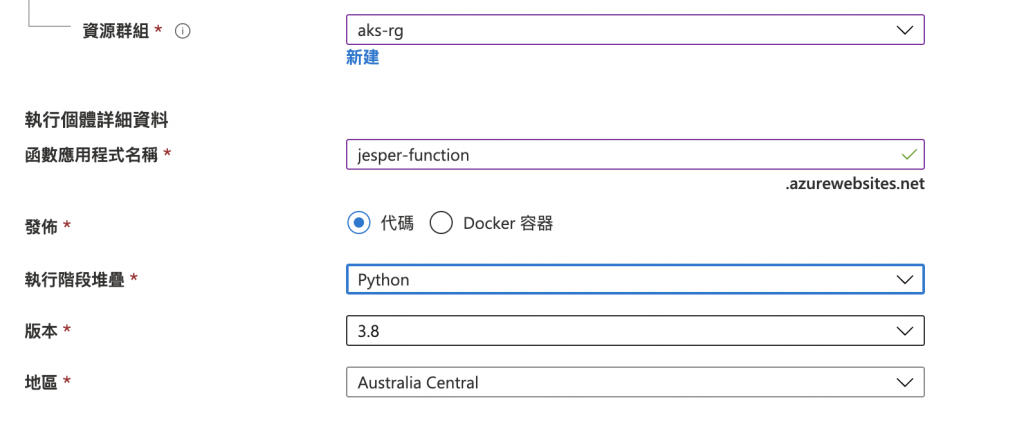
接著填裝載中的地方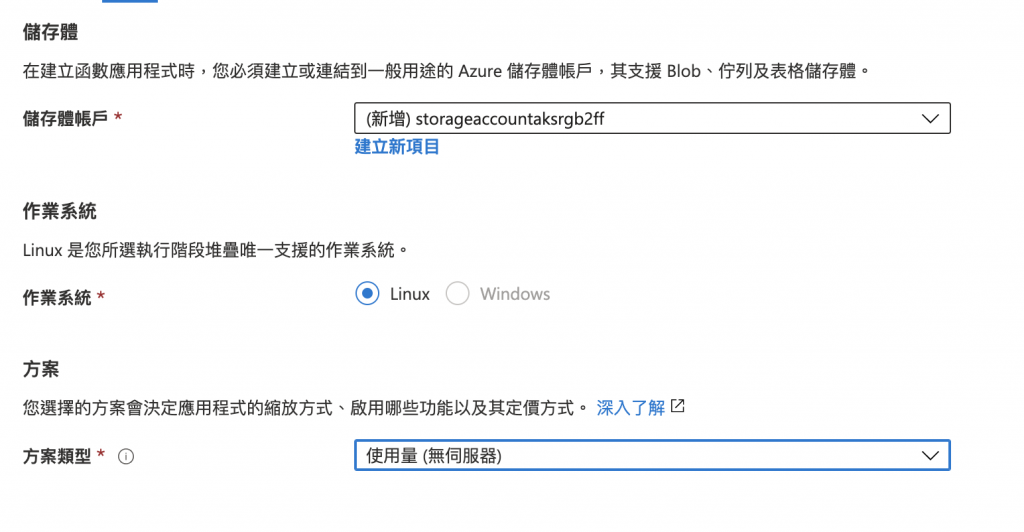
再來是監視的部分,這裡我把Application Insight關掉了,因為本篇不會介紹到,但後續的章節會介紹到~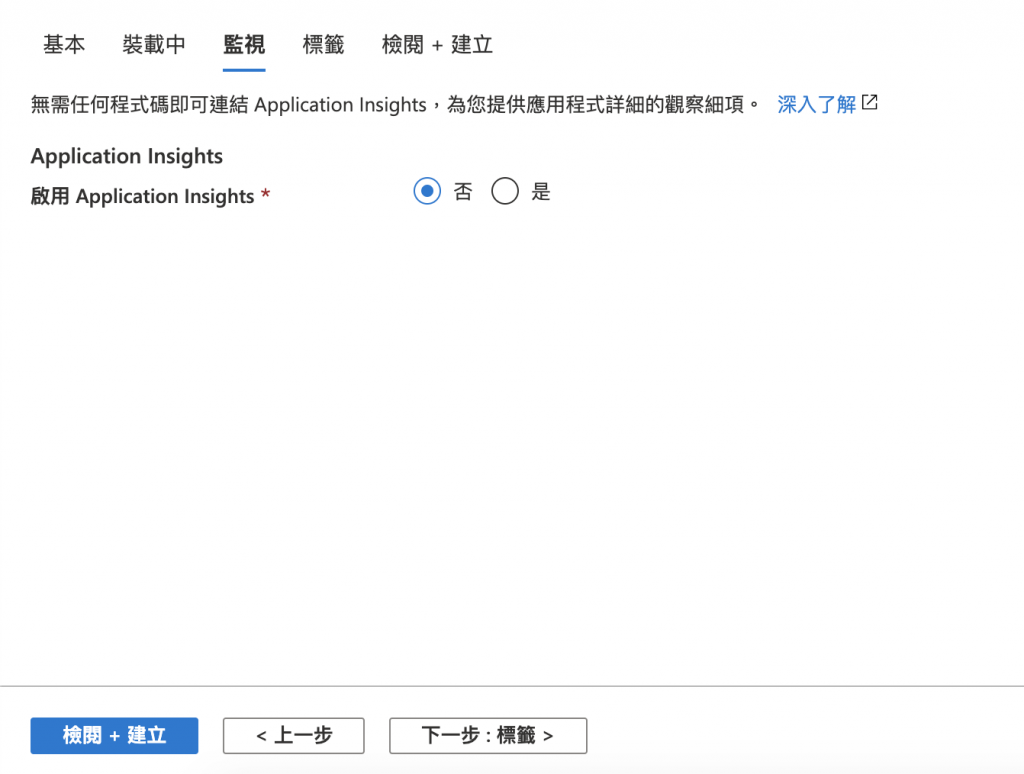
按下建立就完成了!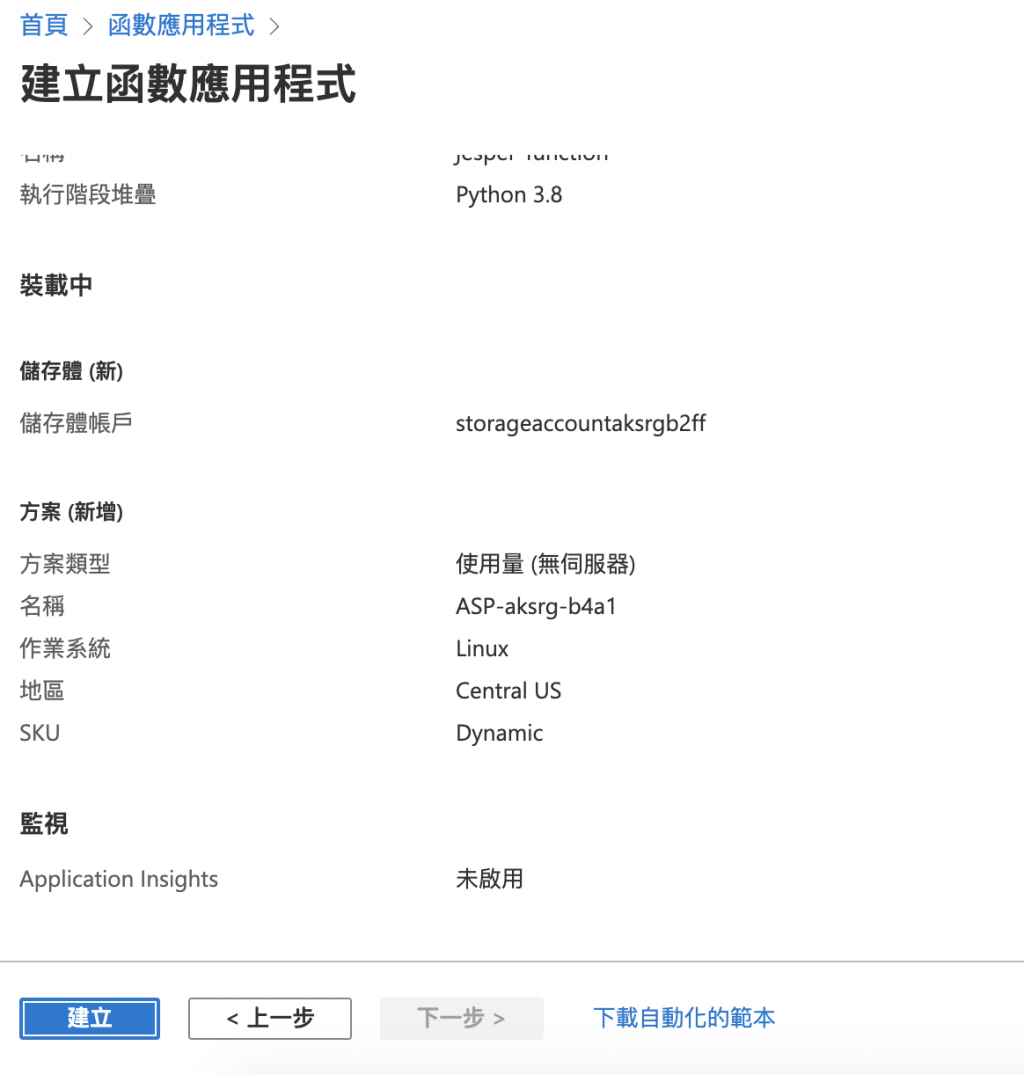
再來我們可以到函式這邊點選於本機開發就可以在本機透過Vscode做開發了!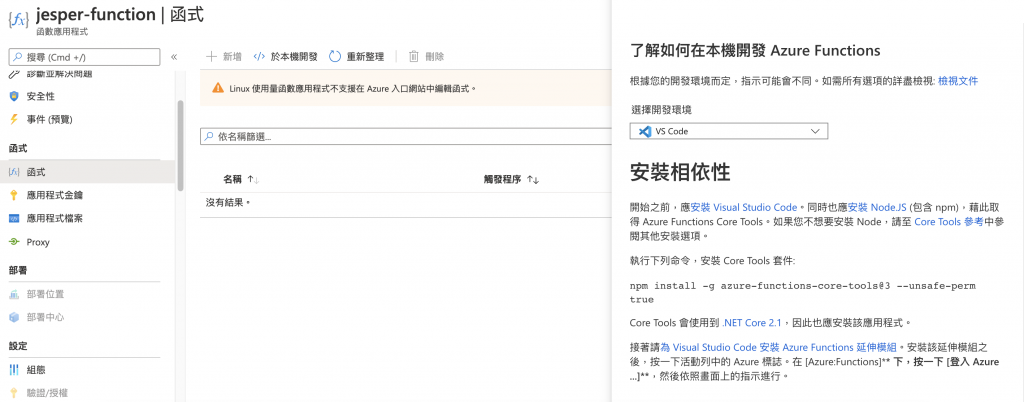
再來我們到VScode安裝Azure functions的extension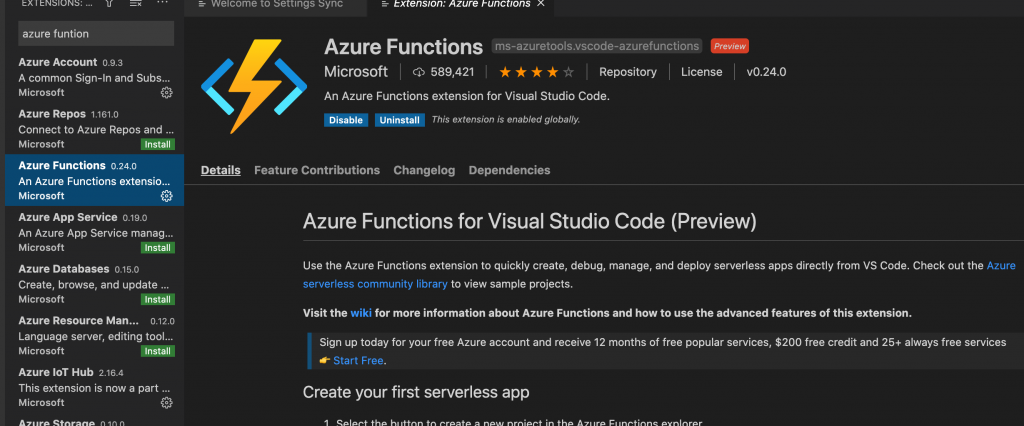
接著按資料夾的圖案就可以Create Project了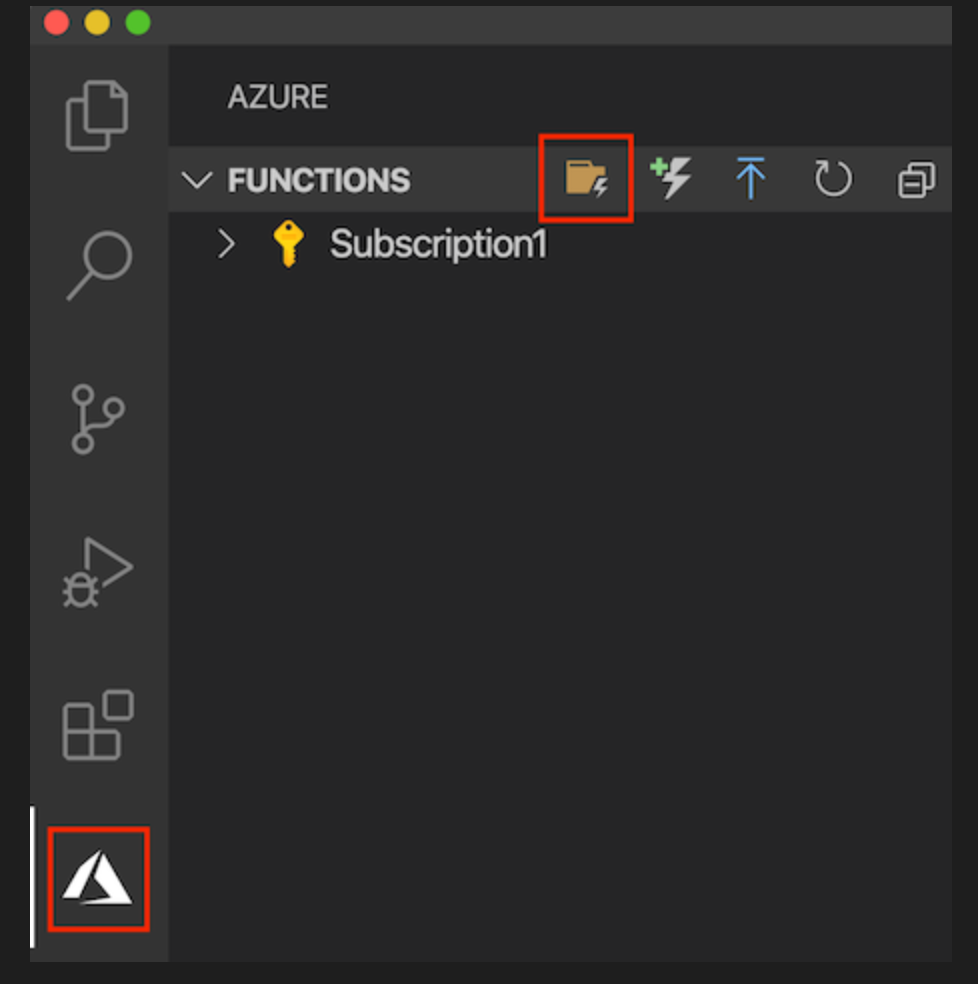
再來選擇你的專案資料夾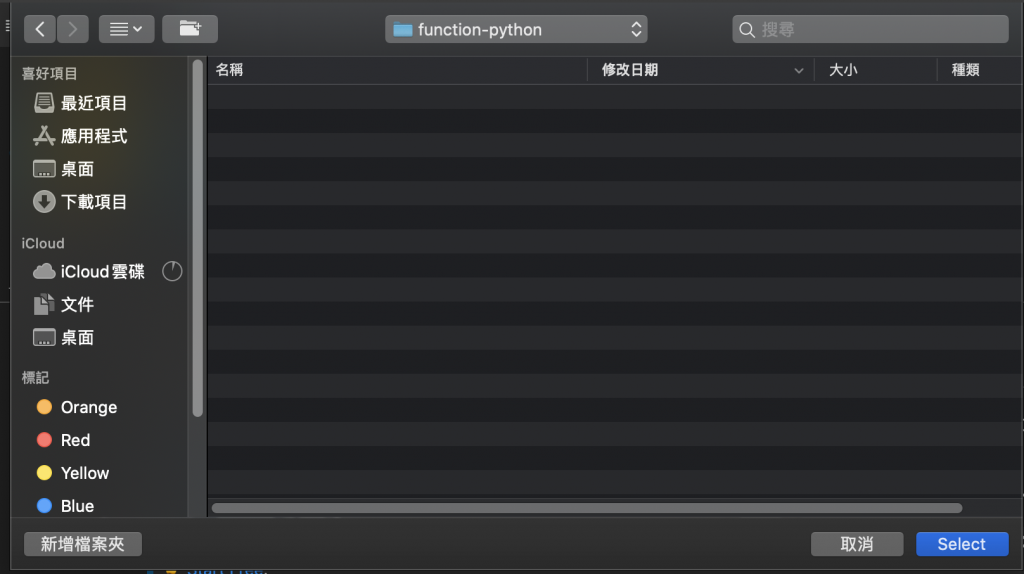
選擇你要使用的語言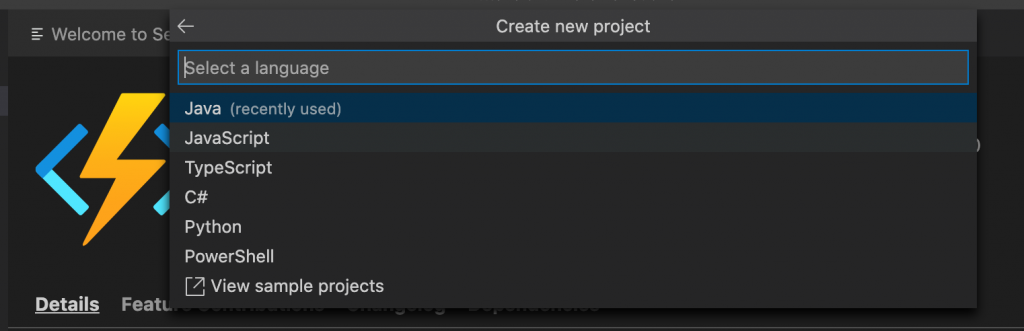
再來選function的template,這邊選Http trigger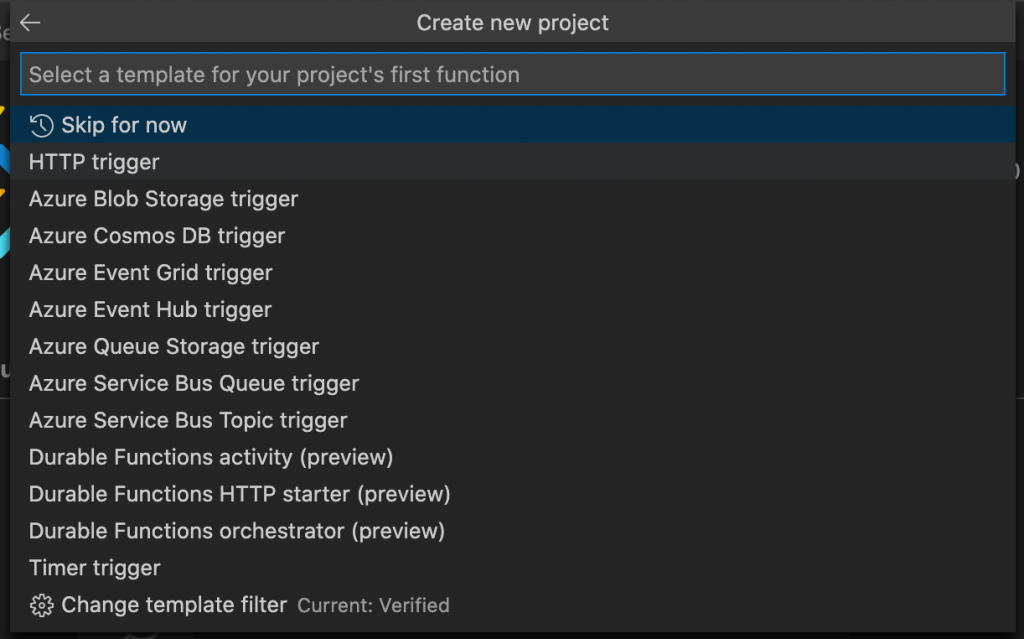
Authorization level選擇Function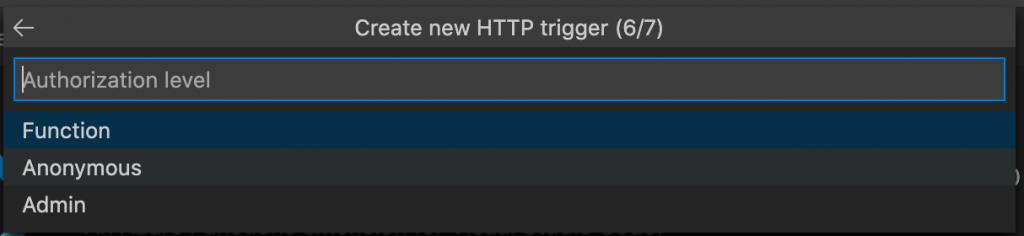
經歷這麼長的步驟,終於完成Create Project!!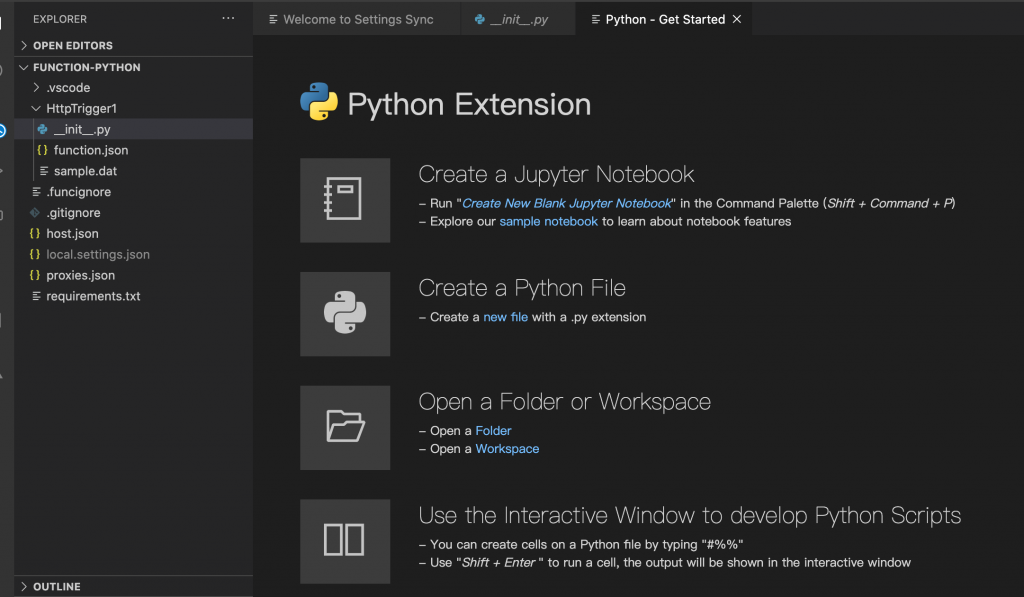
再來這邊其實MS已經幫你把範例寫上去了,所以我們只要按執行測試看看就好了~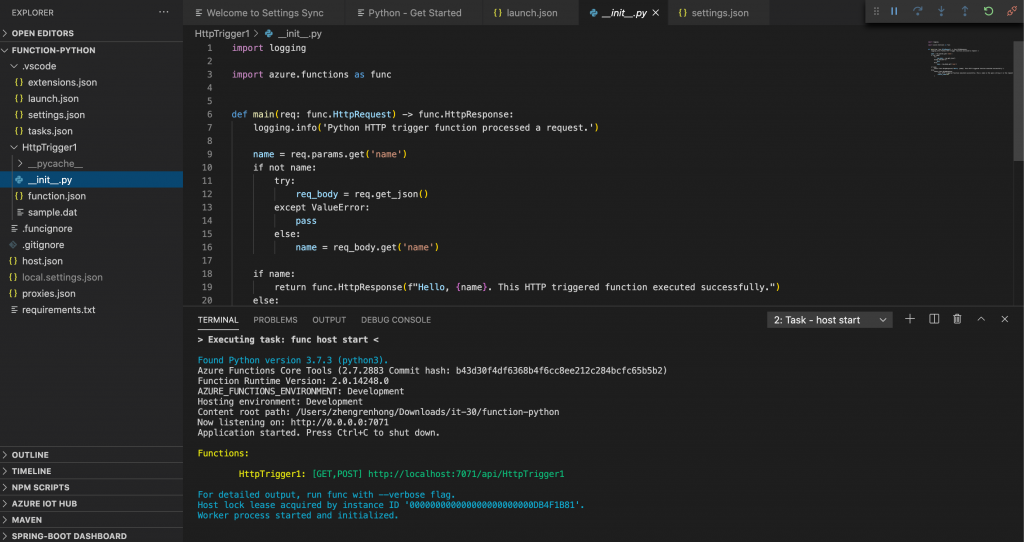
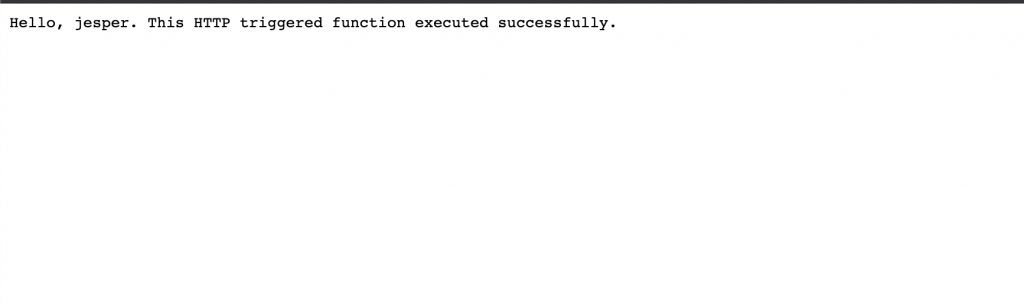
再來在網址列輸出,就可以看到API已經成功了!
http://localhost:7071/api/HttpTrigger1?name=jesper
之後我們如果開發完畢的話,可以把我們的Functions推上Azure Functions,只要在VScode點選上傳的按鈕就可以部署上Azure Functions了,是不是很簡單!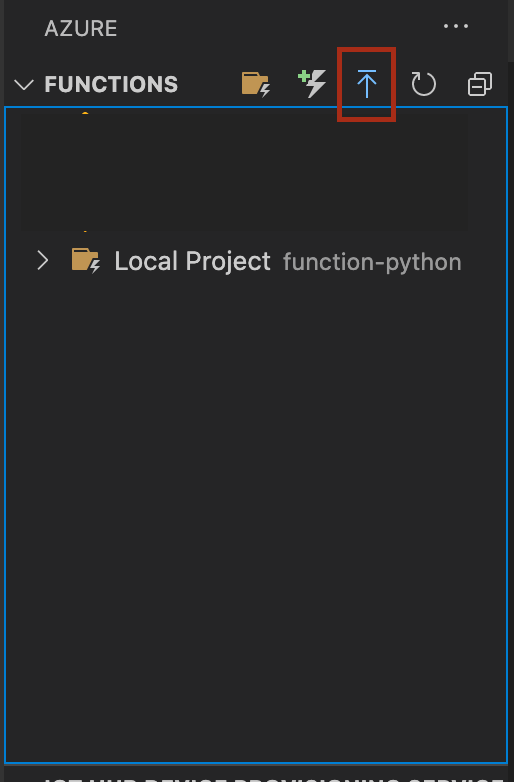
之後就可以透過Azure functions的URL執行你的API了!!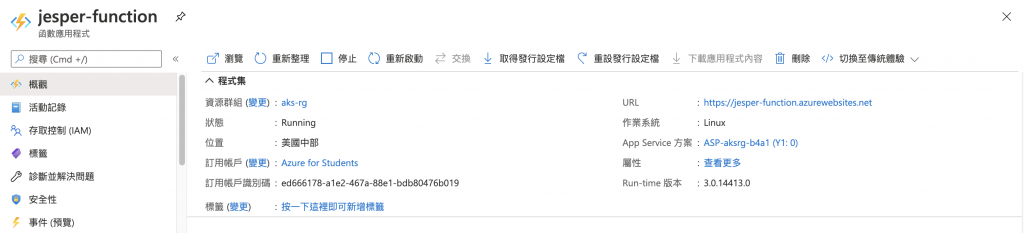


 iThome鐵人賽